|
|
MaryH's -
.
RESURRECTION
STORY
- Her Model 90C -
MaryH's
dad bought a Chambers 90C new
and it's been in the family
ever since. She decided to
have it restored.
Here
are some pictures of Mary's
90C before it left her home
in Dallas:
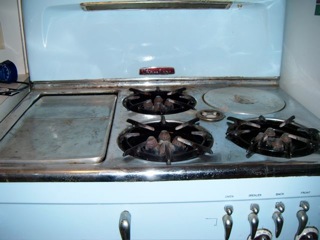
The
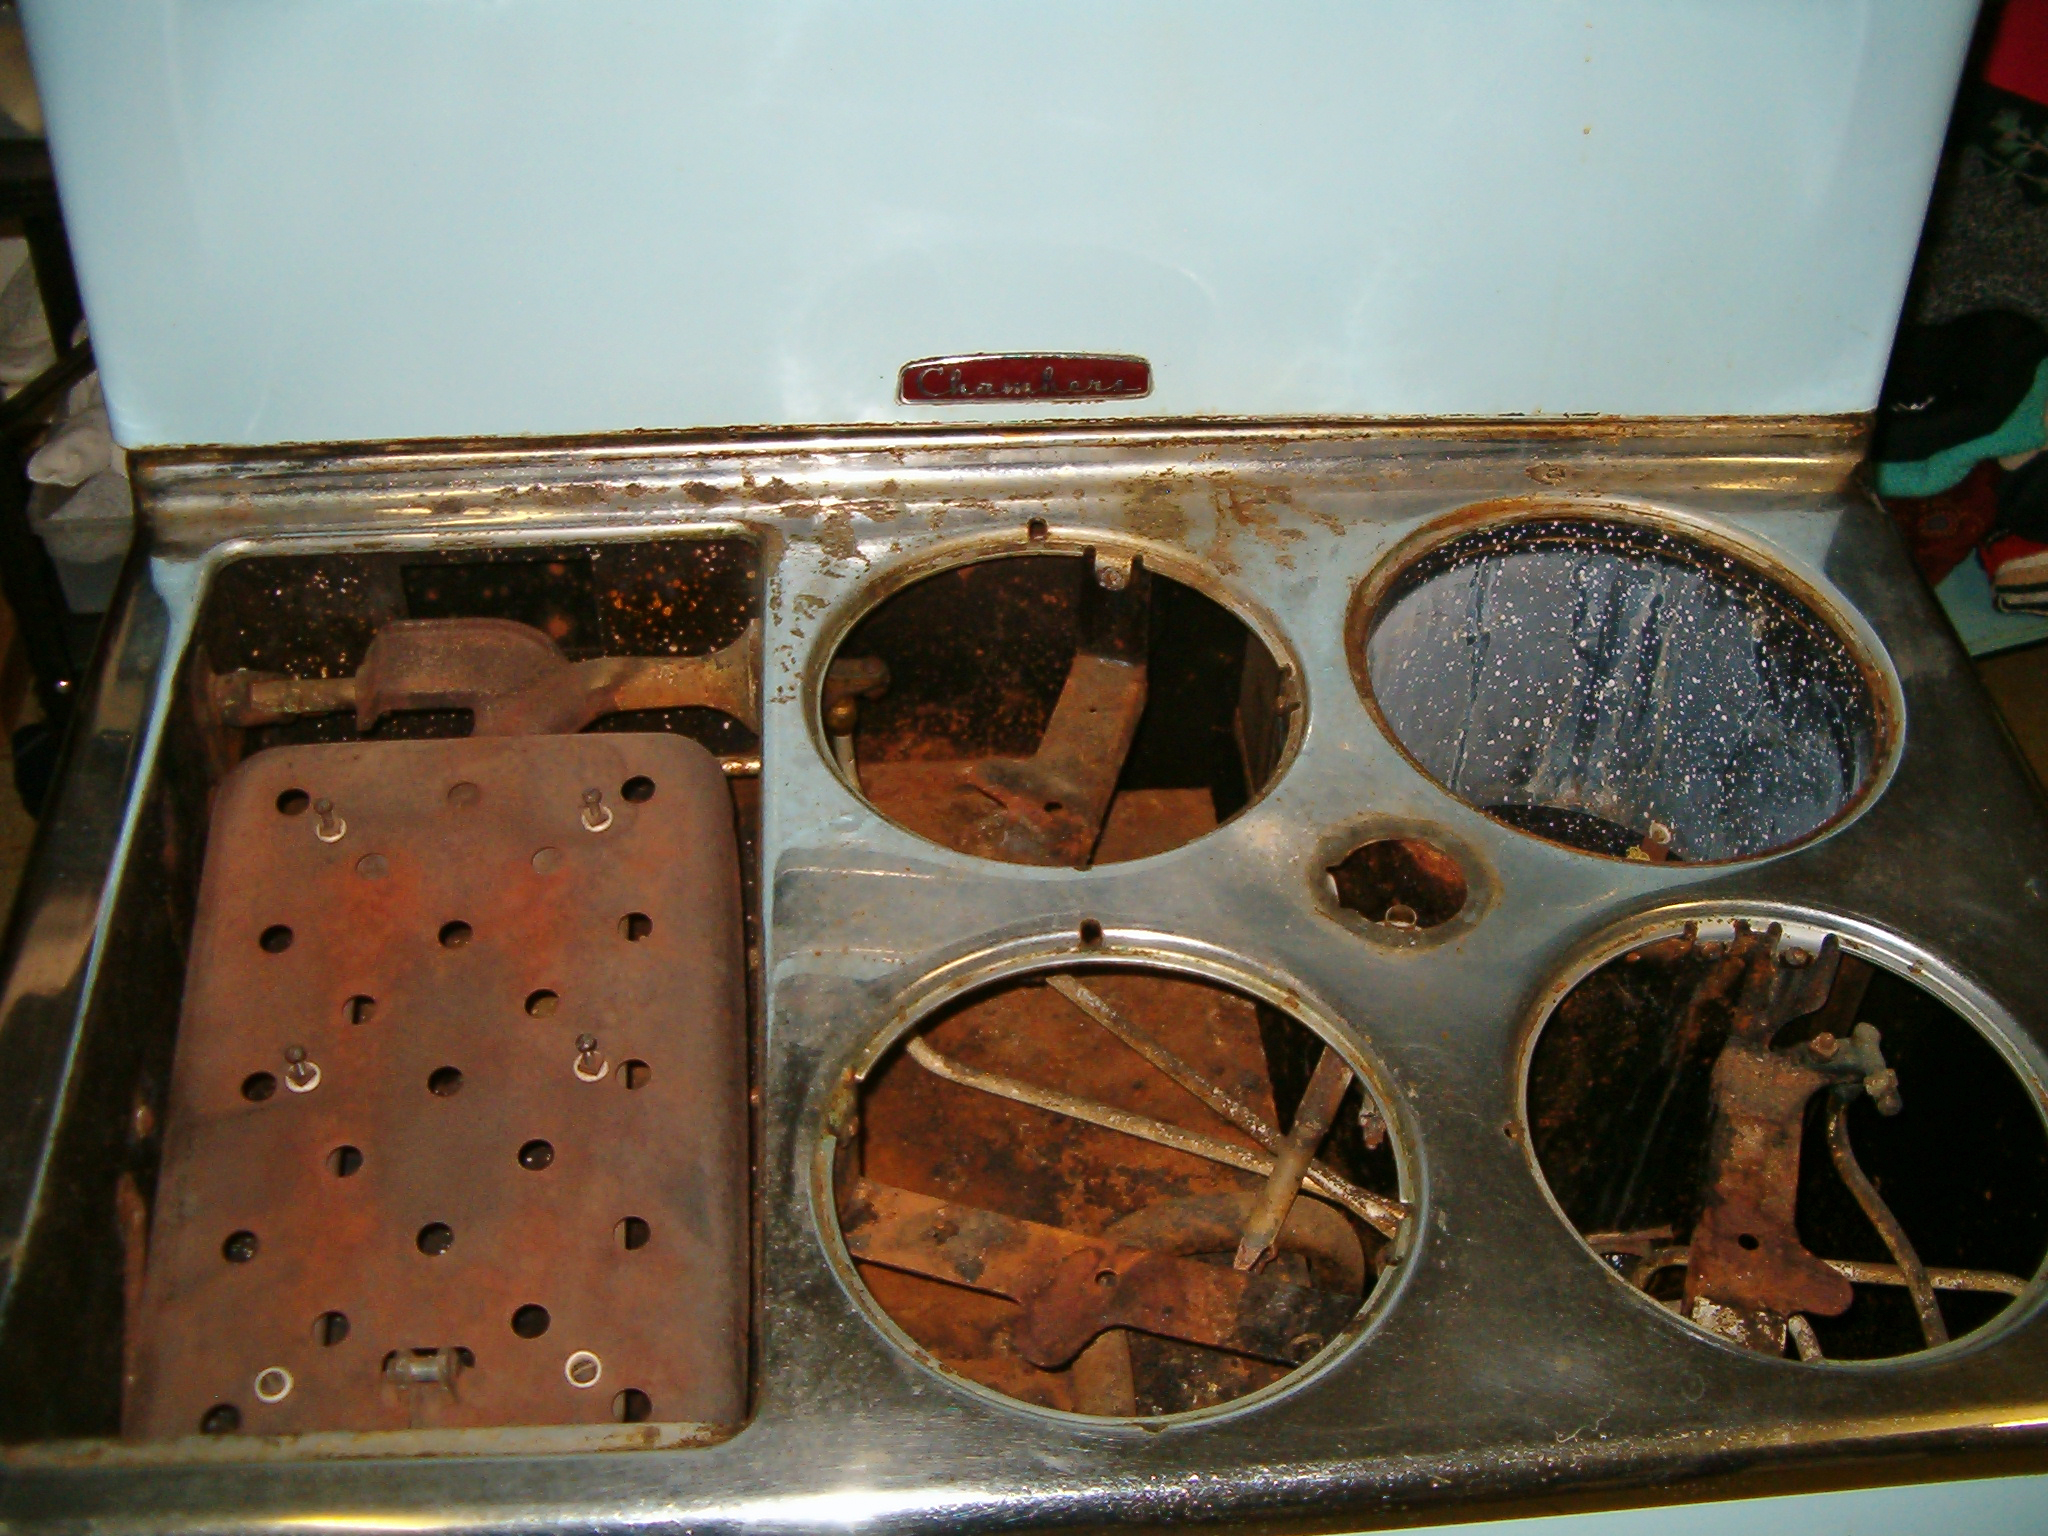
Cooktop -
The
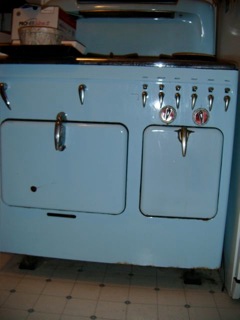
Front -
The
Backsplash (note the
rusted chrome shelf ) -
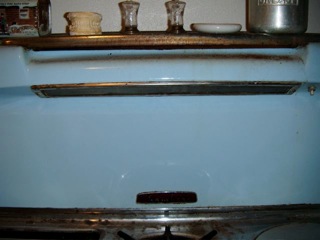
The
Service Cabinet Door
and Oven Door (note
the chip in the Oven
Door porcelain) -
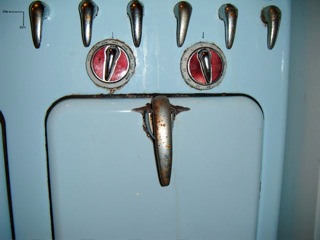
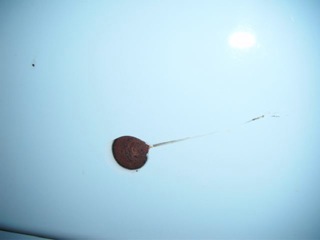
The
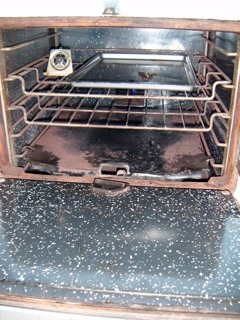
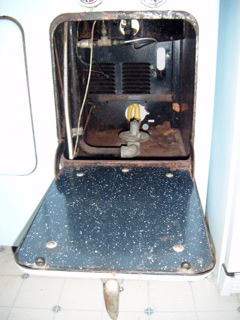
interior of the Oven
and Service Cabinet
-
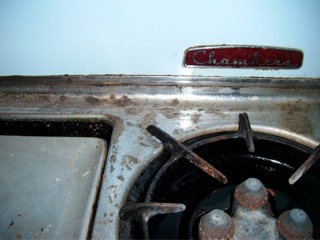
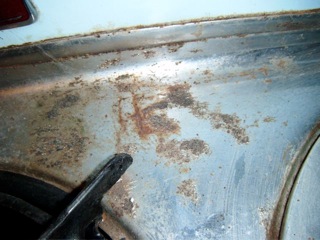
Close-up's
of the rusted
Durachrome Top -
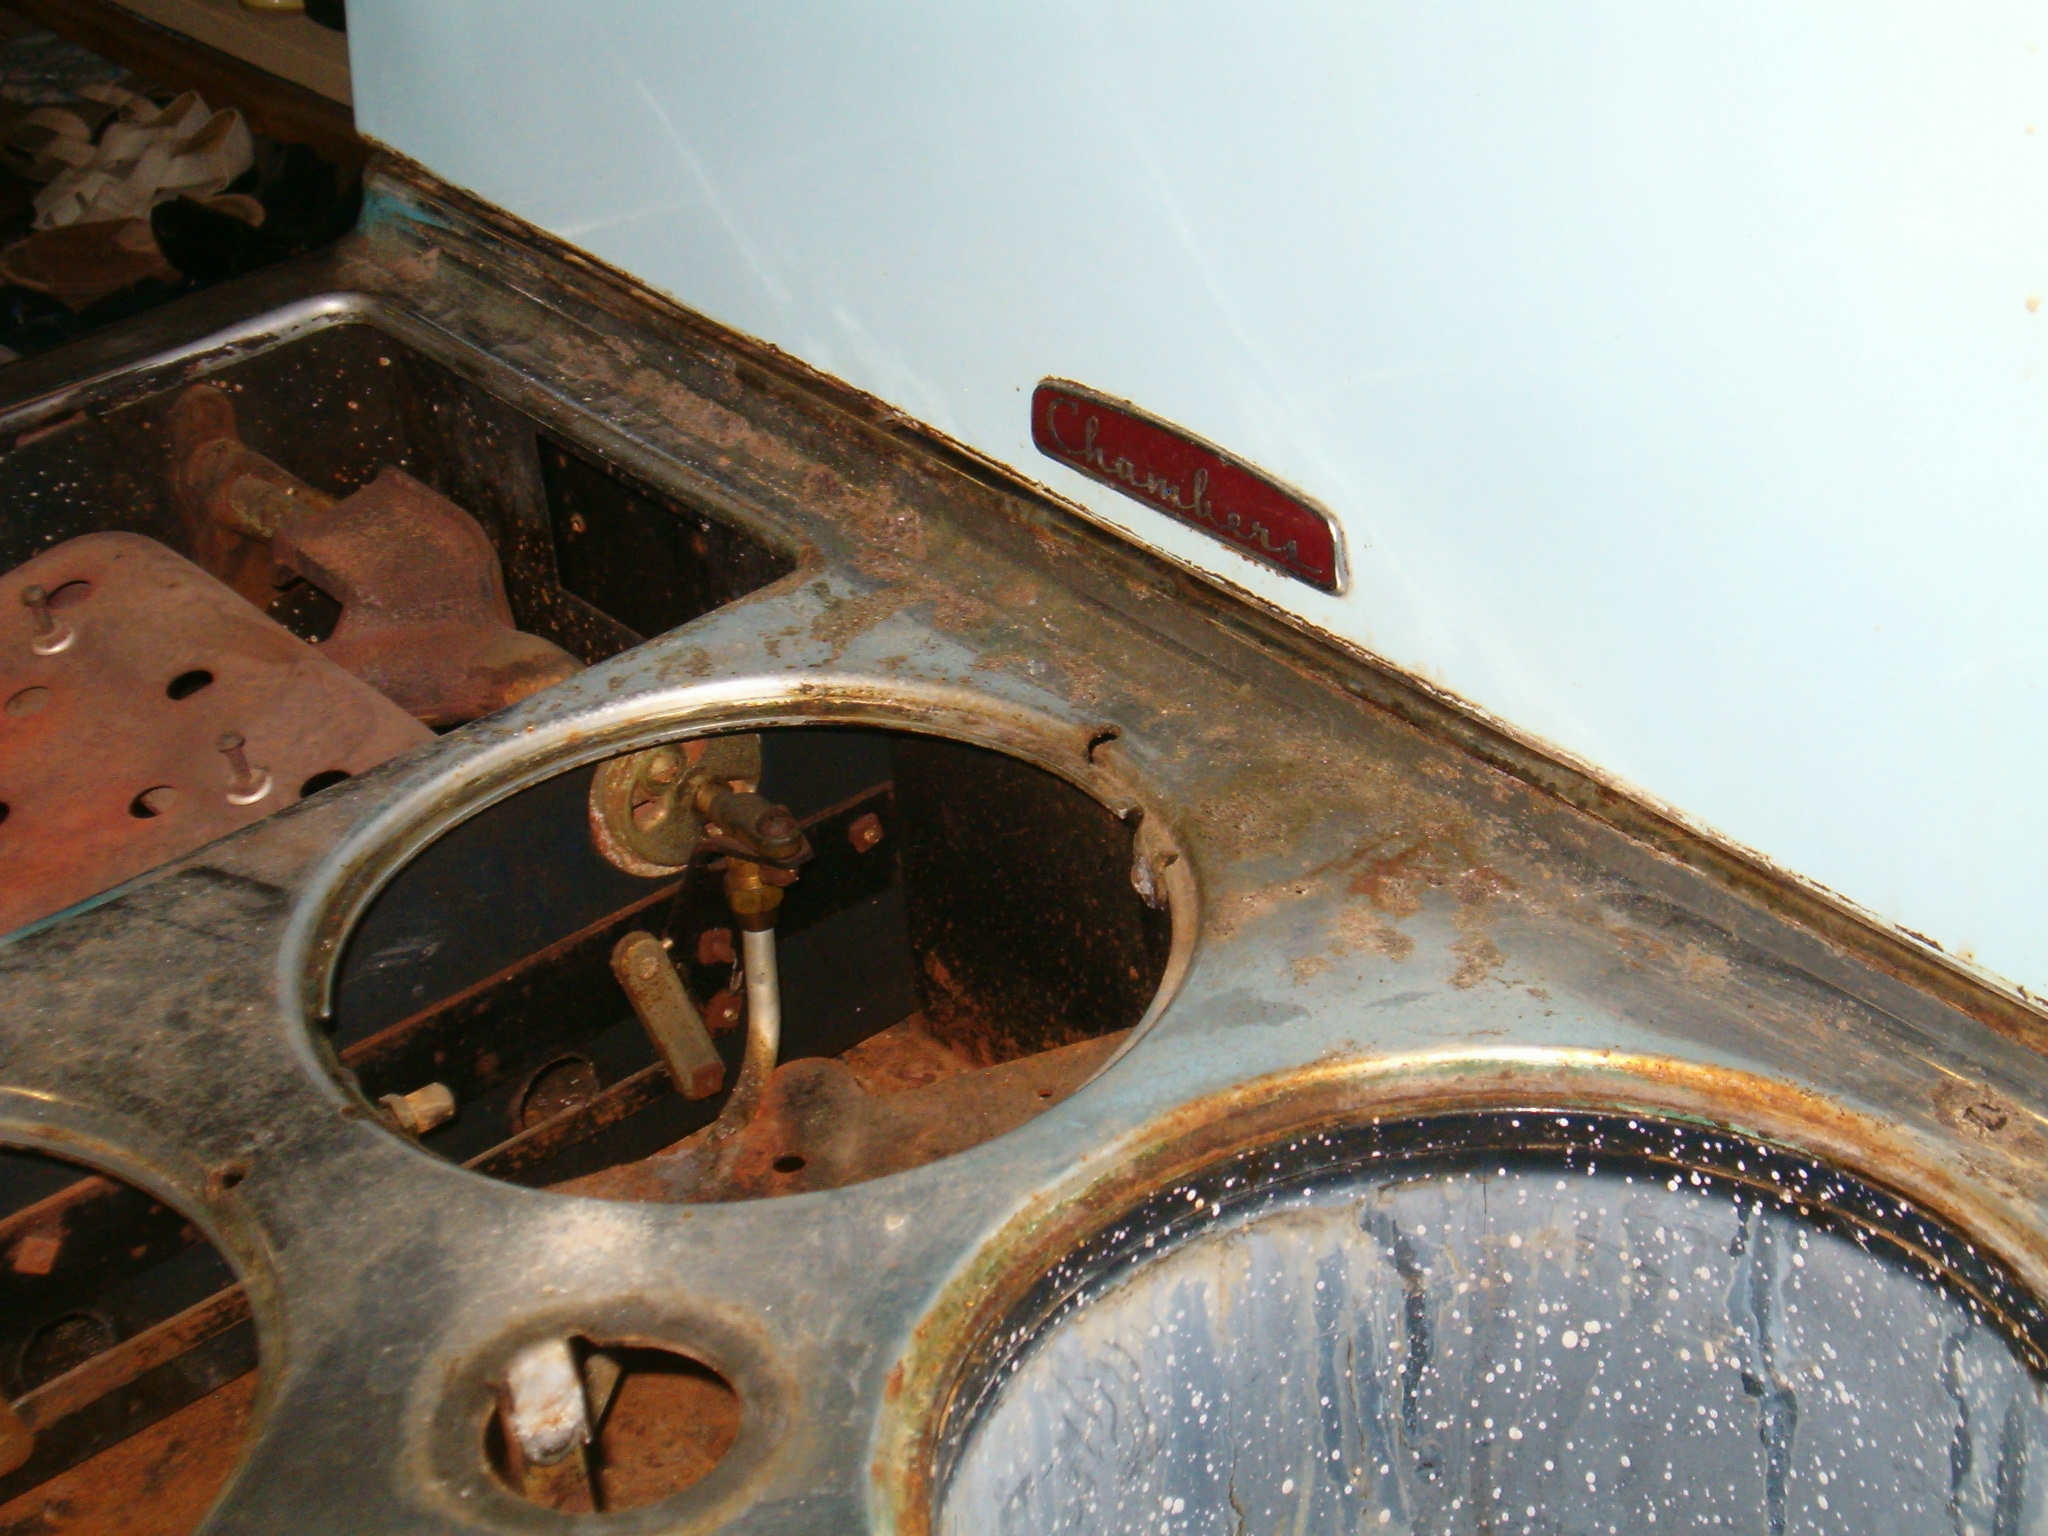
Another
view of the rusting
DuraChrome Top -
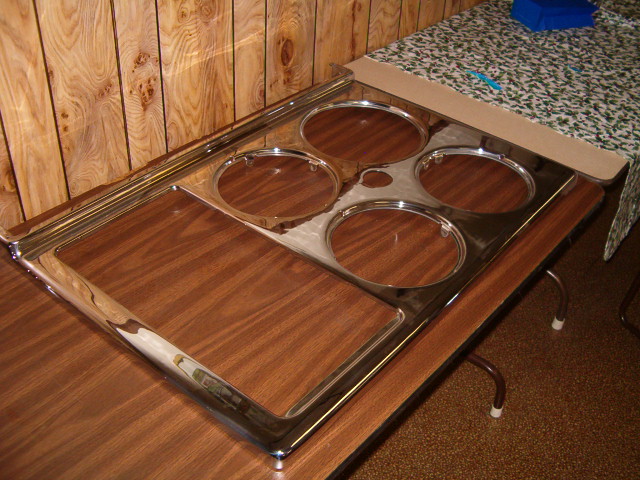
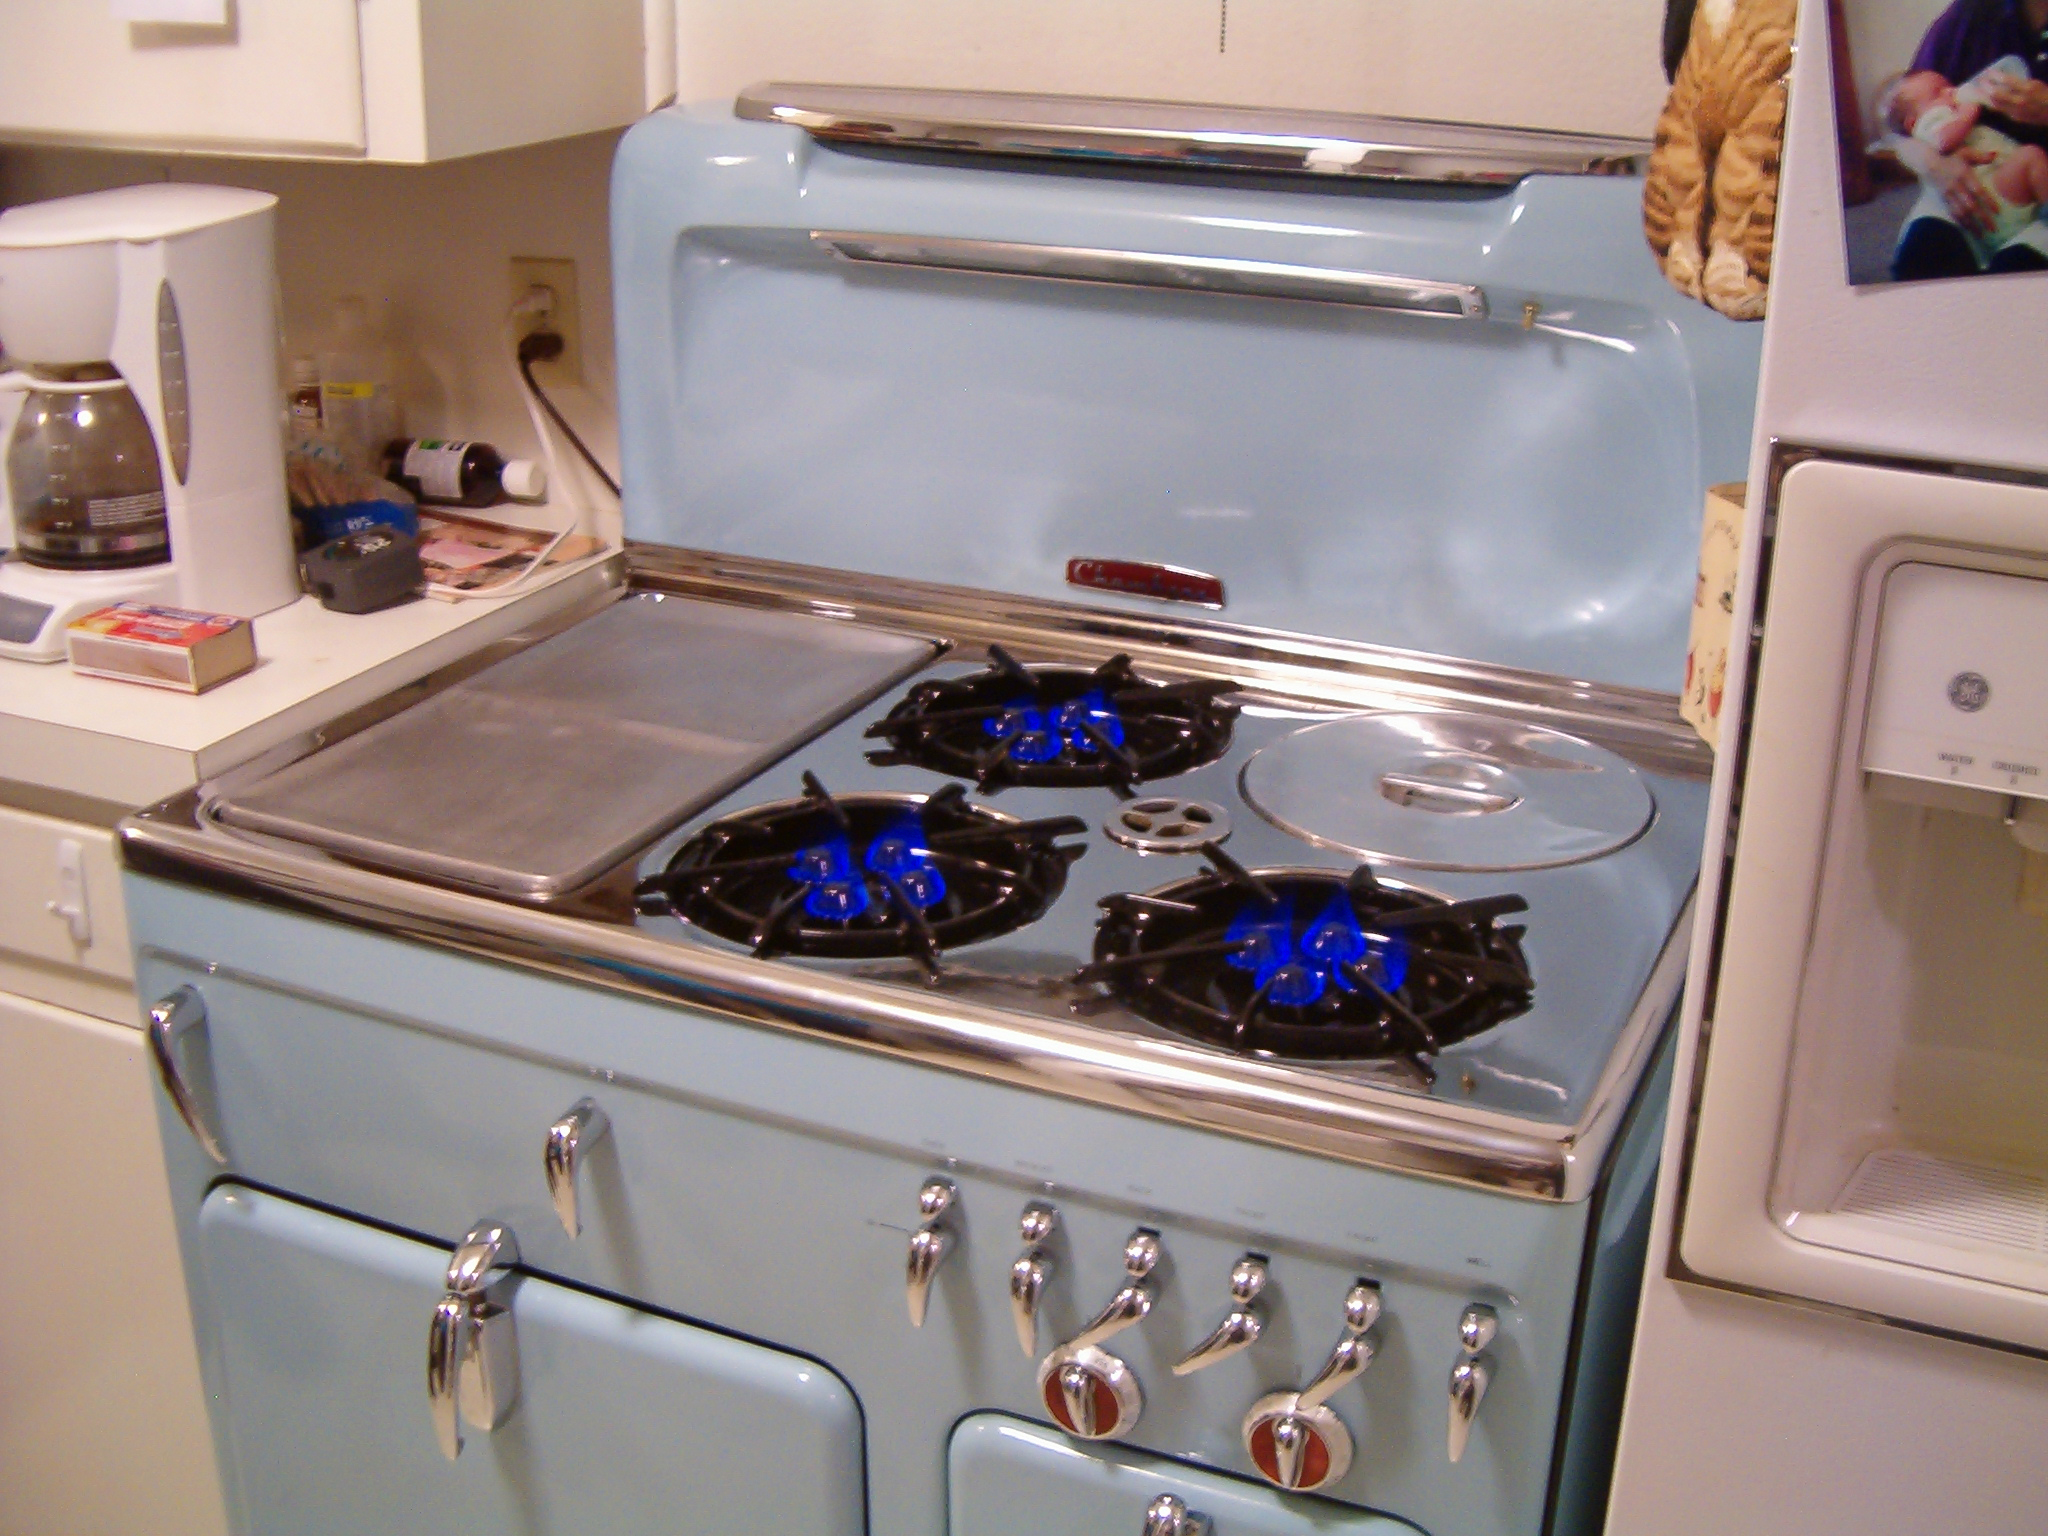
Here
is the cooktop after
being rechromed -
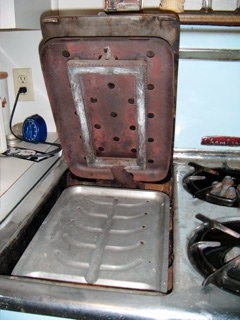
The
In-A-Top Broiler/Griddle
-
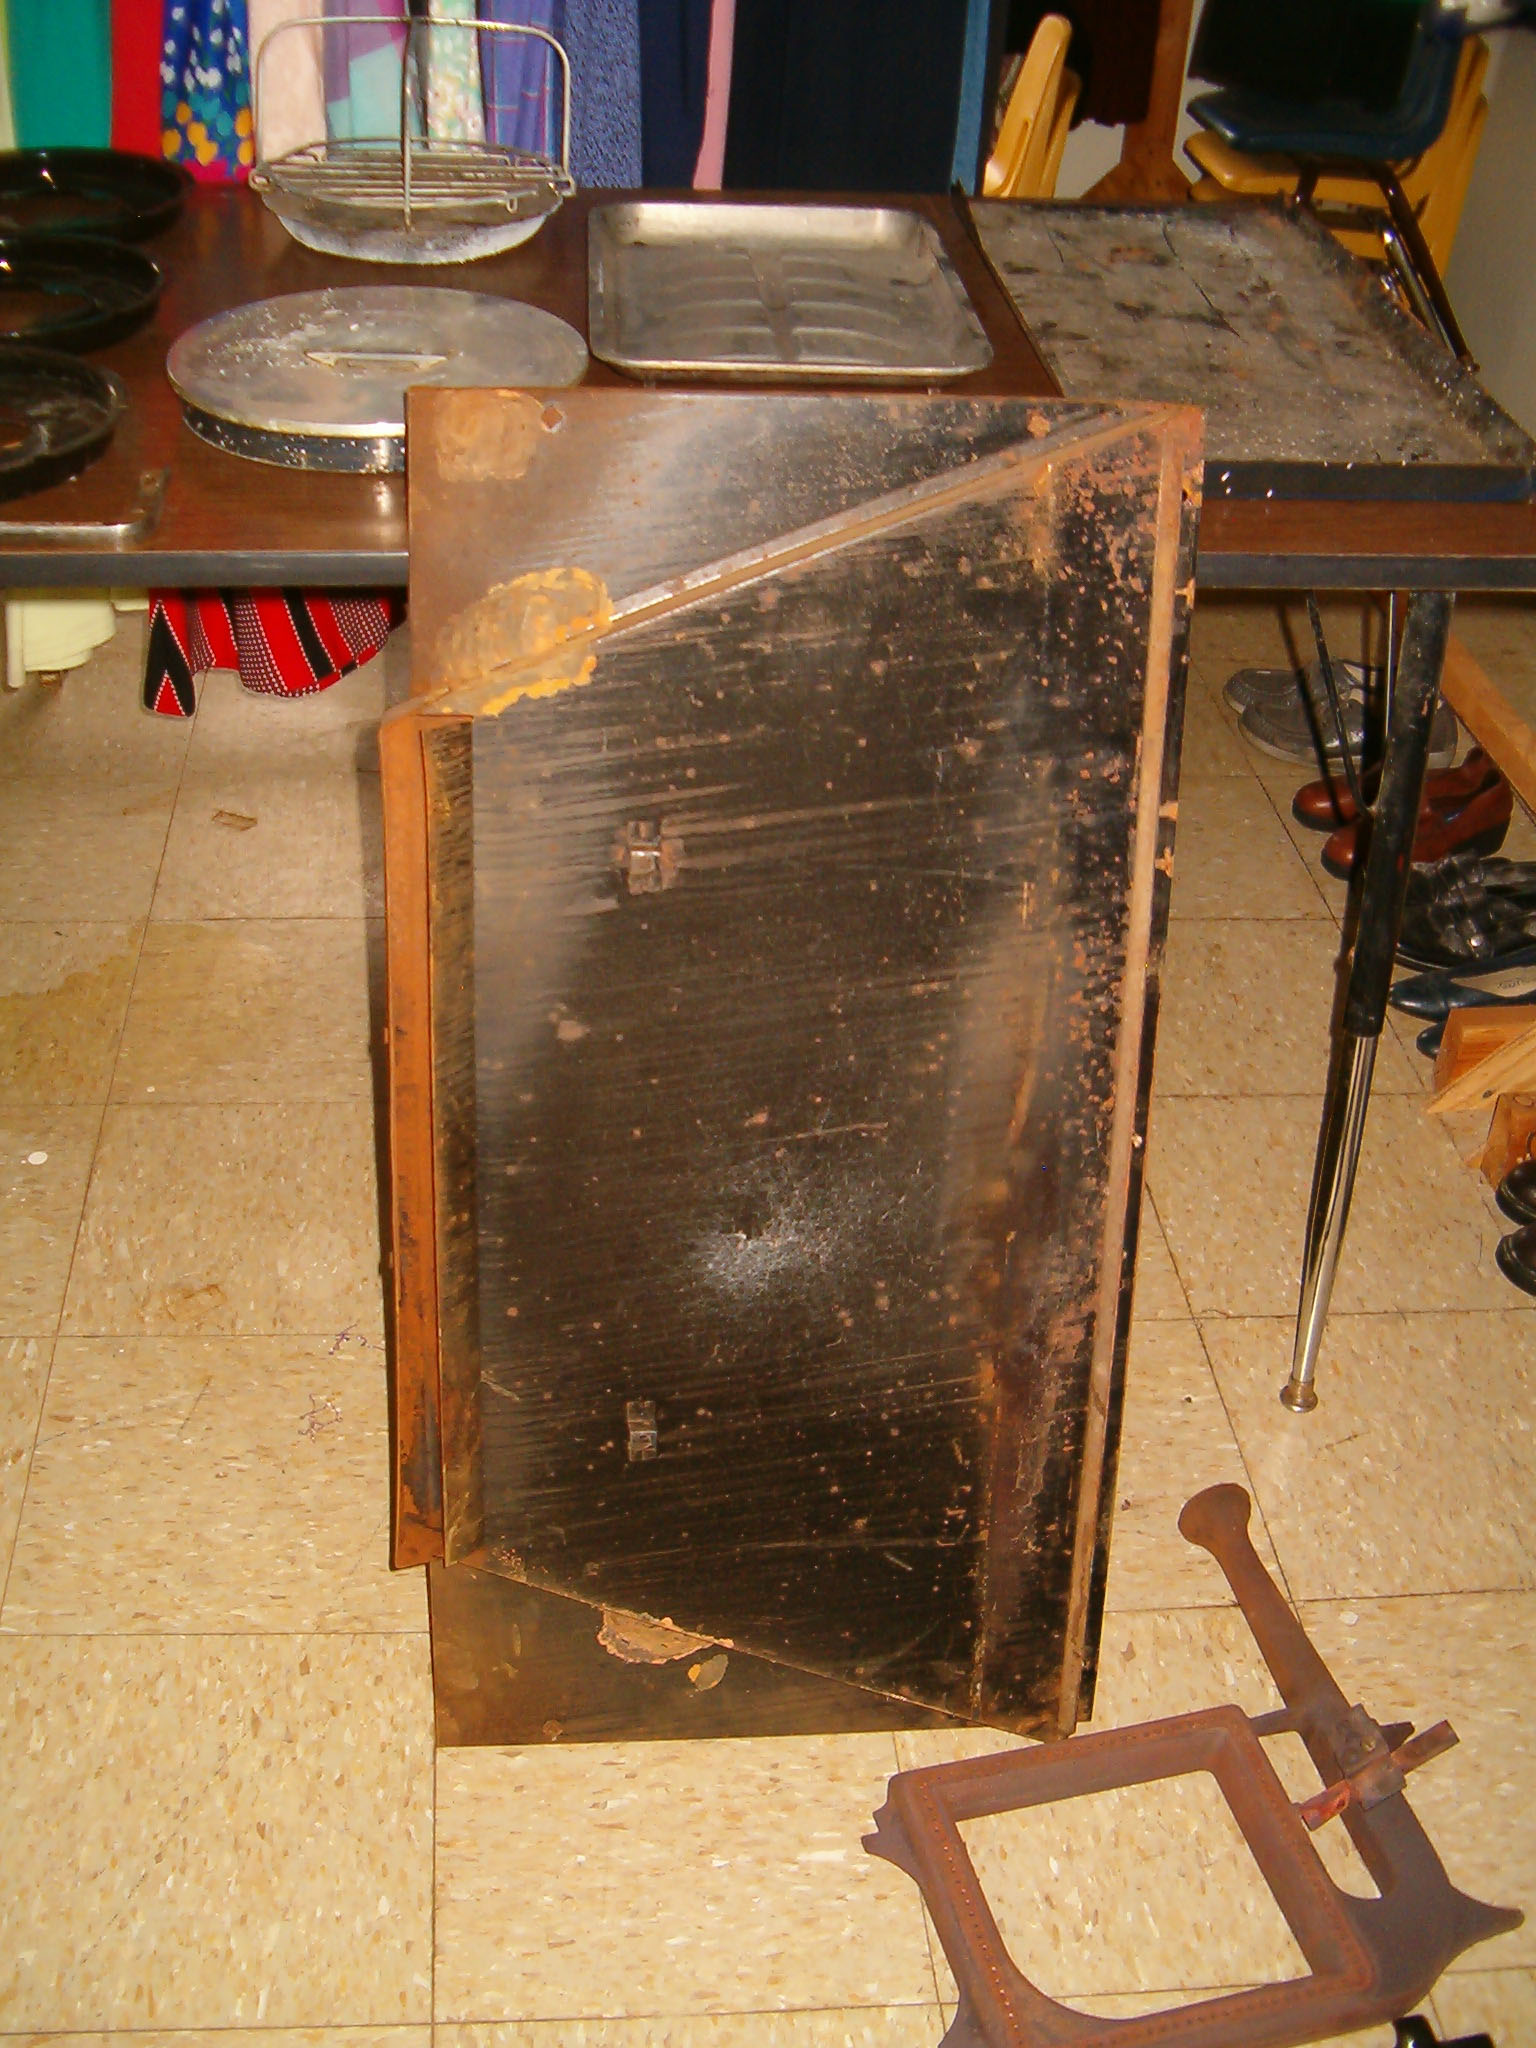
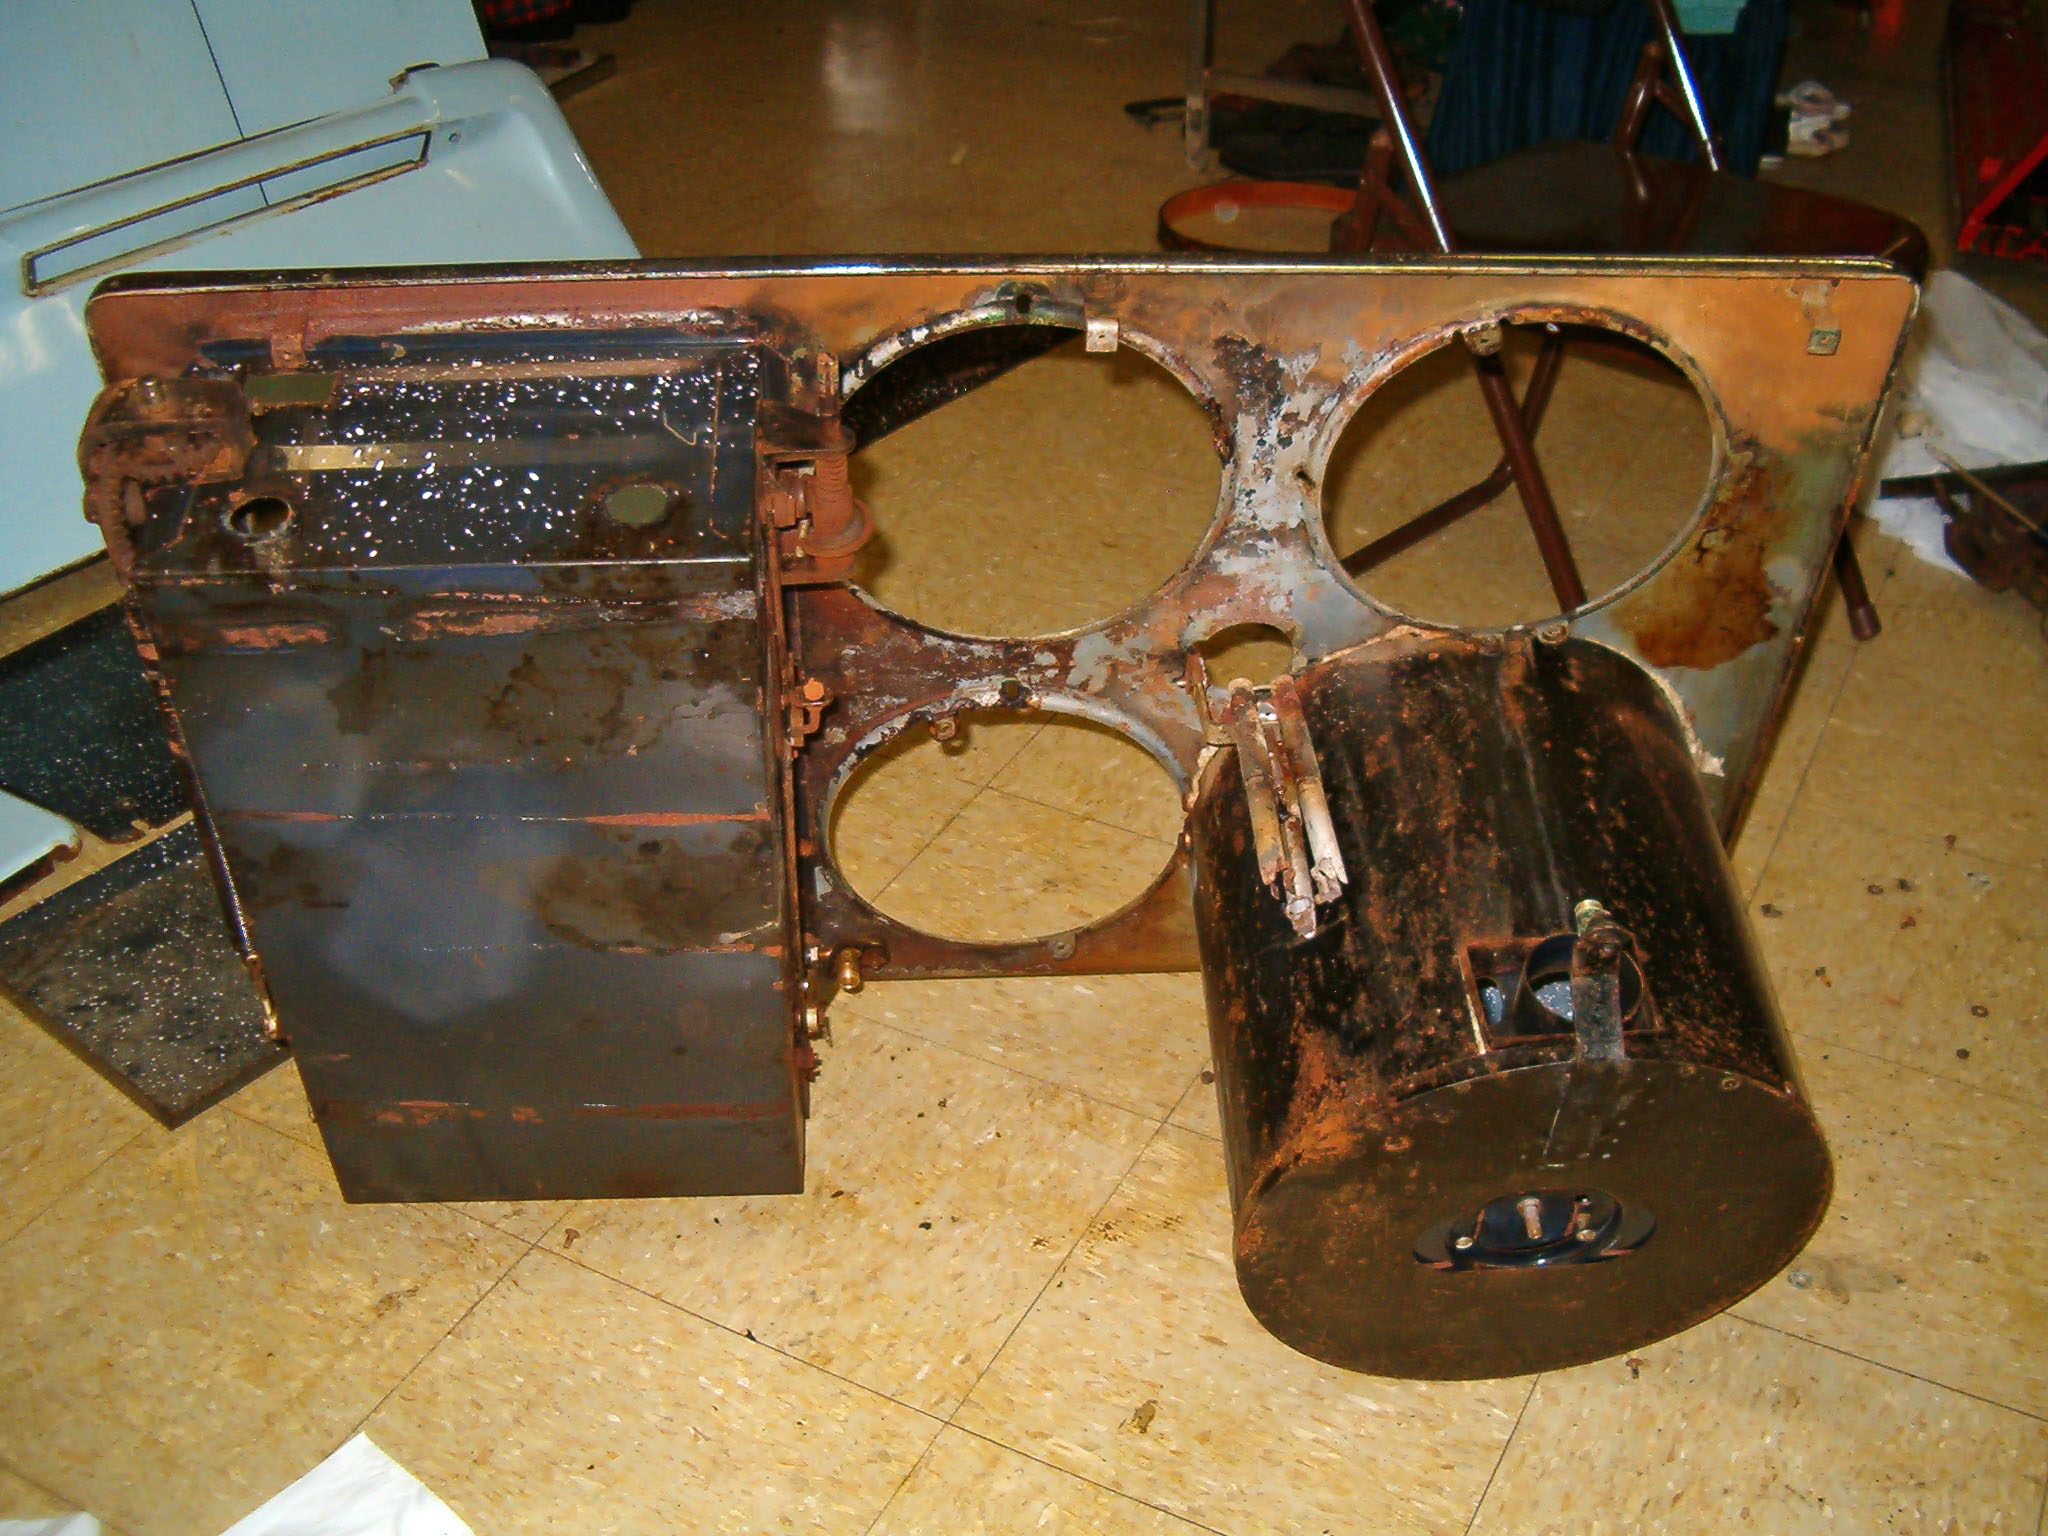
Here's
the inside of the Outer
Back of MaryH's 90C (the
Oven Burner is on the
floor next to it) -
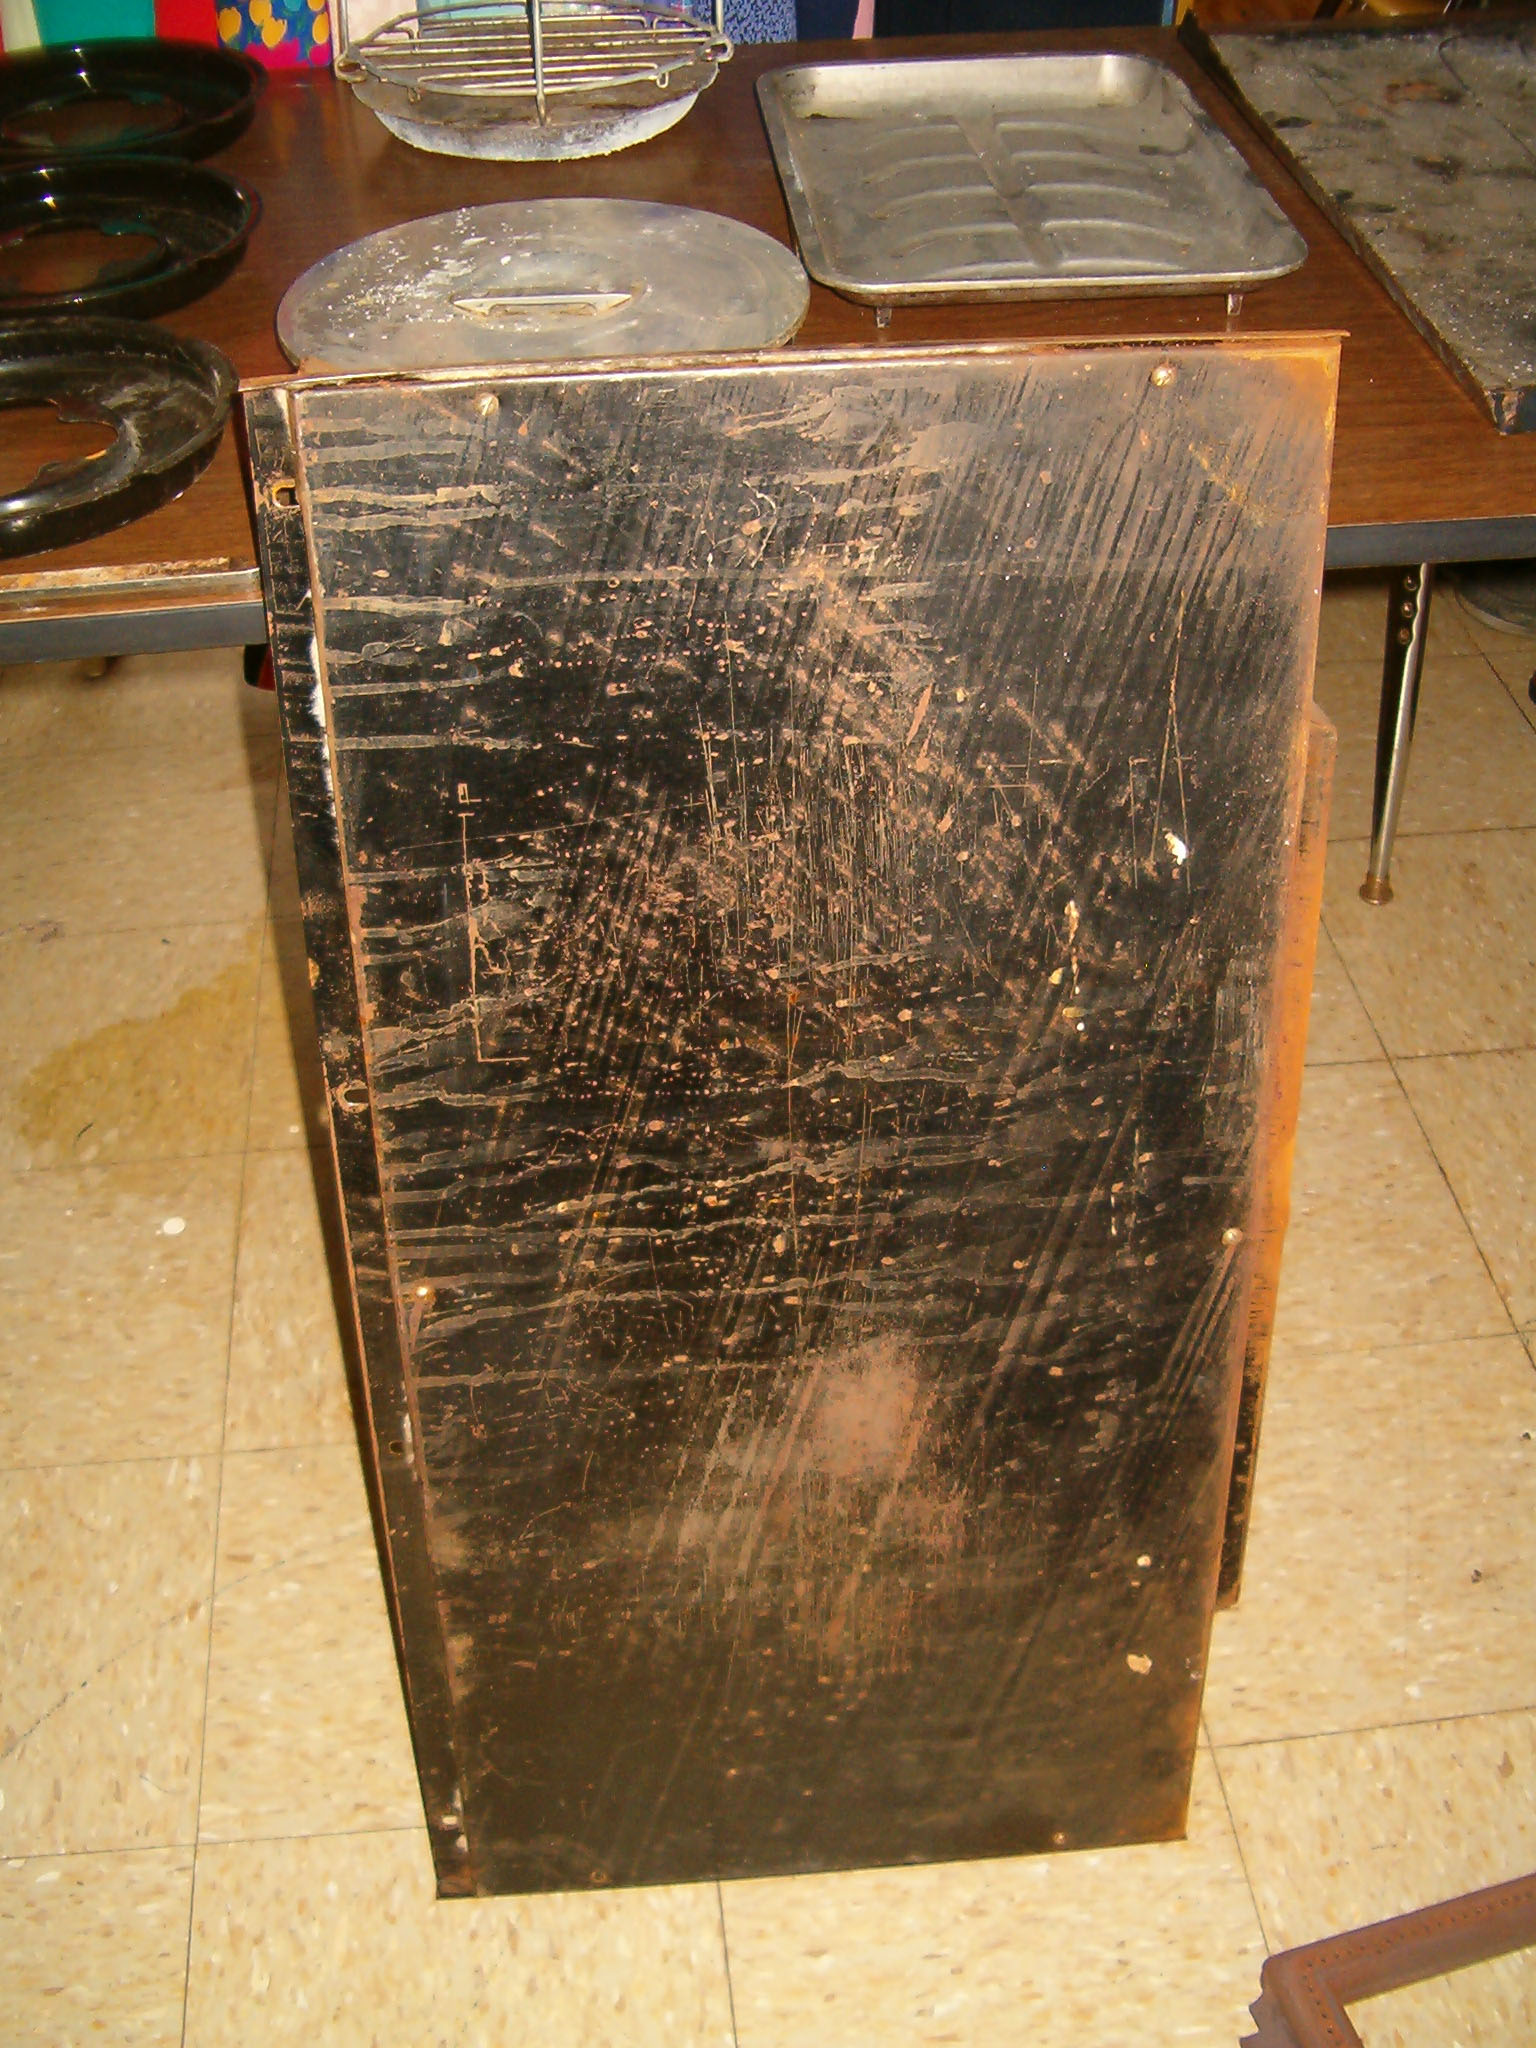
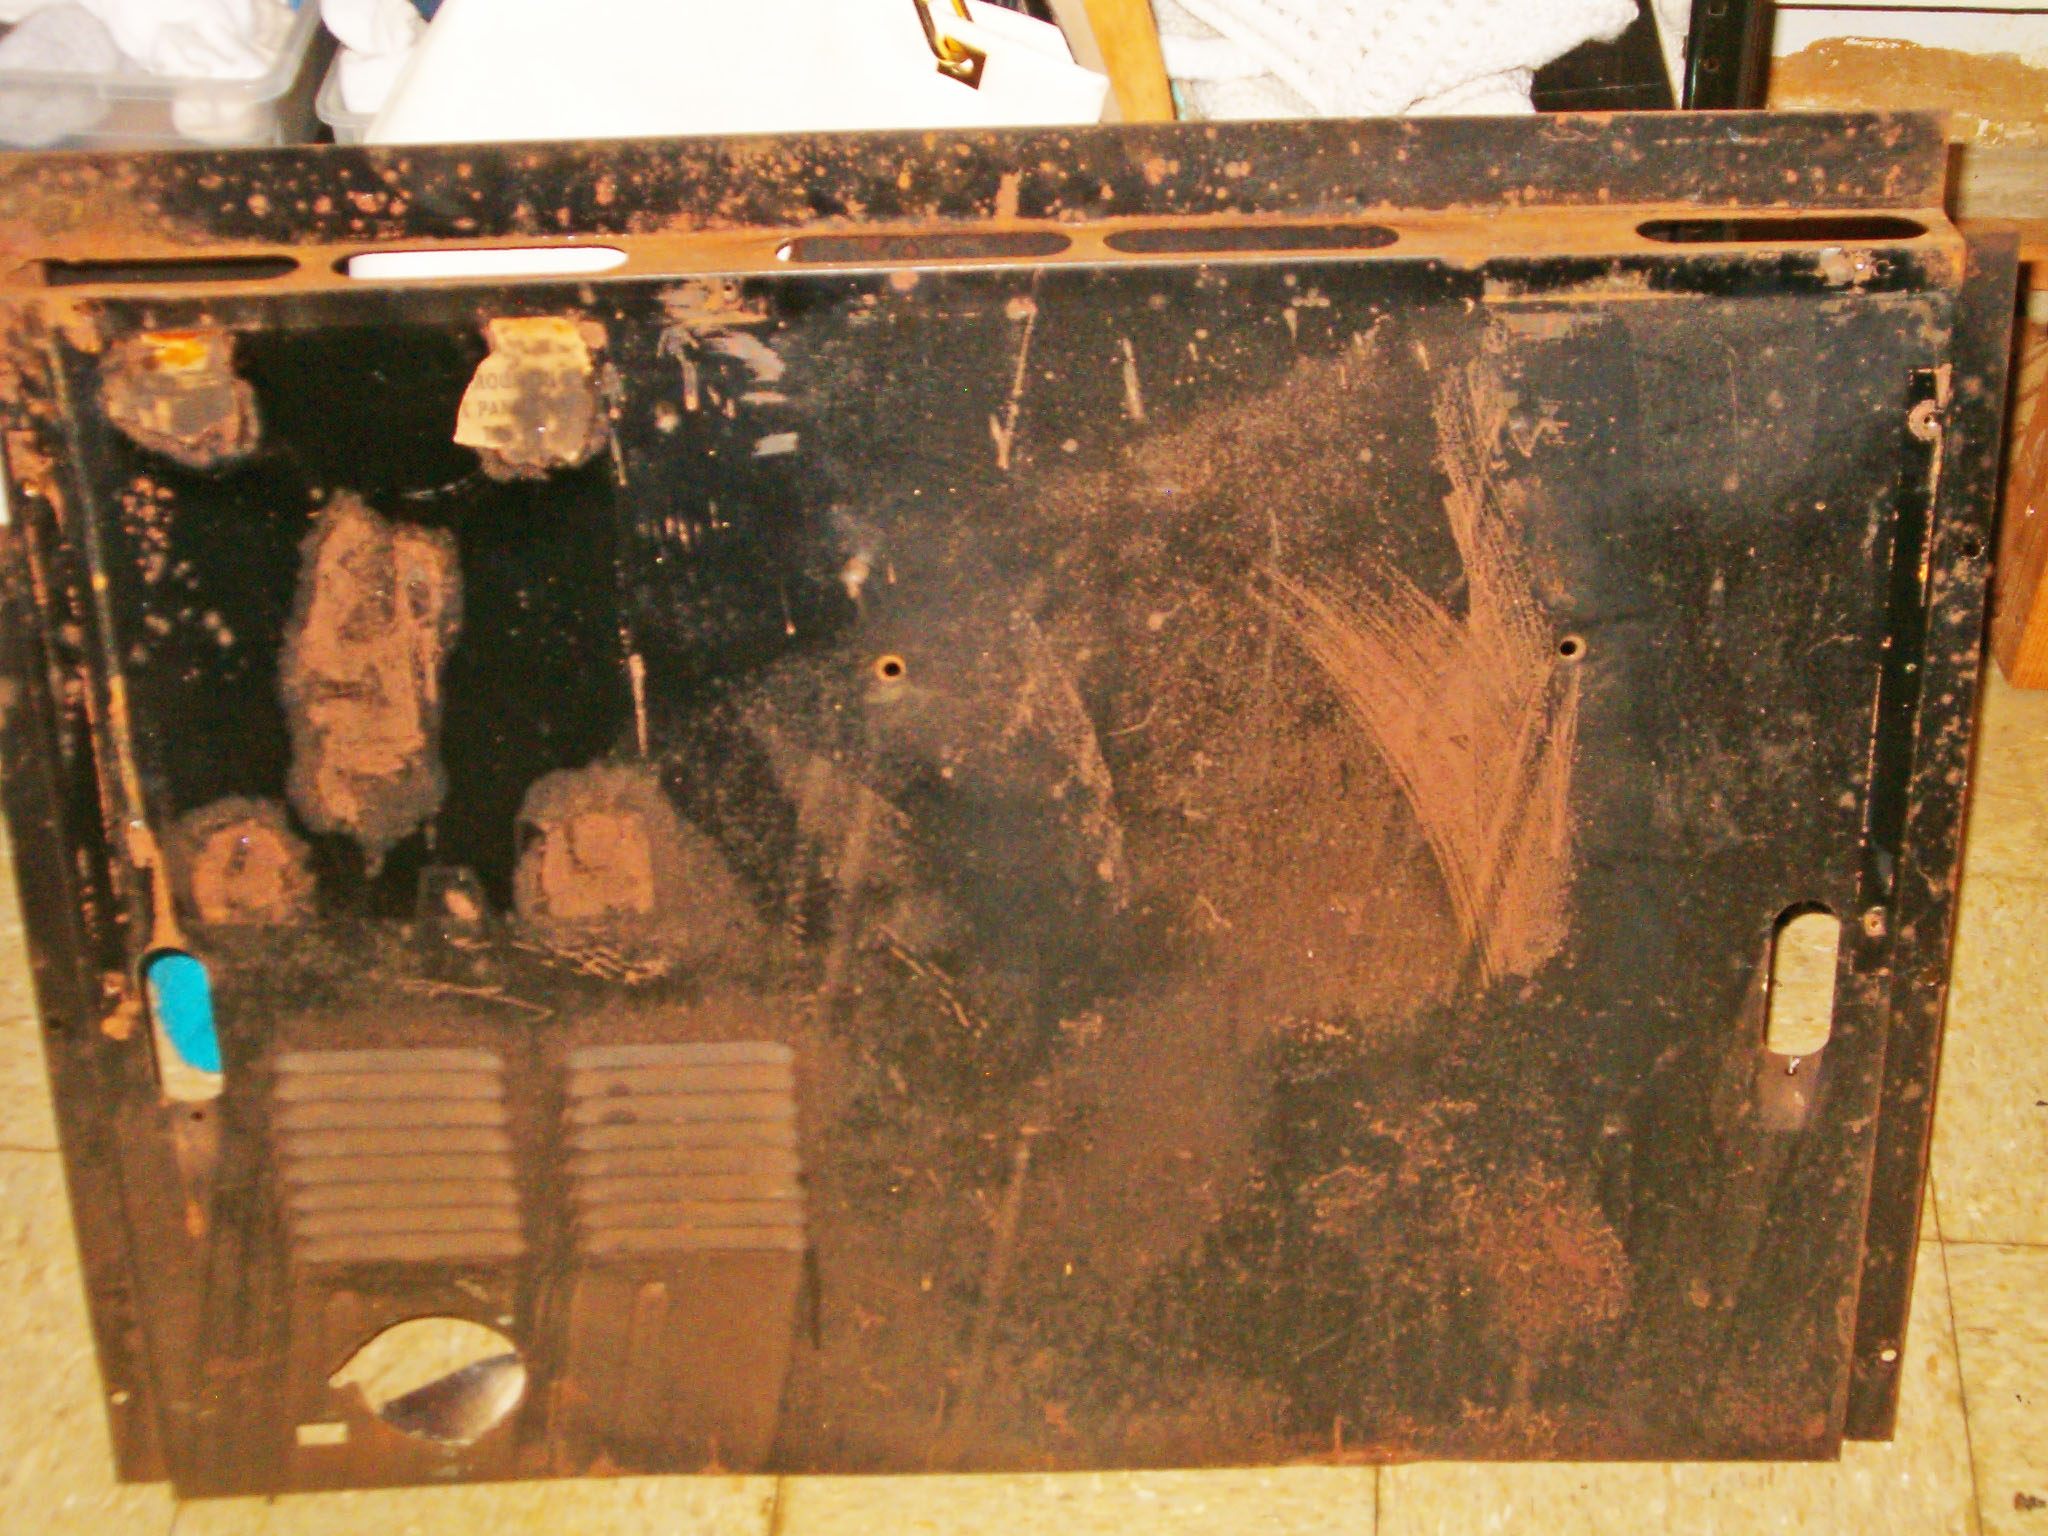
Here's
the outside of the Outer
Back of MaryH's 90C
-
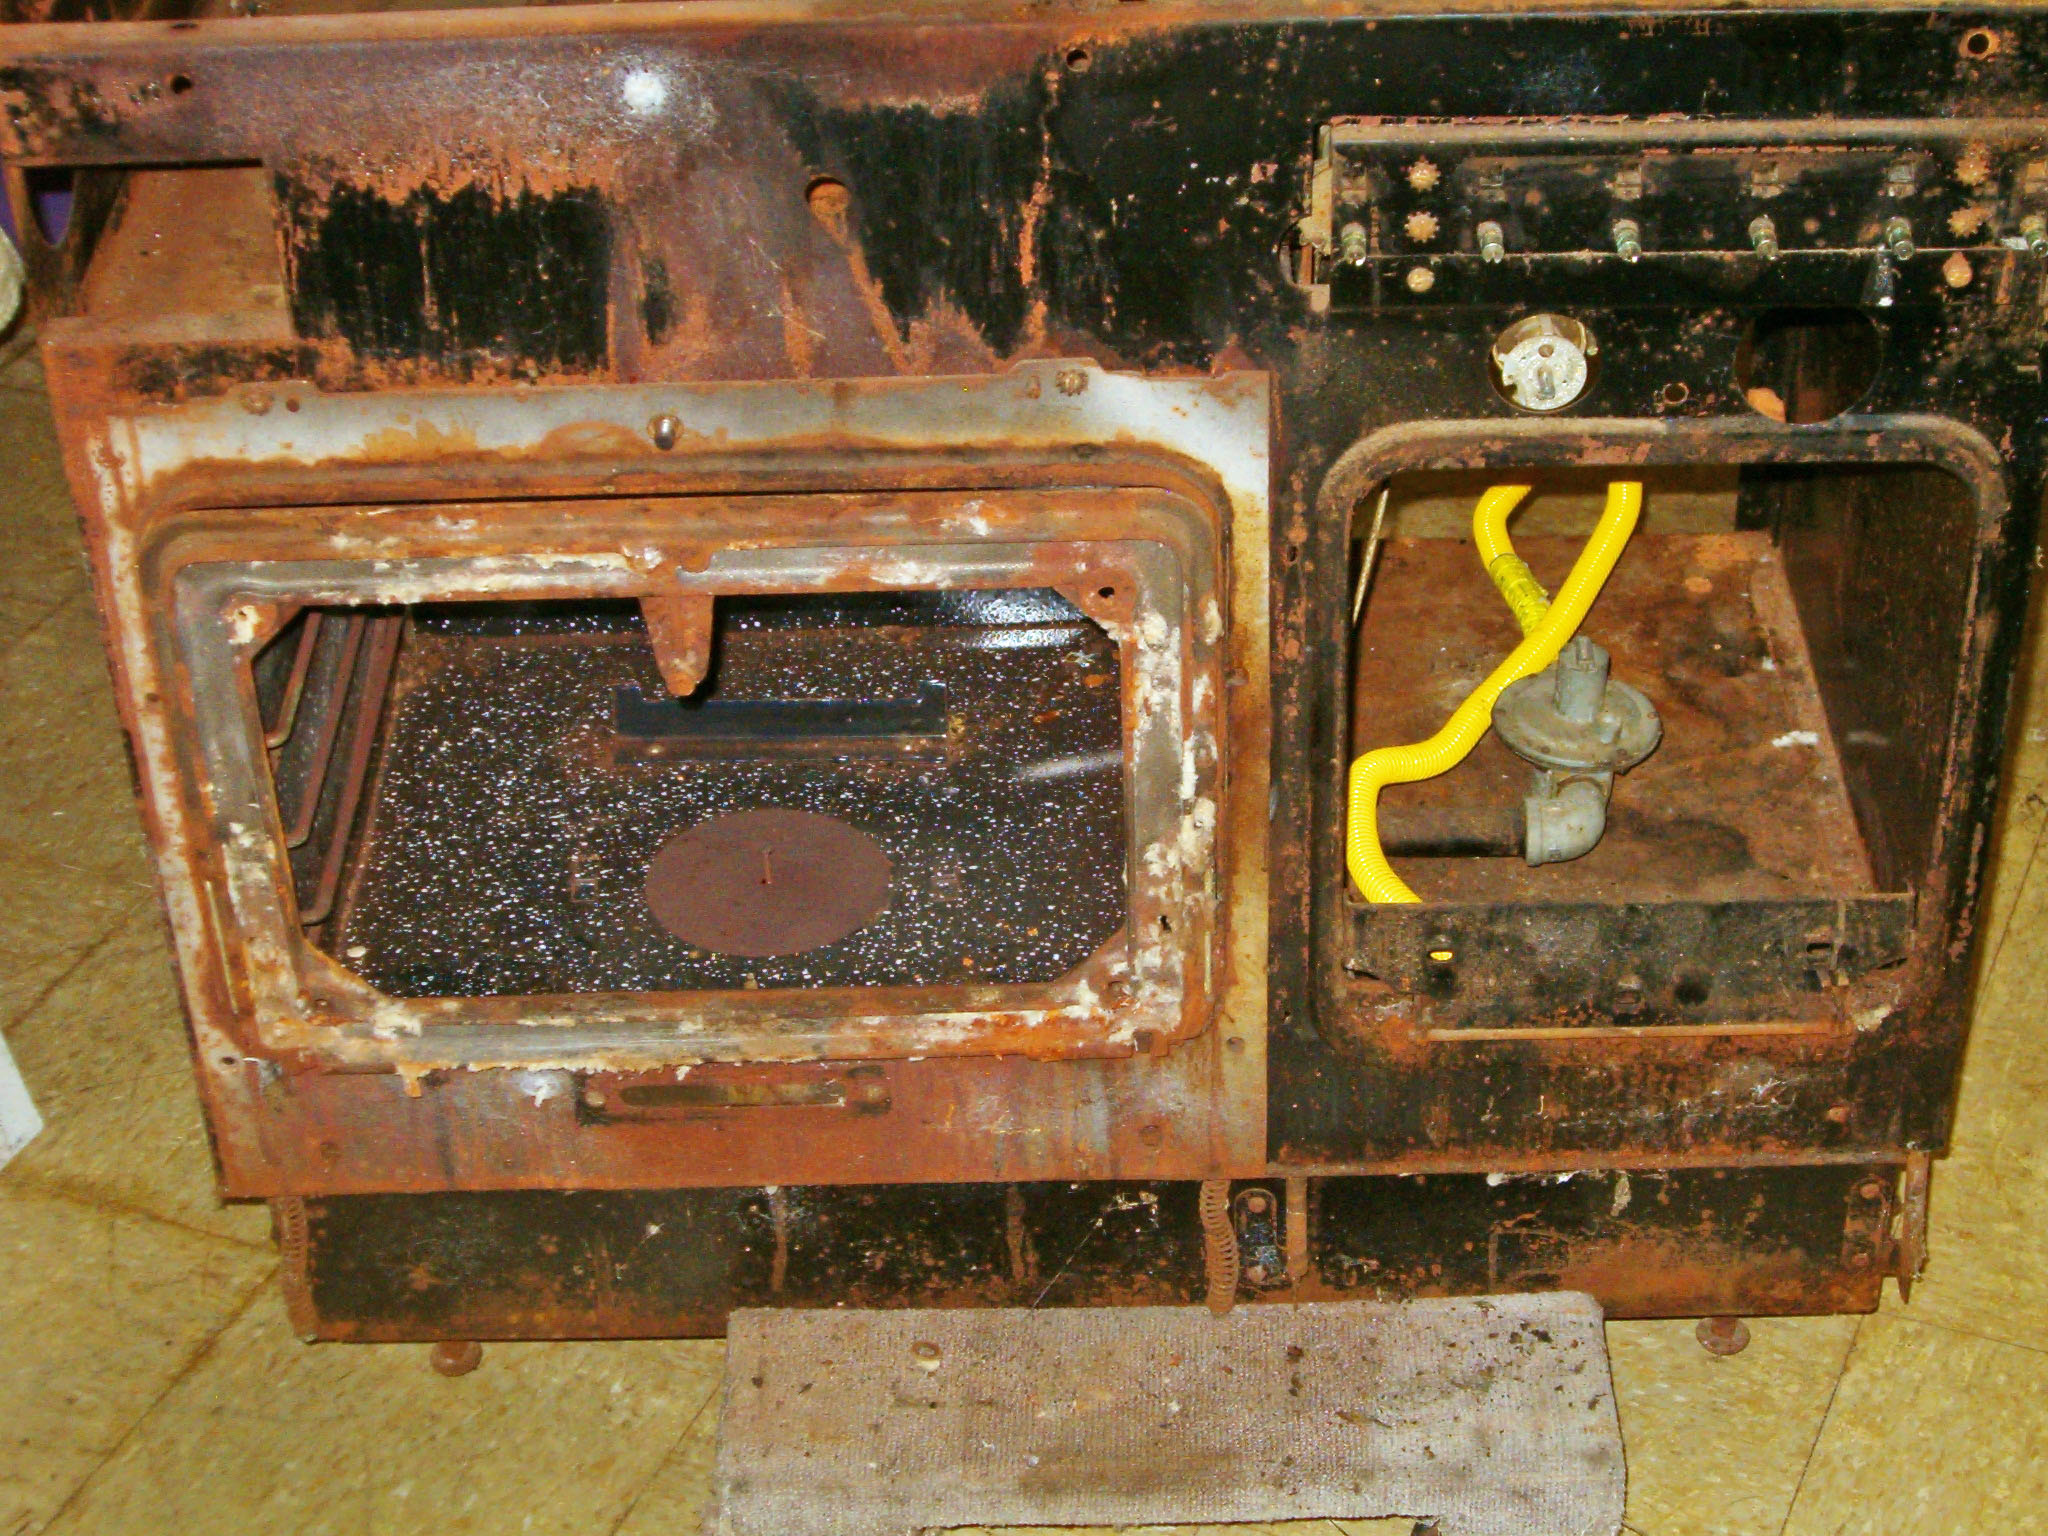
Here's
the front of MaryH's
90C after the
porcelain, Durachrome
top, knobs, door
skins, and rockwool
have been removed
-
Here's
the front of
MaryH's 90C
after being
taken down to
bare metal,
and in the
process of
being primed -
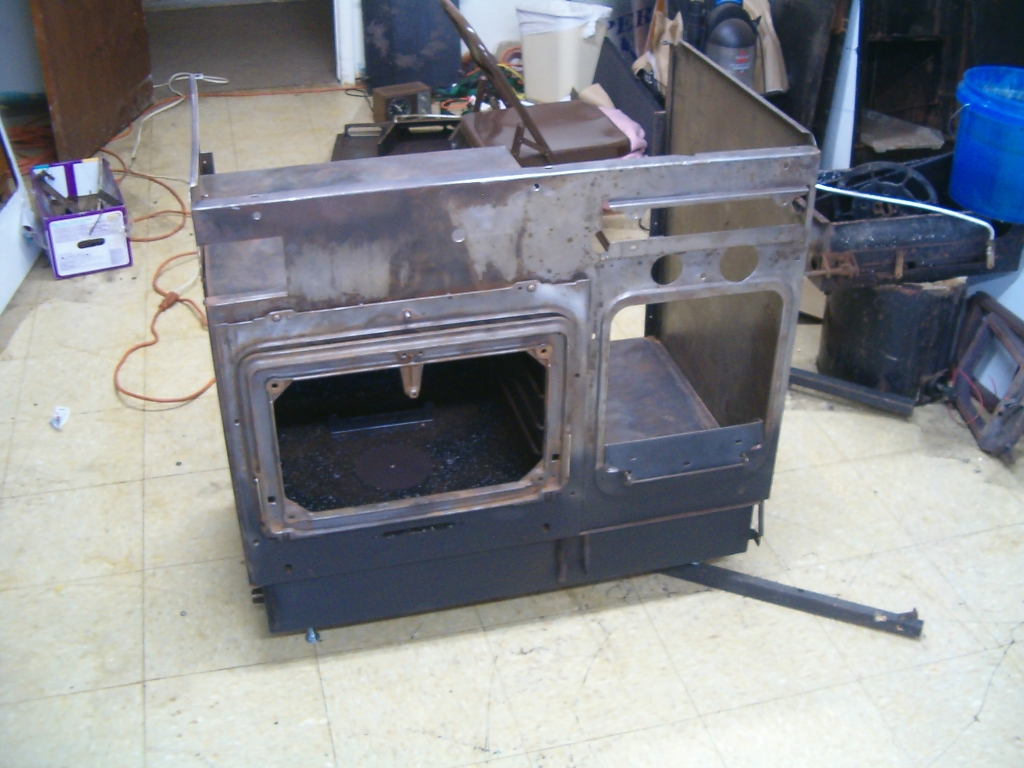
Here's
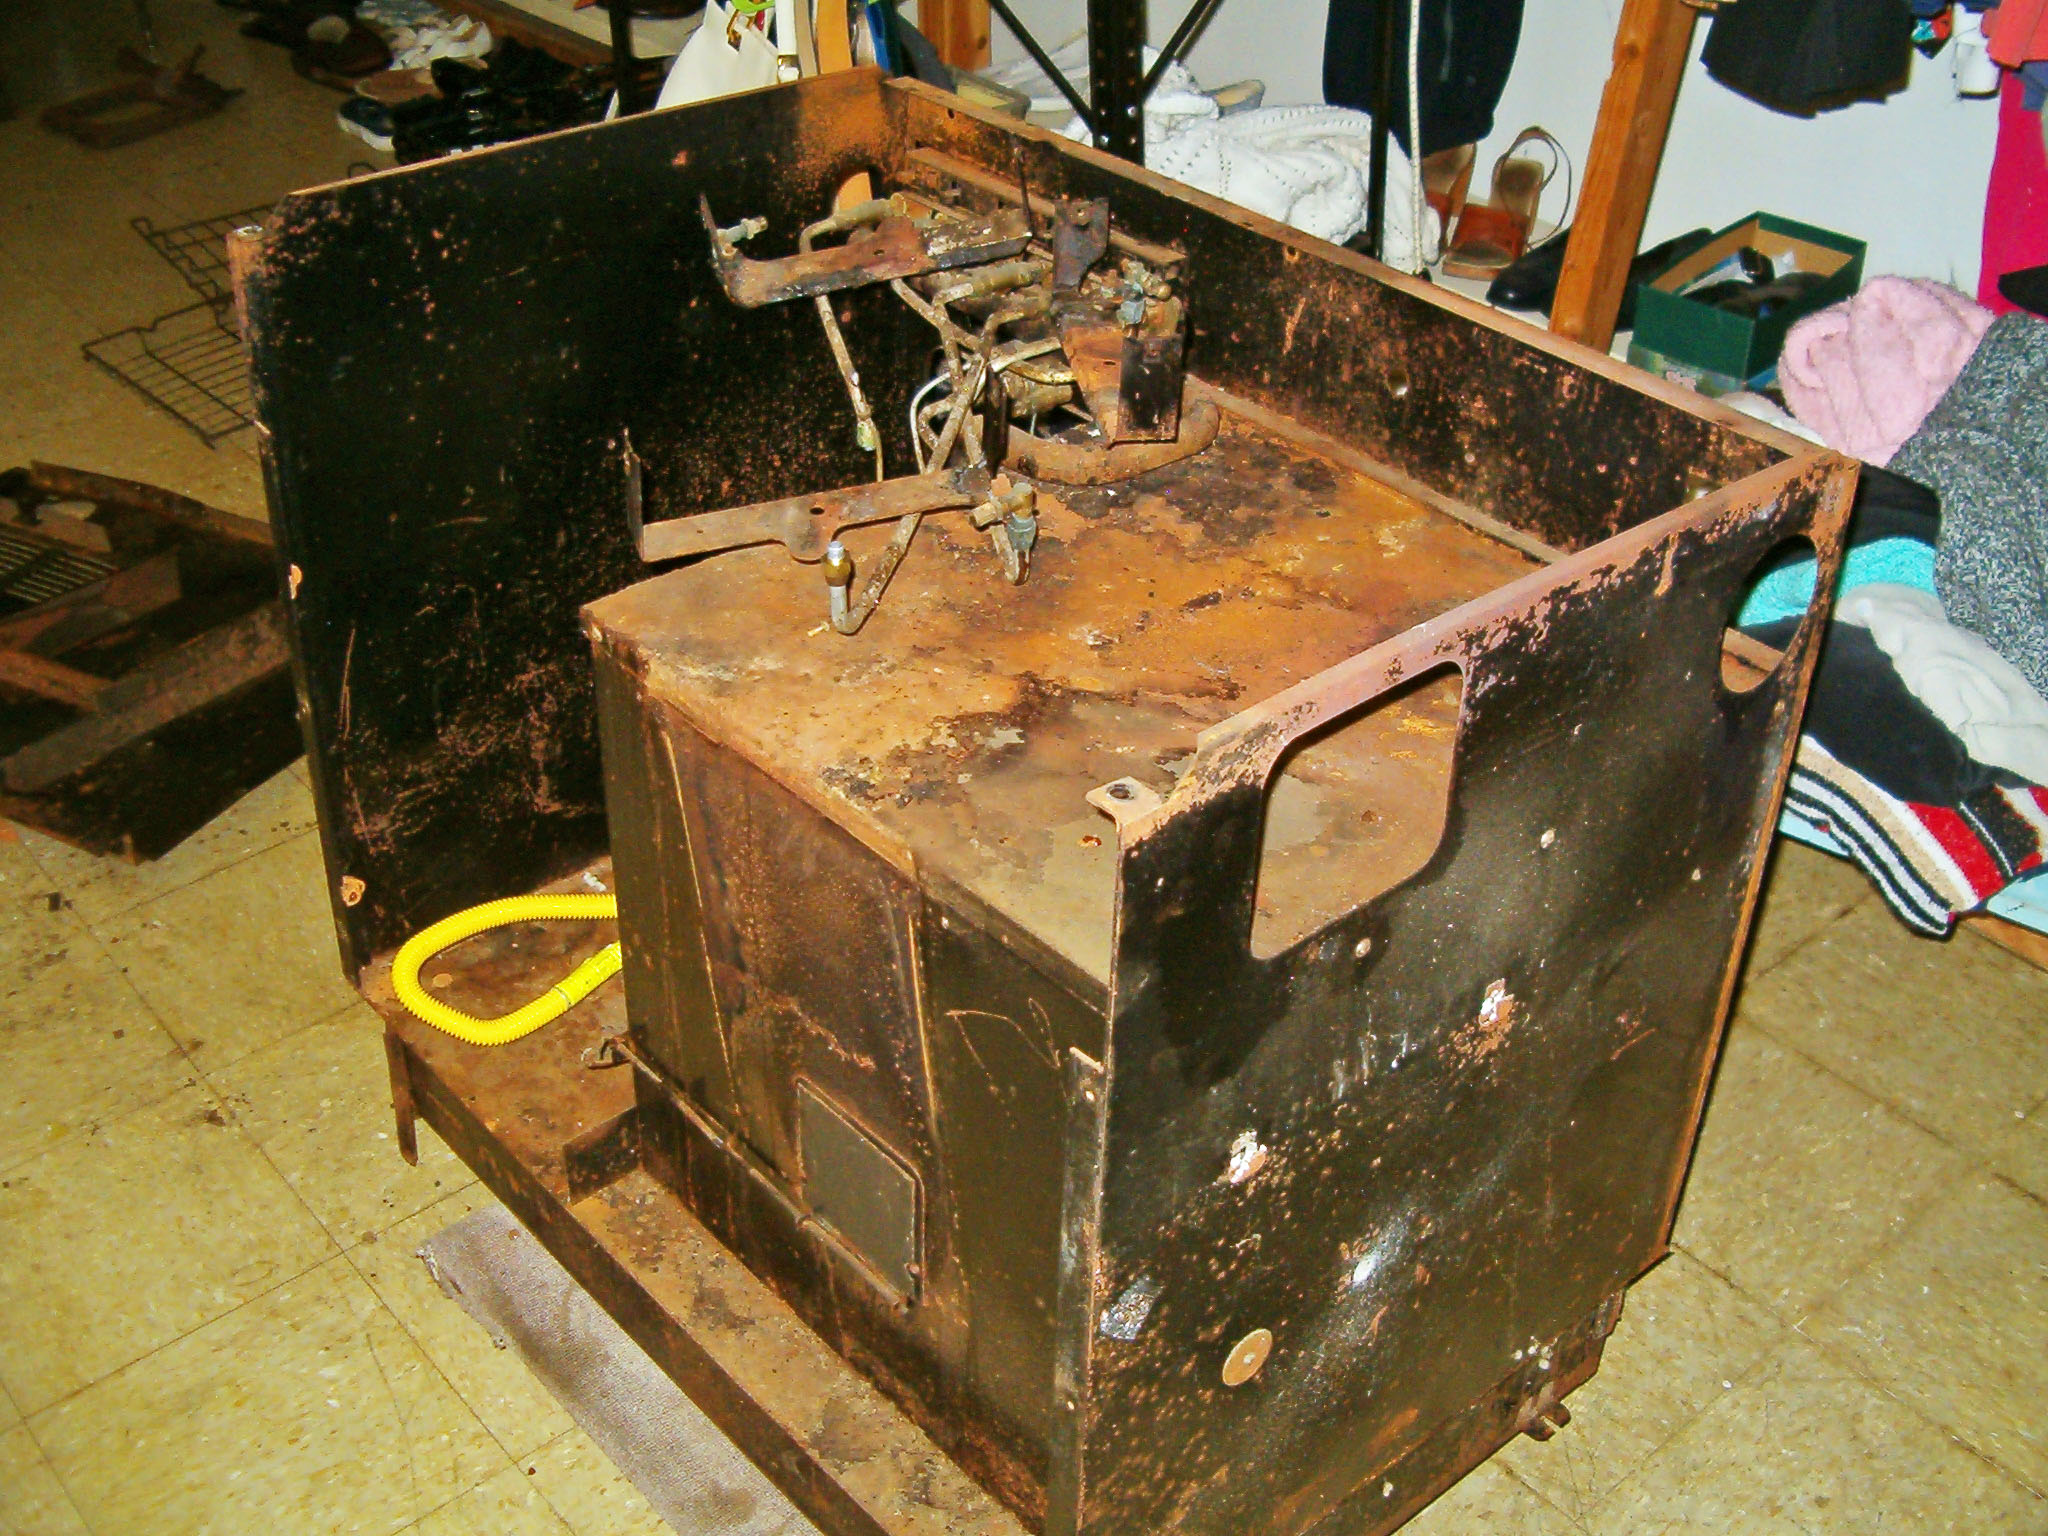
the inside after removing
the panels and top -
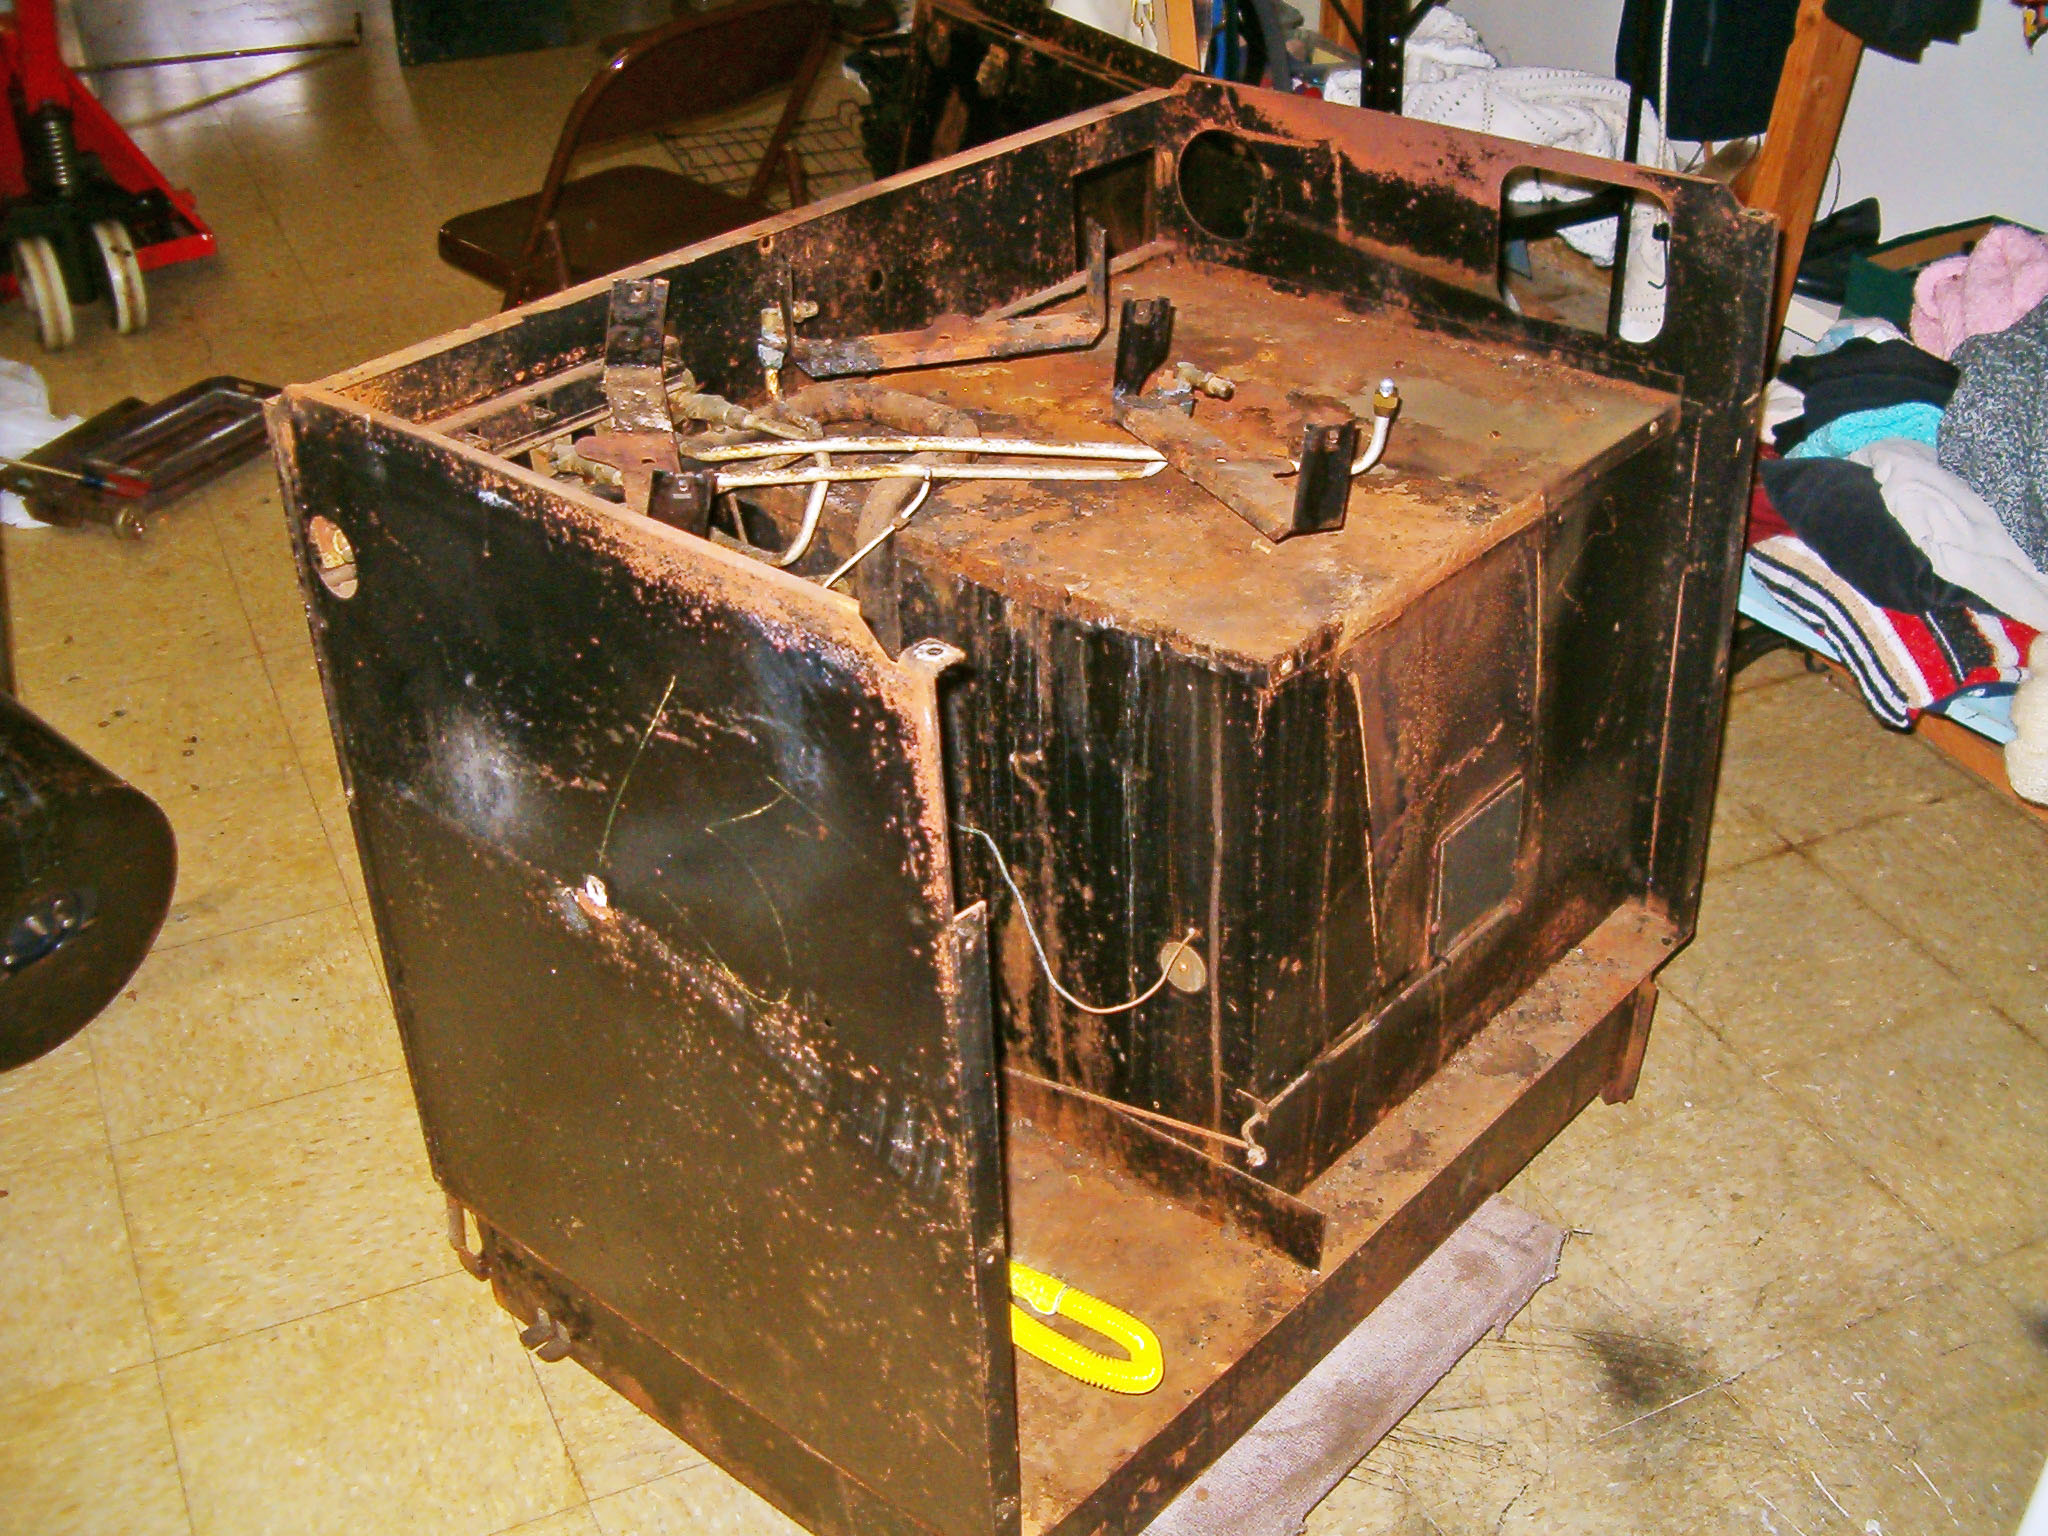
Another
view from the
other side
-
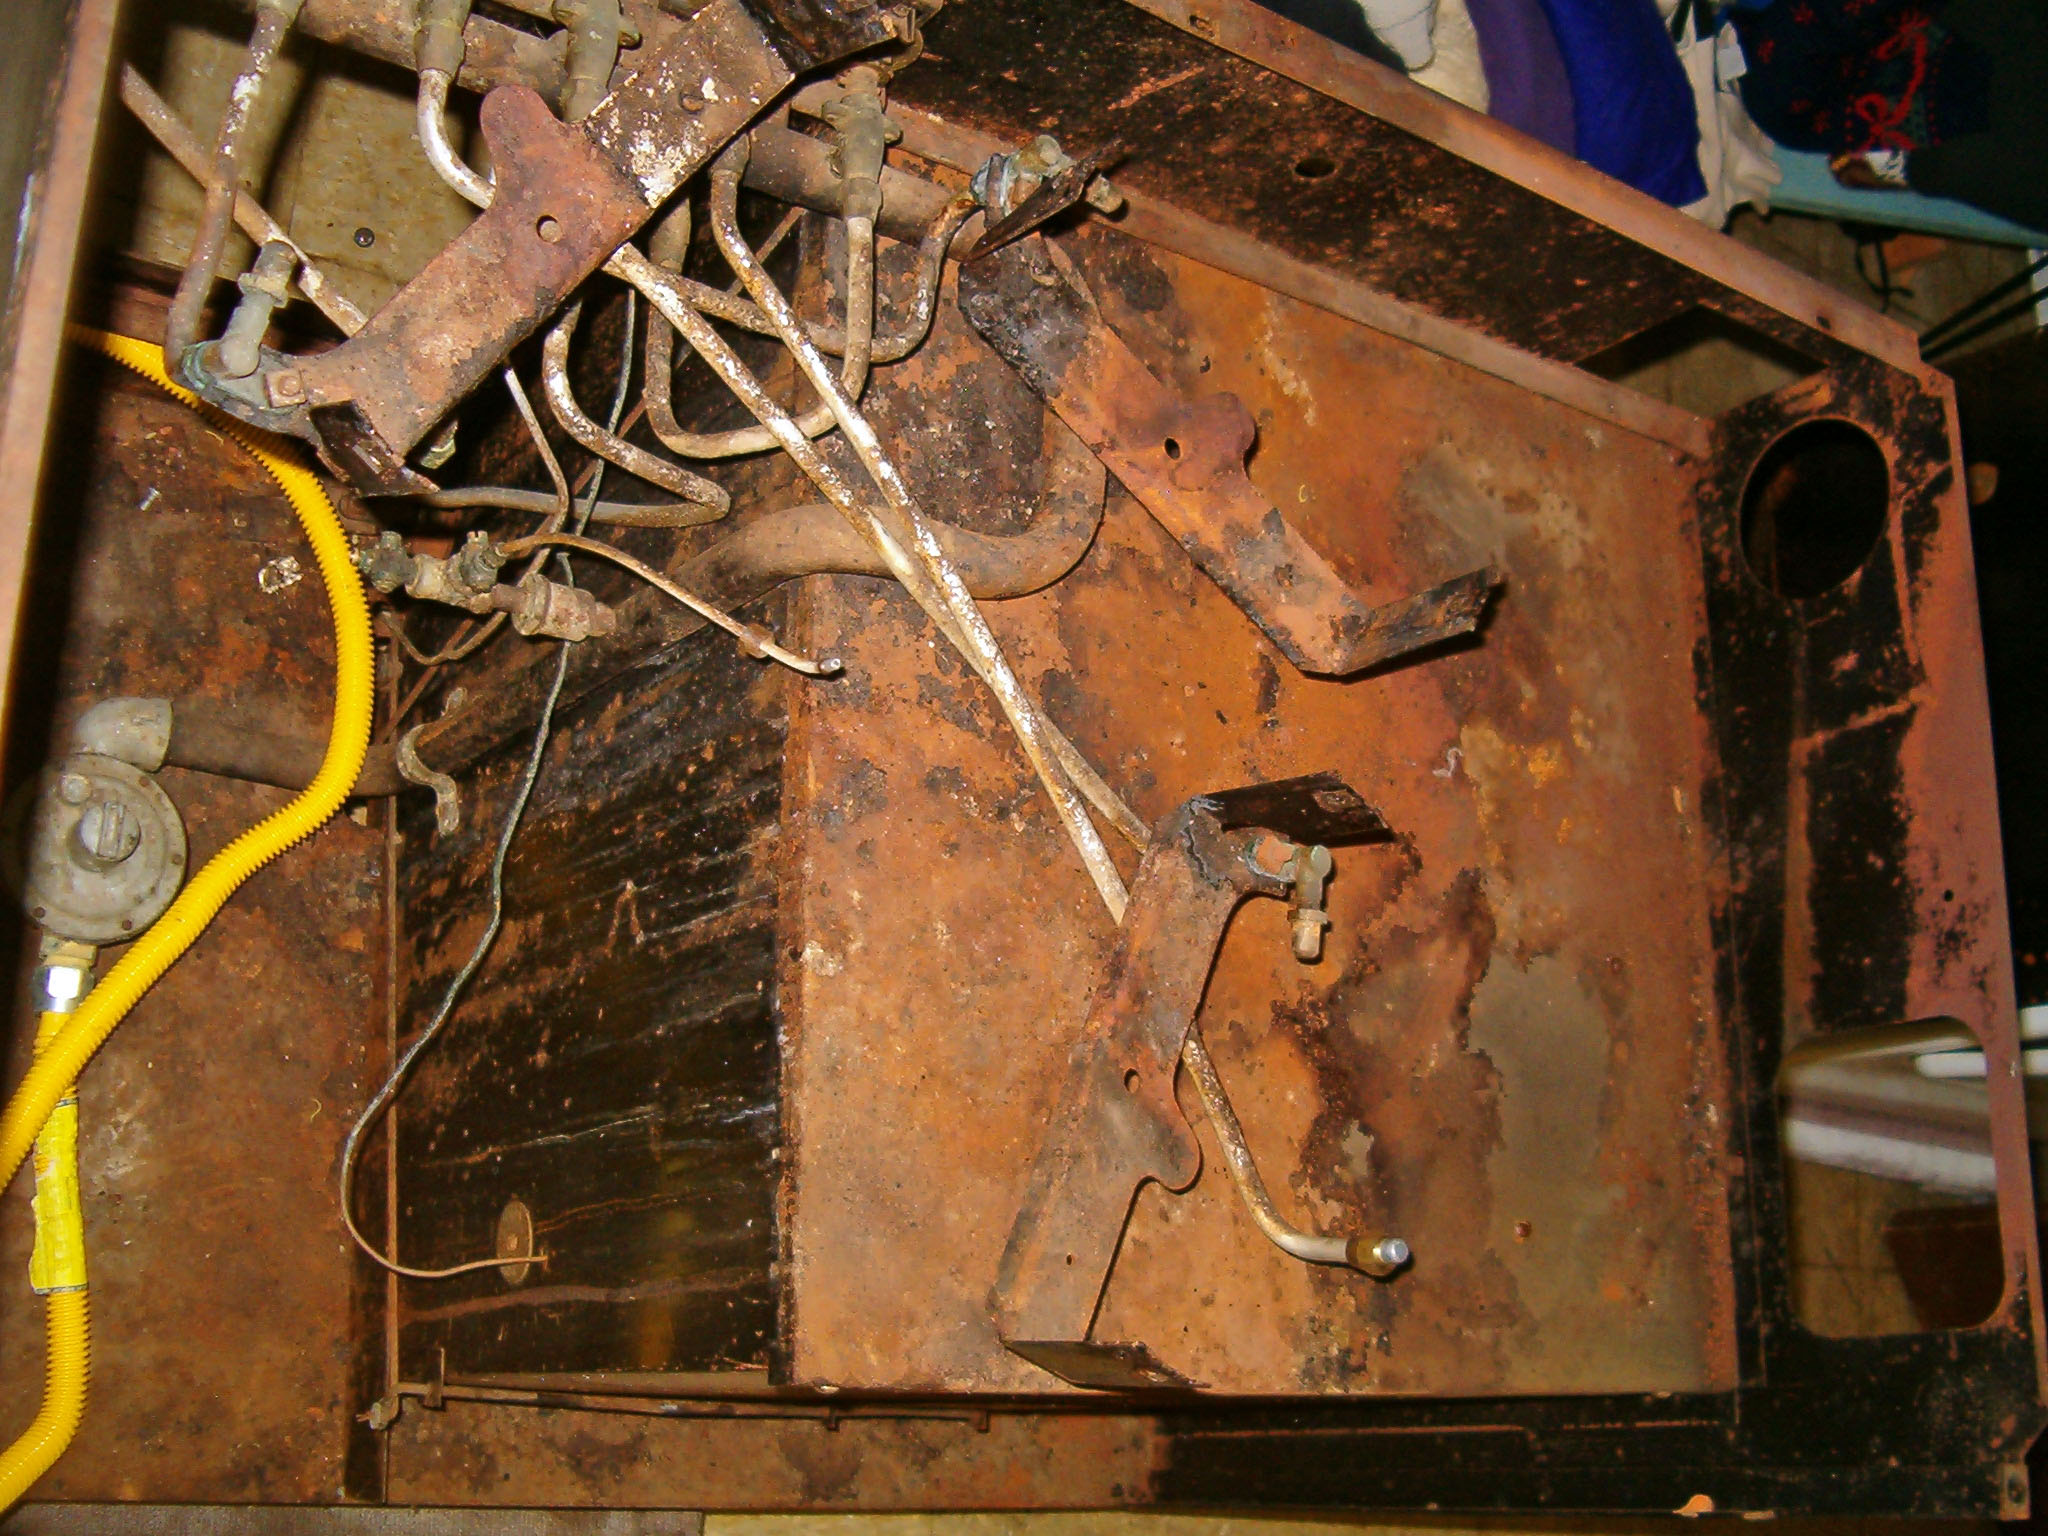
Here's
what the top
of the Oven
Box, the
inside of the
Service
Cabinet, and
the gas lines
looked like
-
Here's what
the inside
back looked
like after
being taken
down to bare
metal. The
next step is
to clean the
metal, then
begin priming
and painting
-
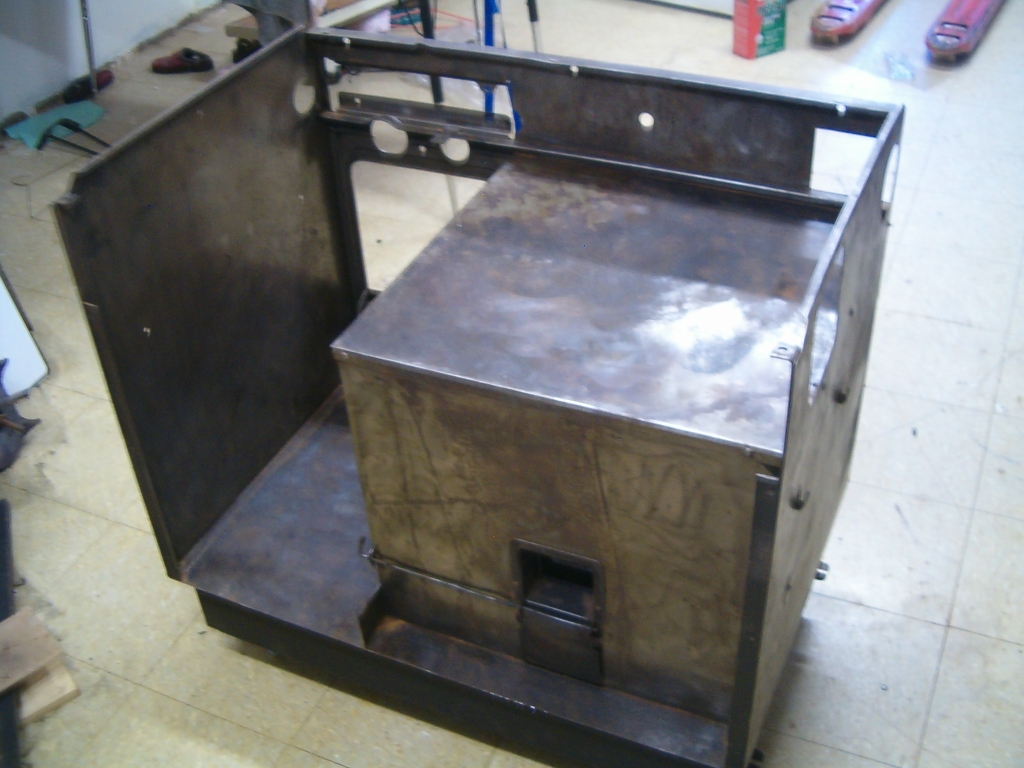
Here's
what the
inside back
looked like
after being
cleaned and
primed with
high-temperature
primer -
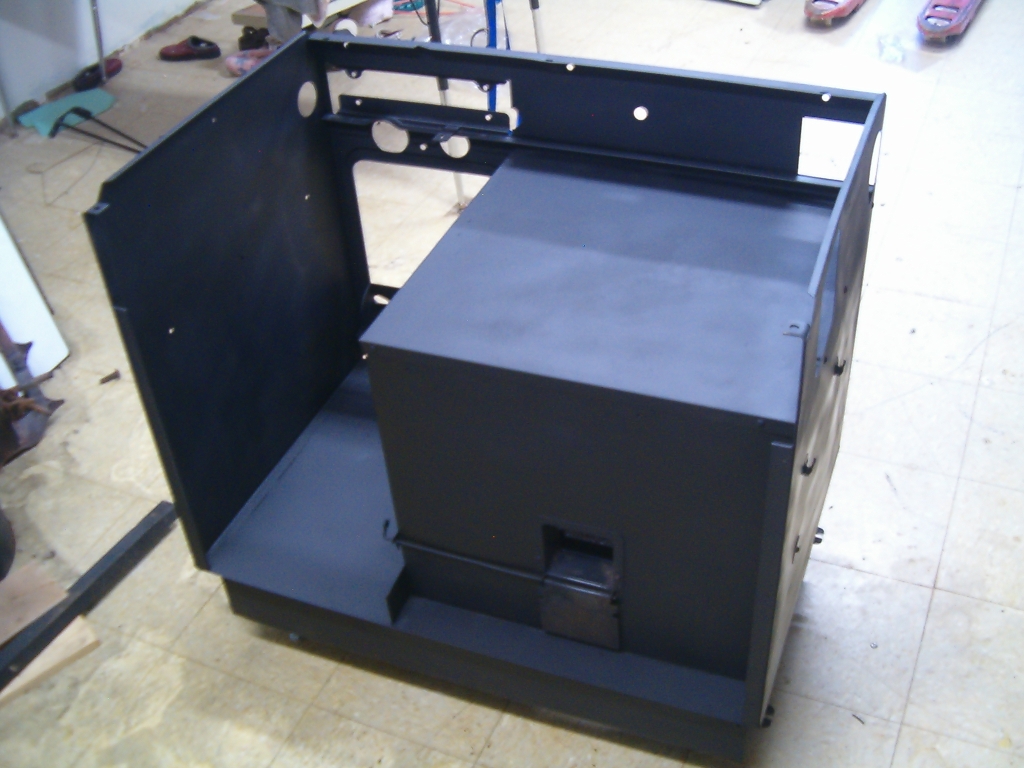
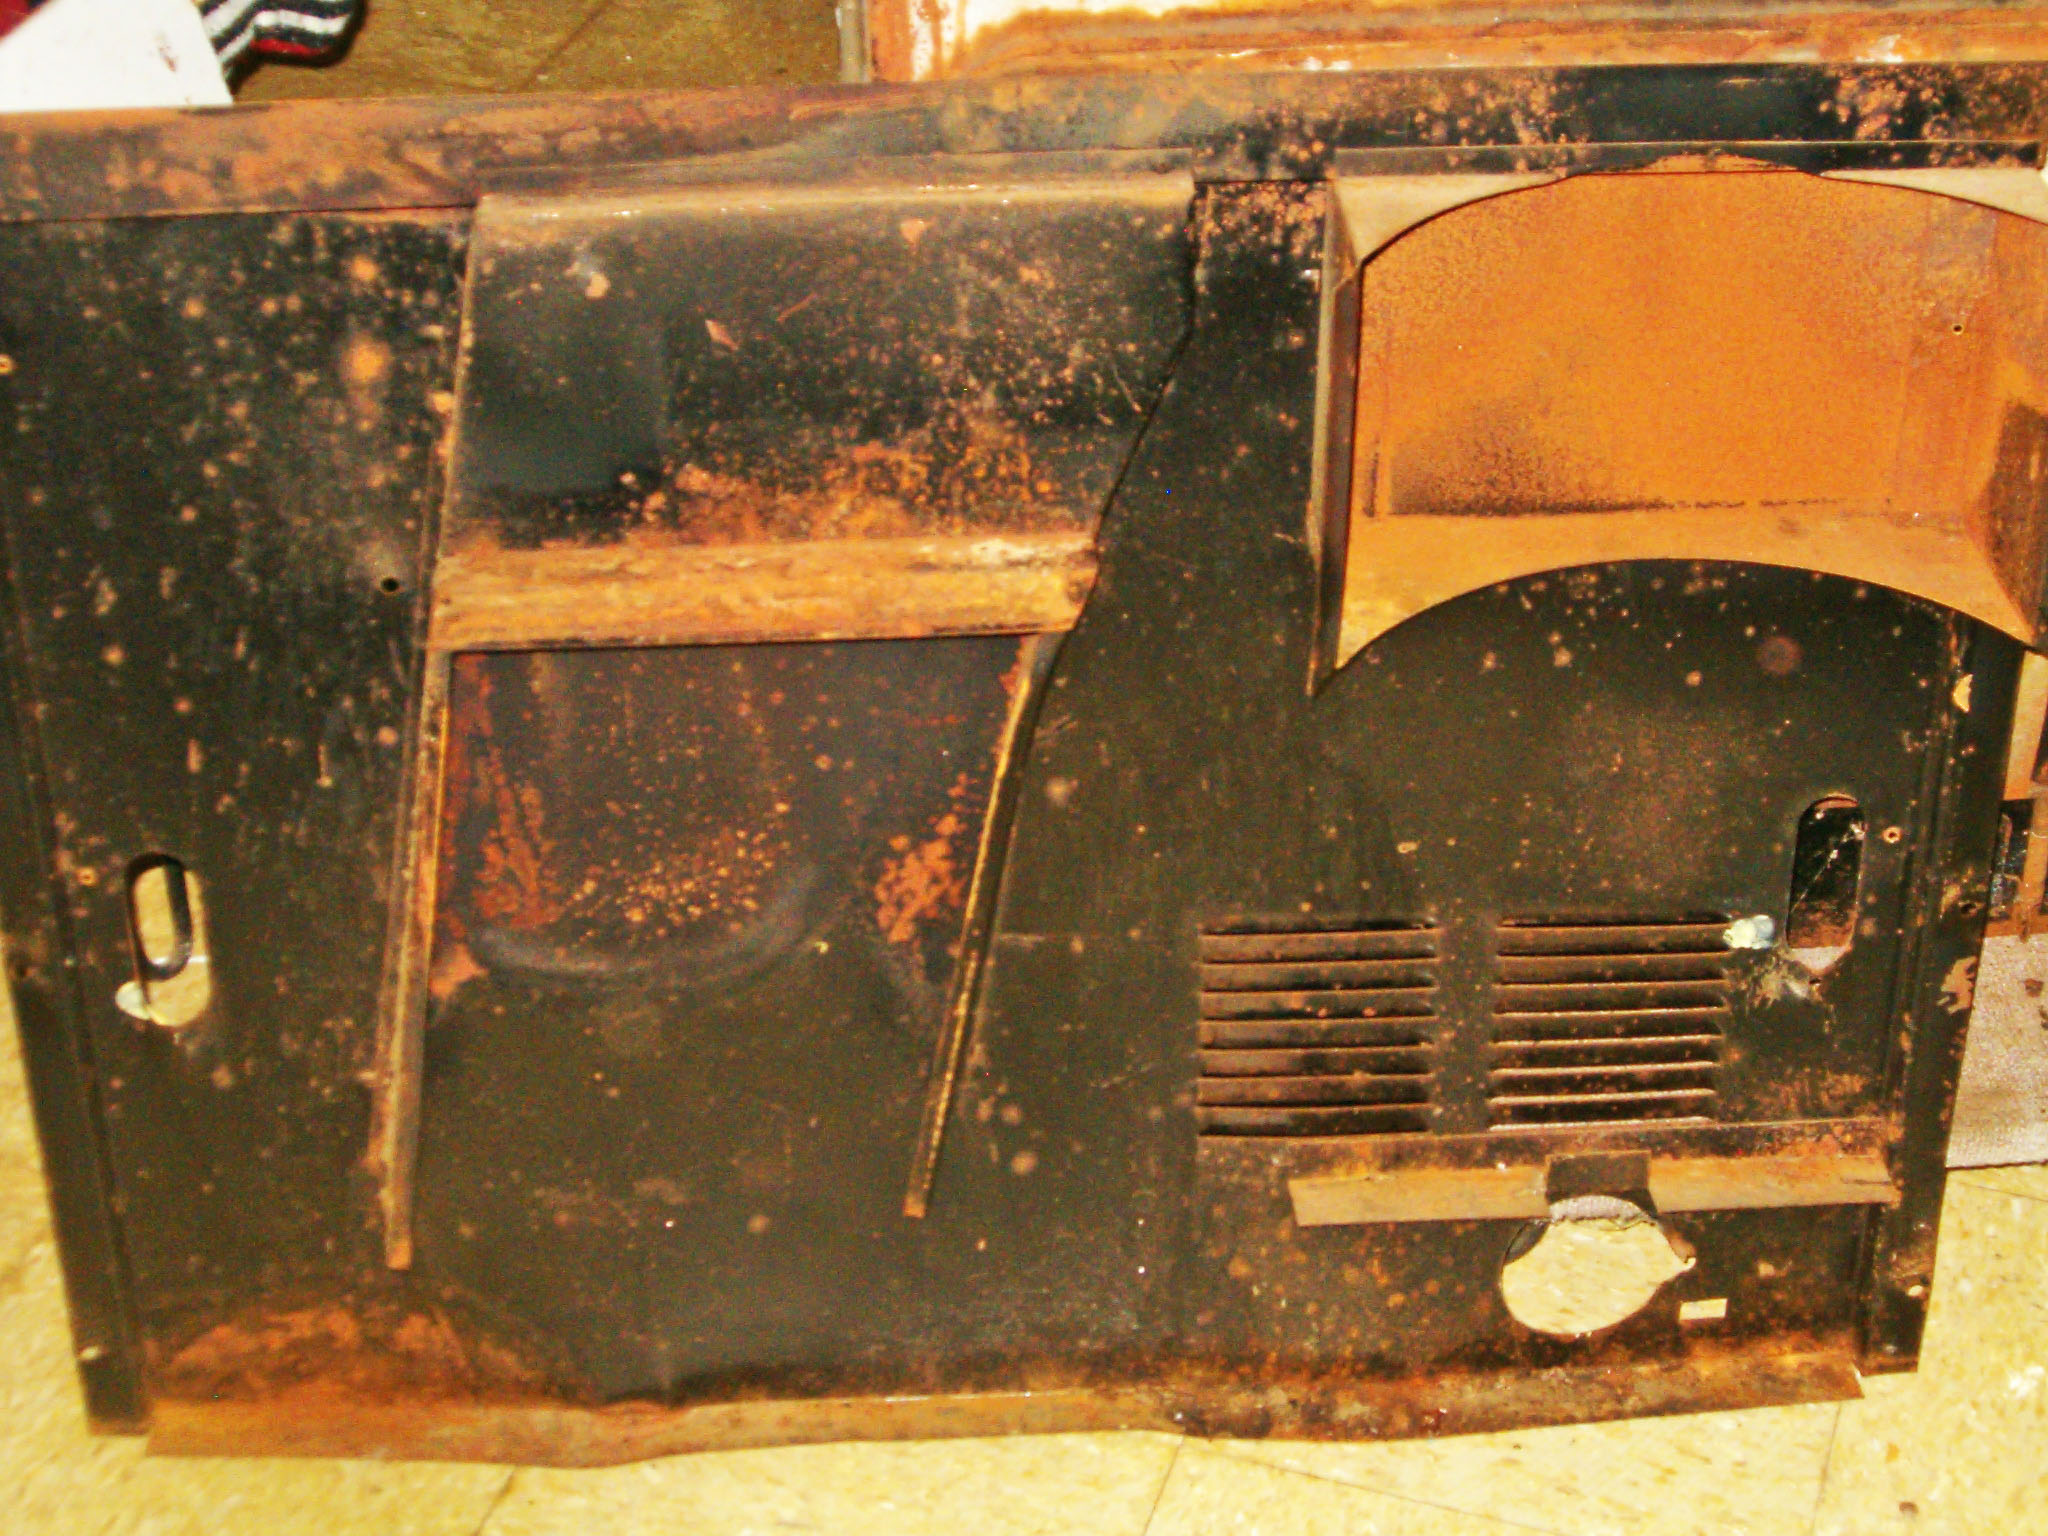
Here's
what the
inside of the
Inner Back
looked like
after removal
-
Here's
the other side
of the same
piece -
Here's
the
bottom of the
Durachrome Top
before removal
of the Broiler
Box and
Thermowell. It
will be
rechromed and
finished to
look like new
-
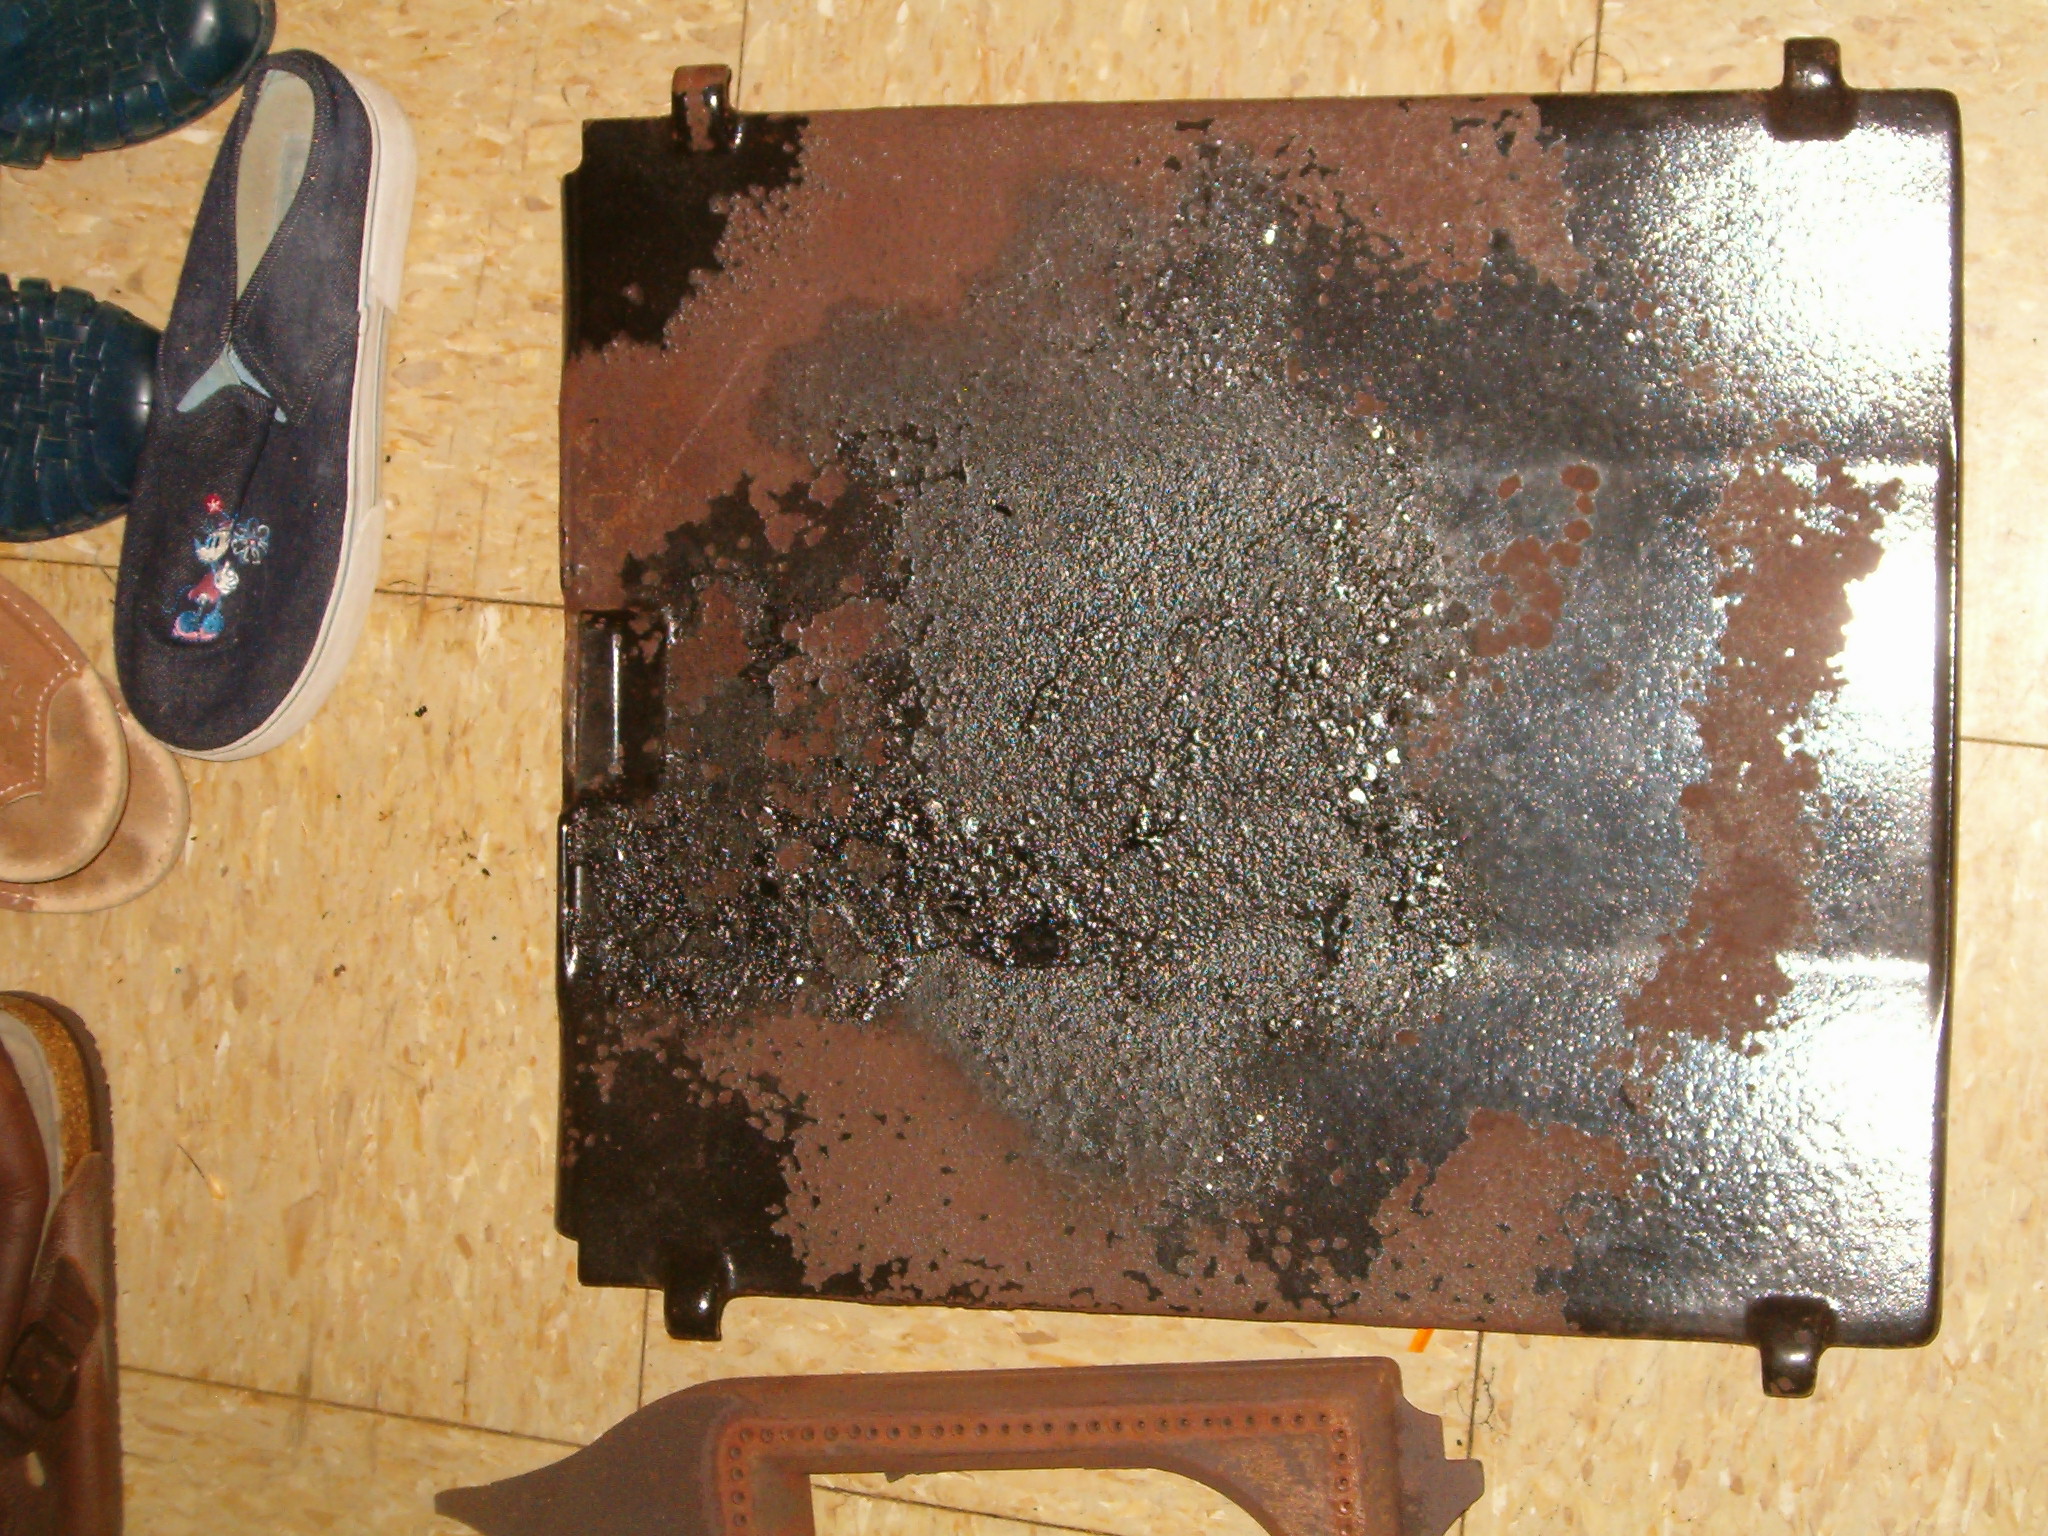
Here's
the Oven
Baffle Plate
prior to being
sent off to be
reporcelained
-
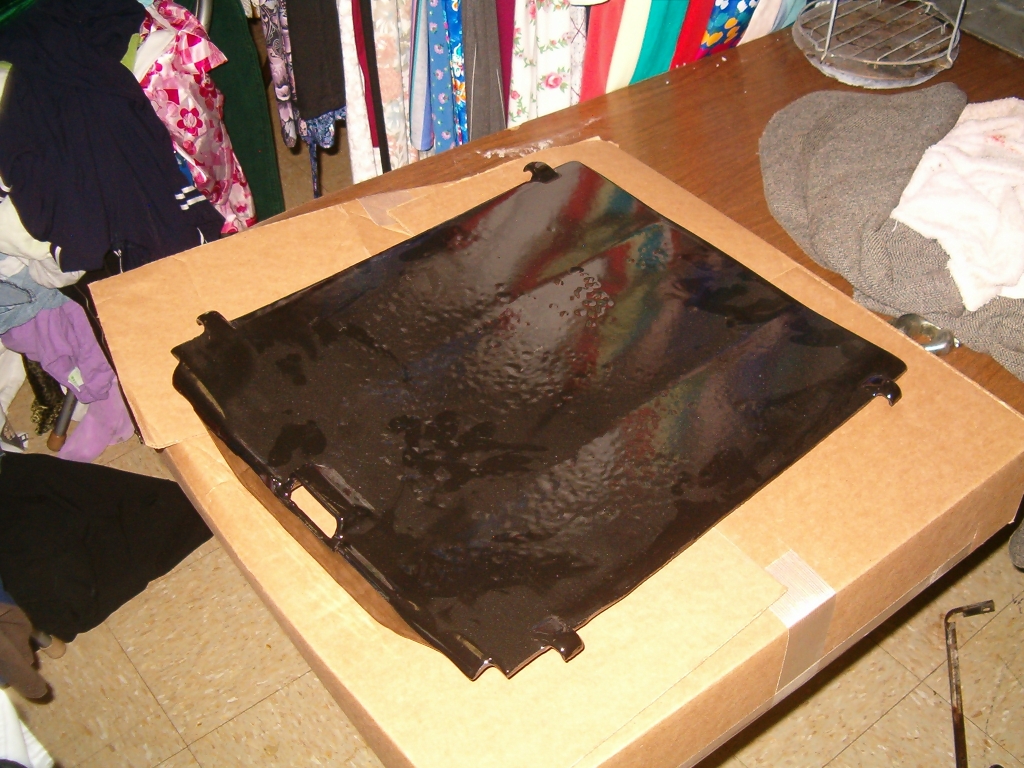
Here's
the Oven
Baffle Plate
after being
sent off to be
reporcelained
-
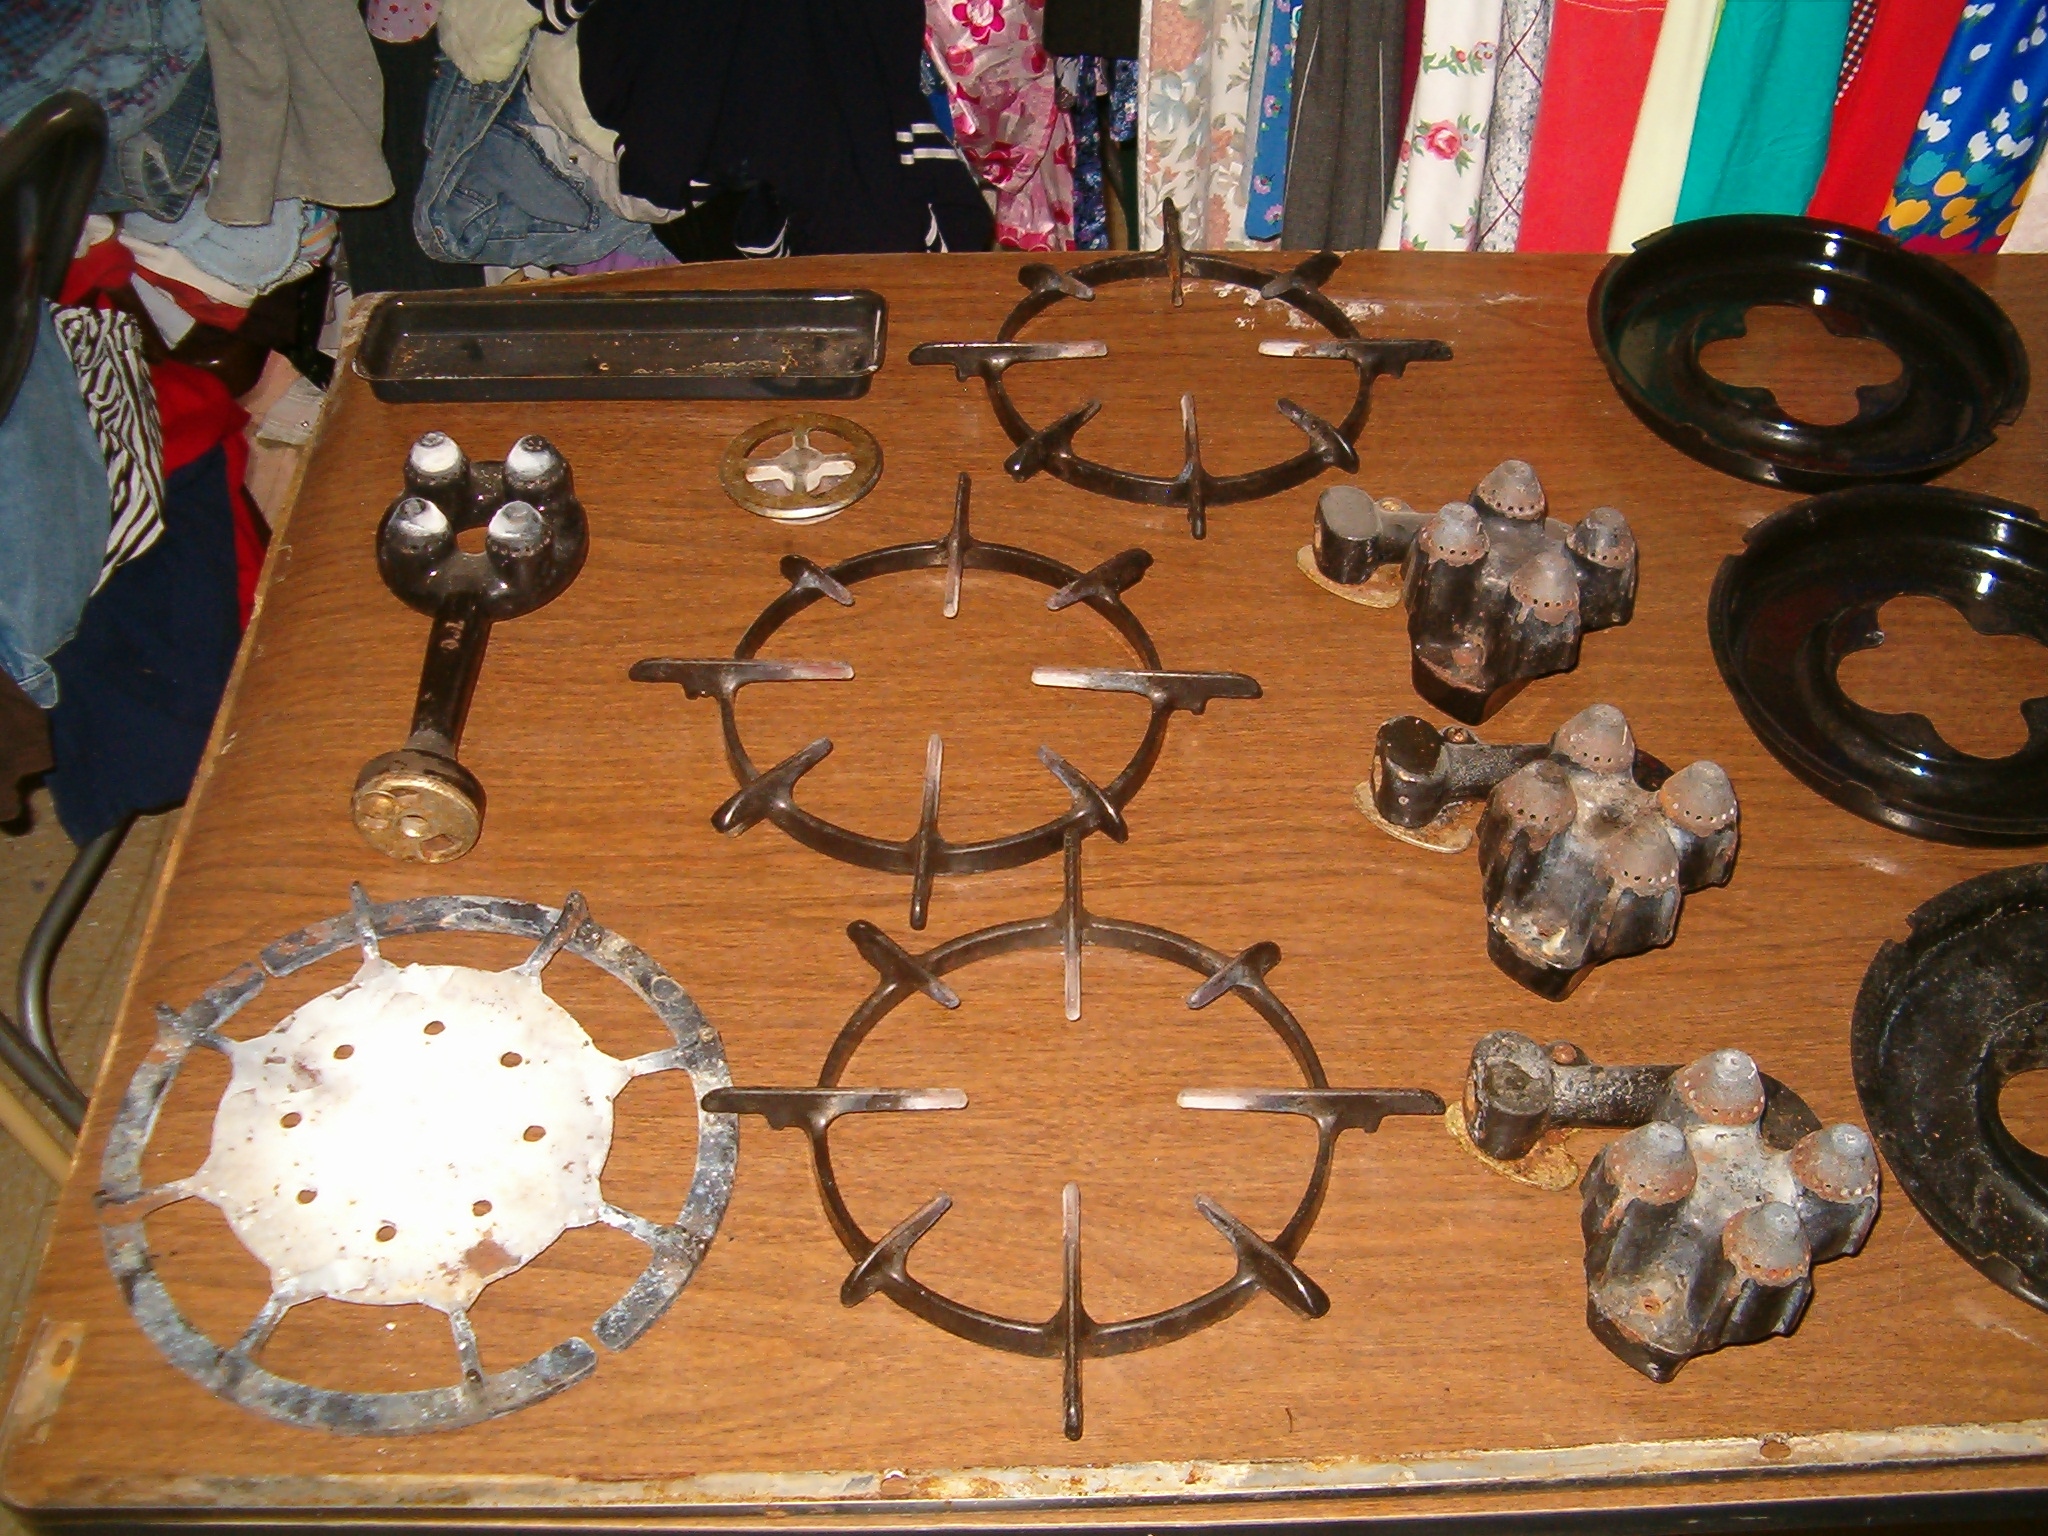
Here
are the
various
burners, drip
rings, and
grates before
being sent off
to be
reporcelained
-
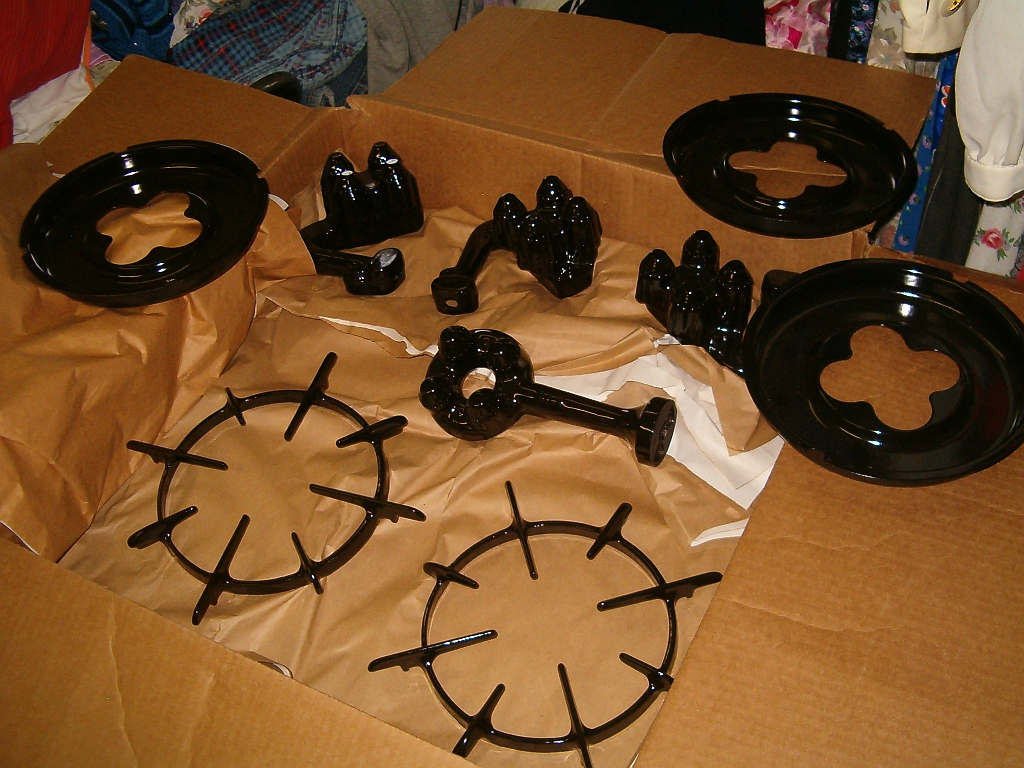
Here
are the
various
burners, drip
rings, and
grates before
being sent off
to be
reporcelained
-
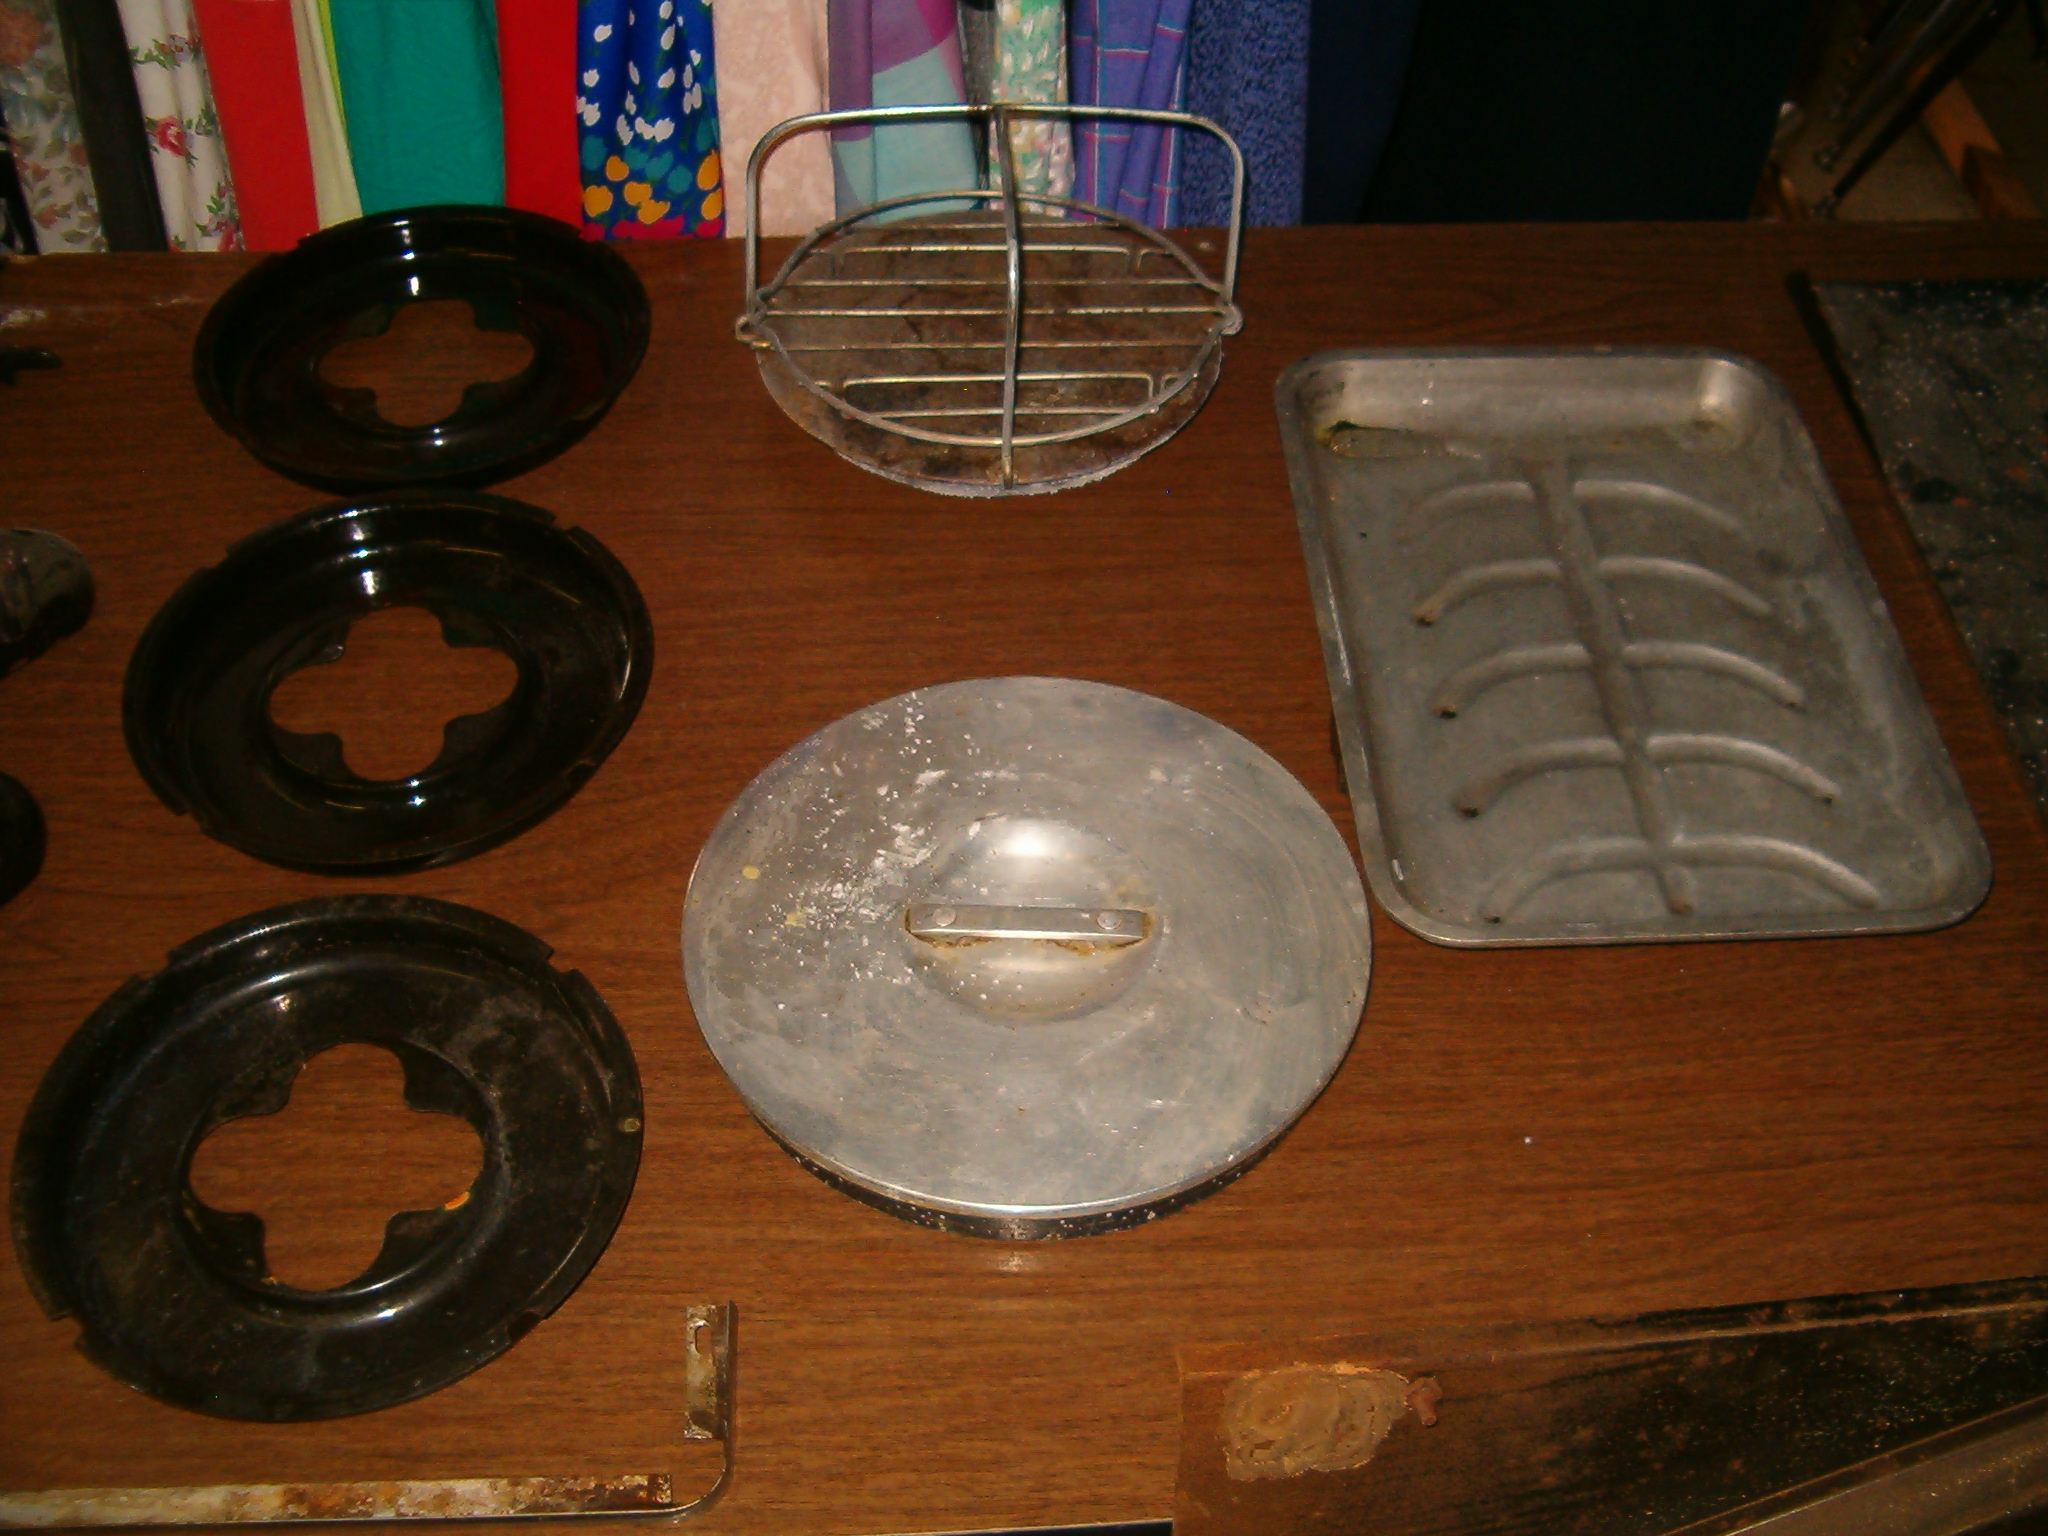
The ThermoWell
Lid, Sizzling
Platter, and
ThermoBaker
prior to being
cleaned and
polished
-
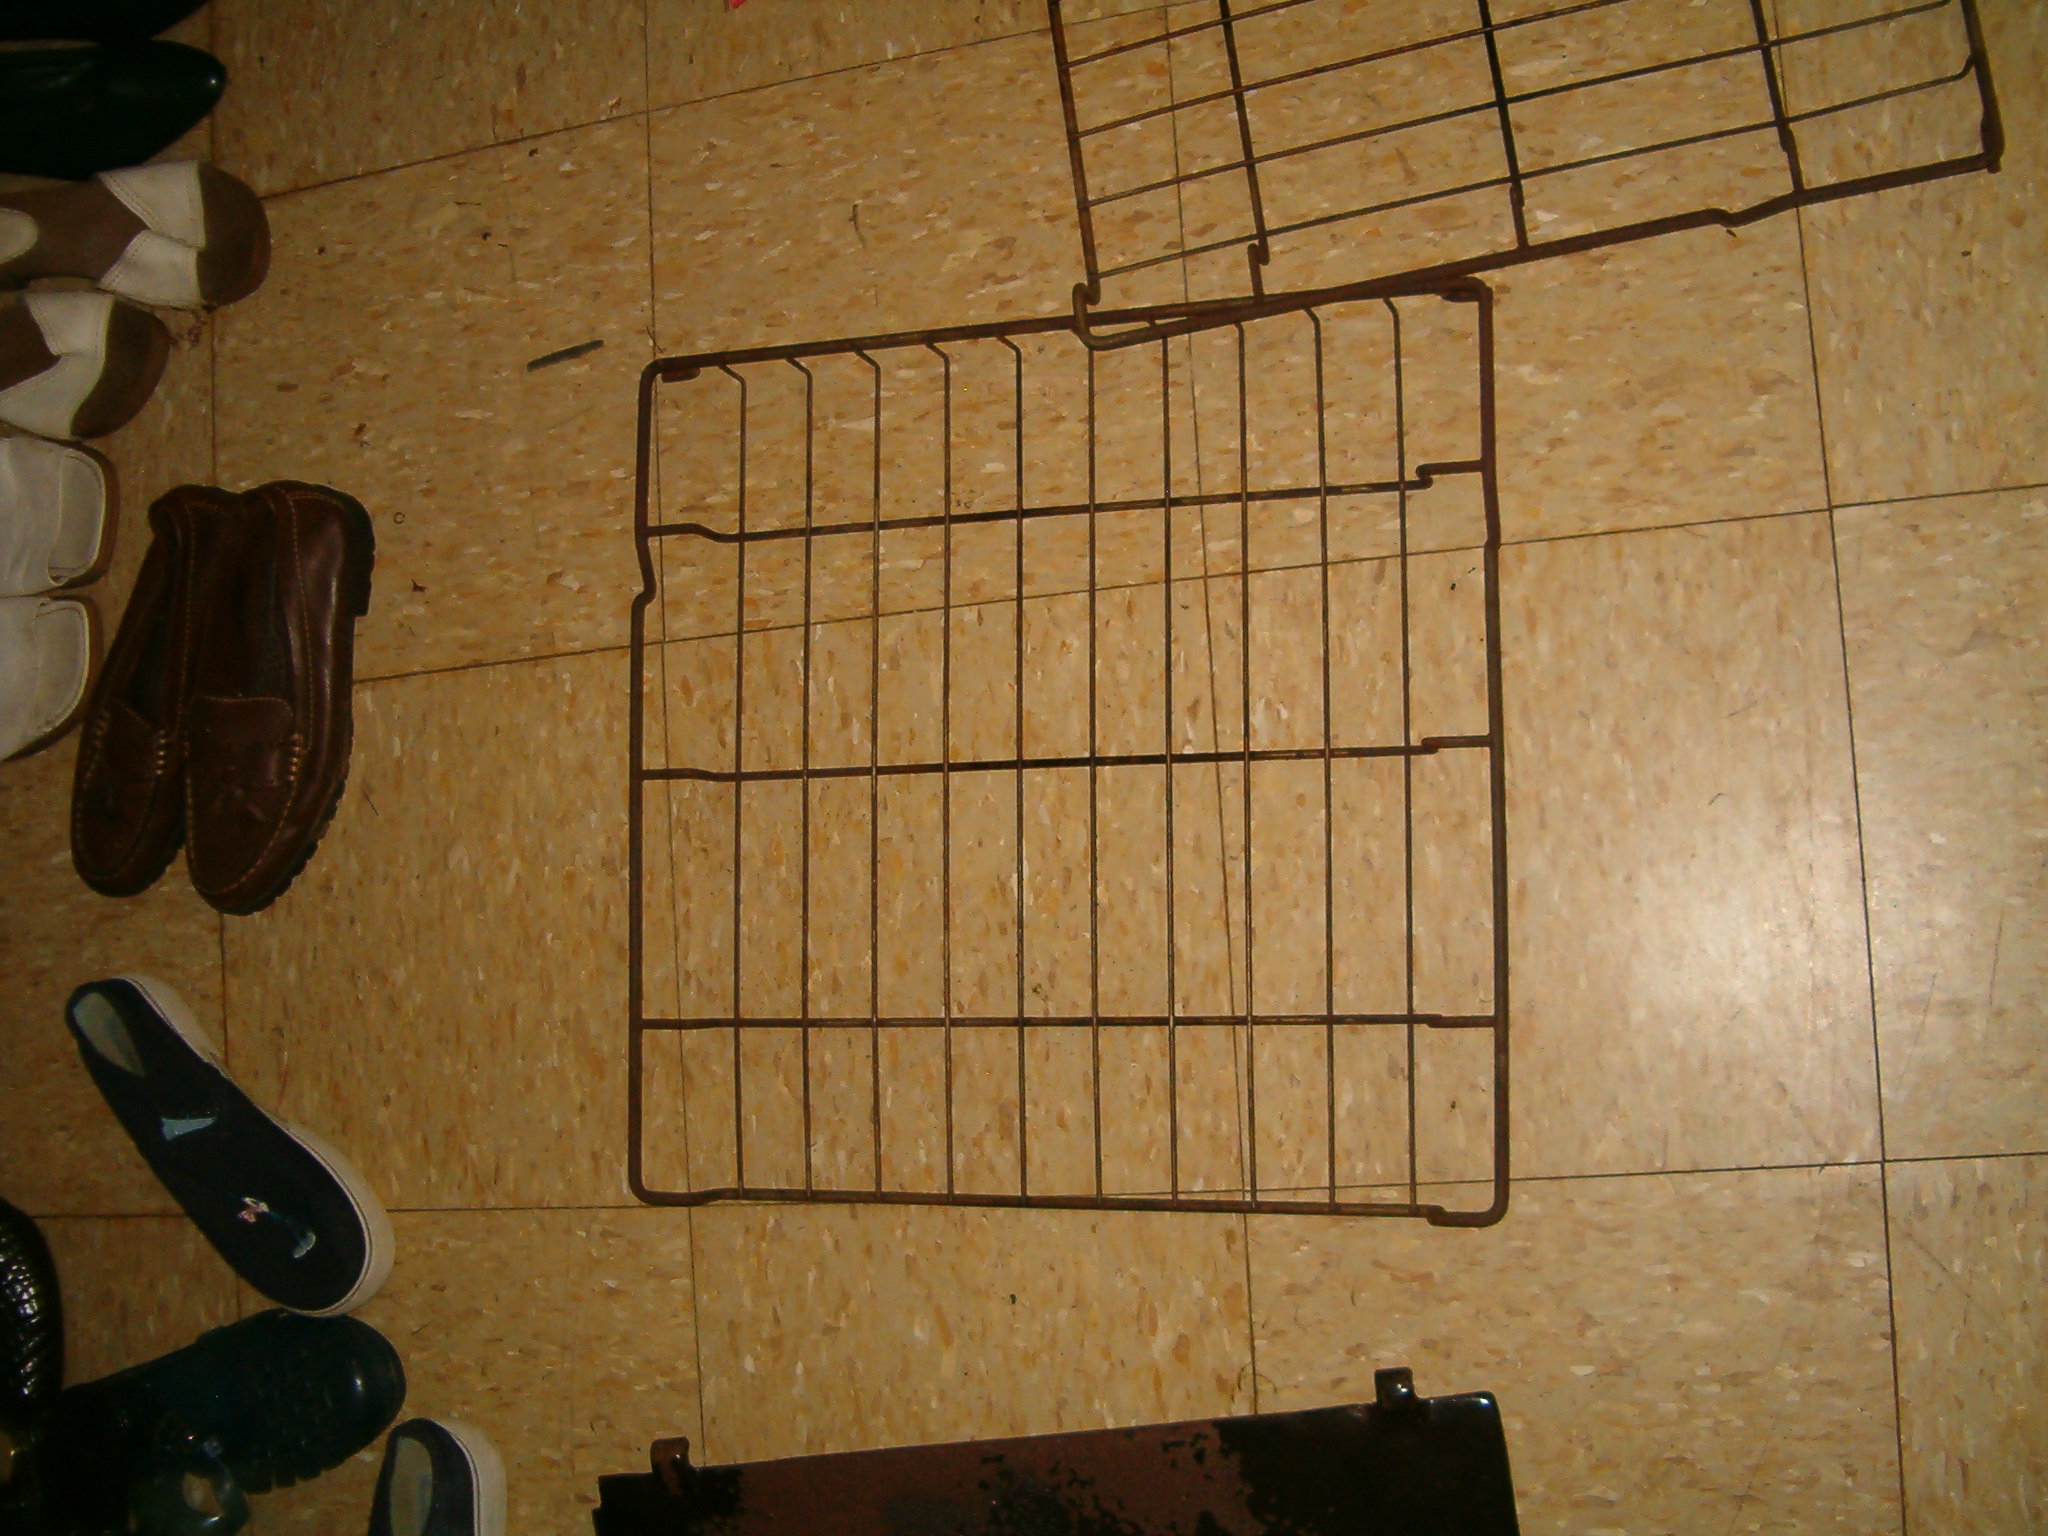
Oven
Racks prior to
rechroming
-
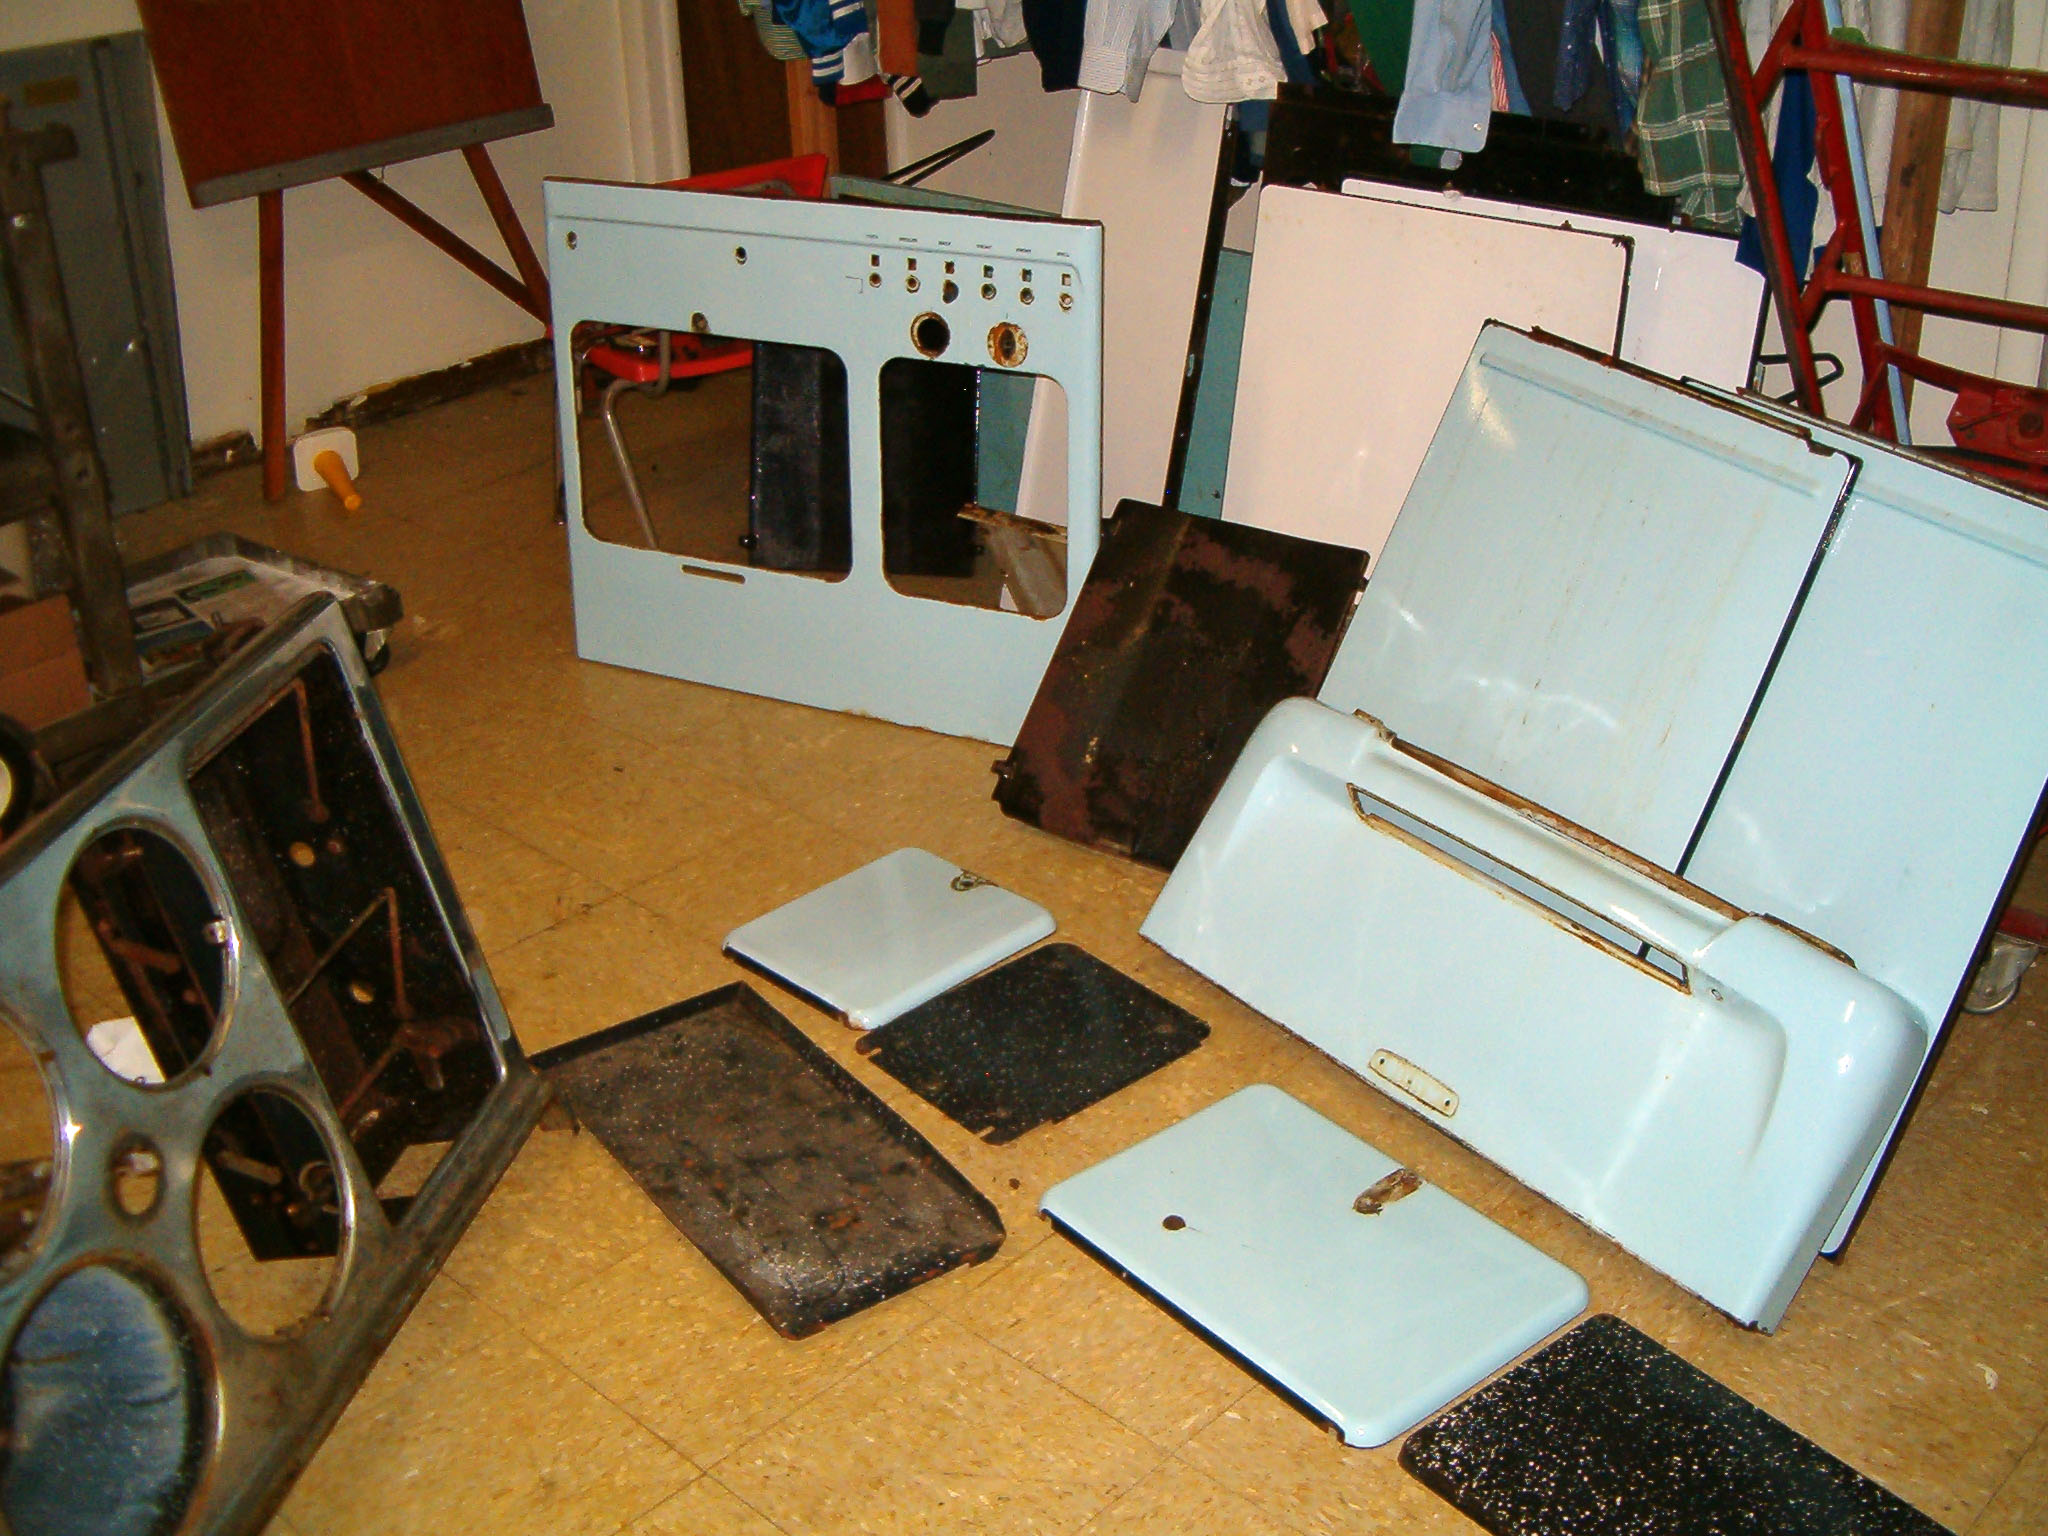
Here
are all of the
porcelain
panels prior
to being sent
of to be
reporcelained
-
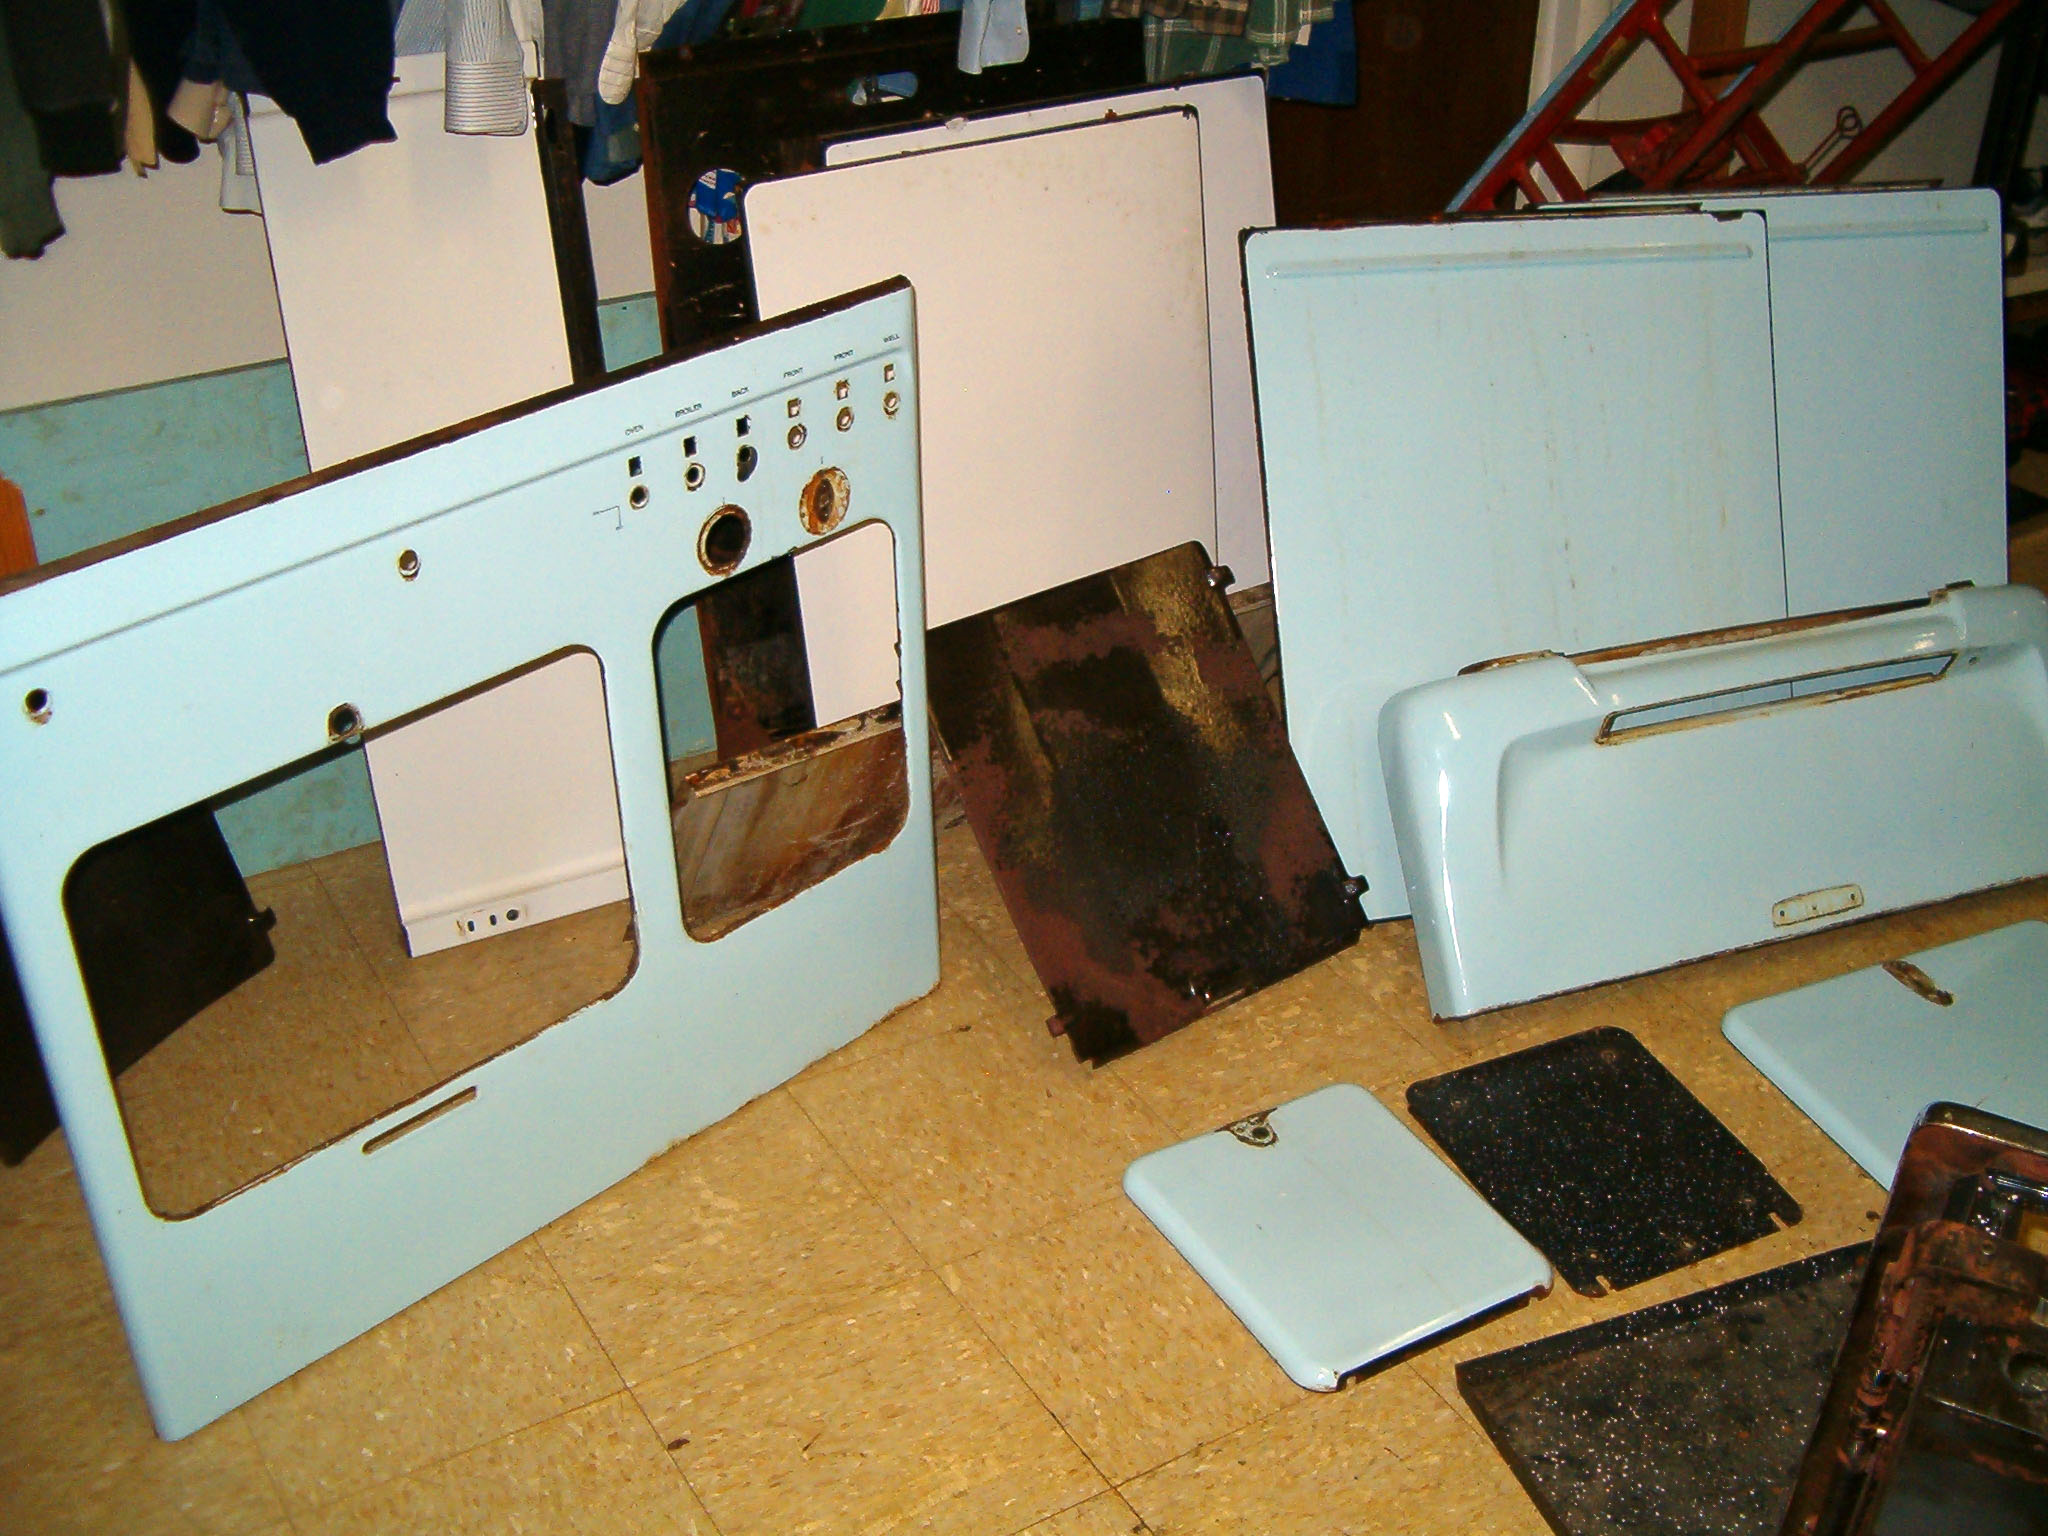
Another
view -
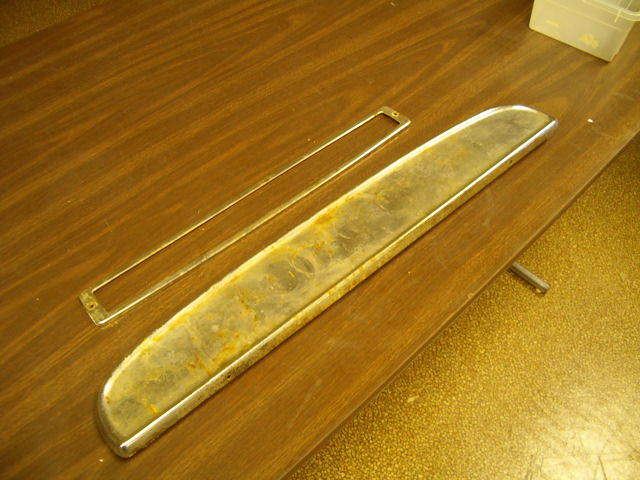
Here
is the lens
for the light
and the Top
Shelf
before being
rechromed
-
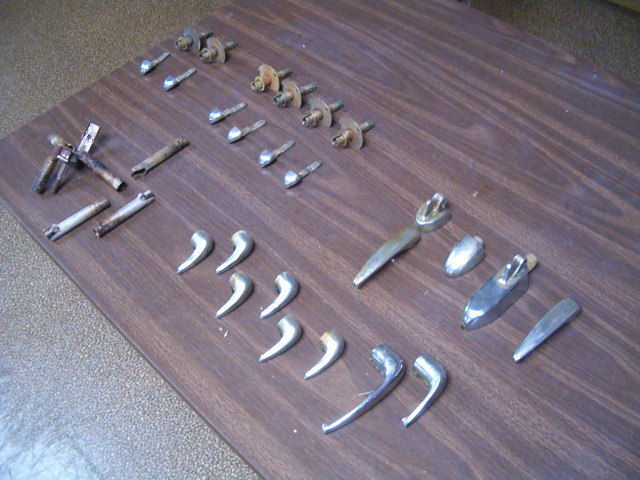
Here
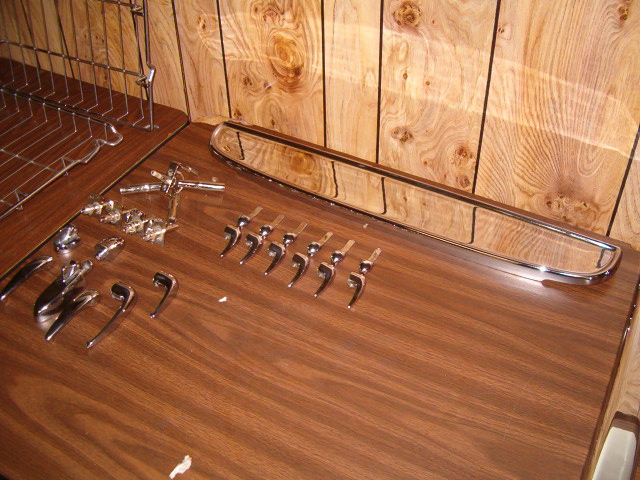
are the
handles,
flashtubes,
and thumblatch
parts before
being replated
-
Here
are the Top
Shelf,
handles, and
various pieces
after being
refinished
-
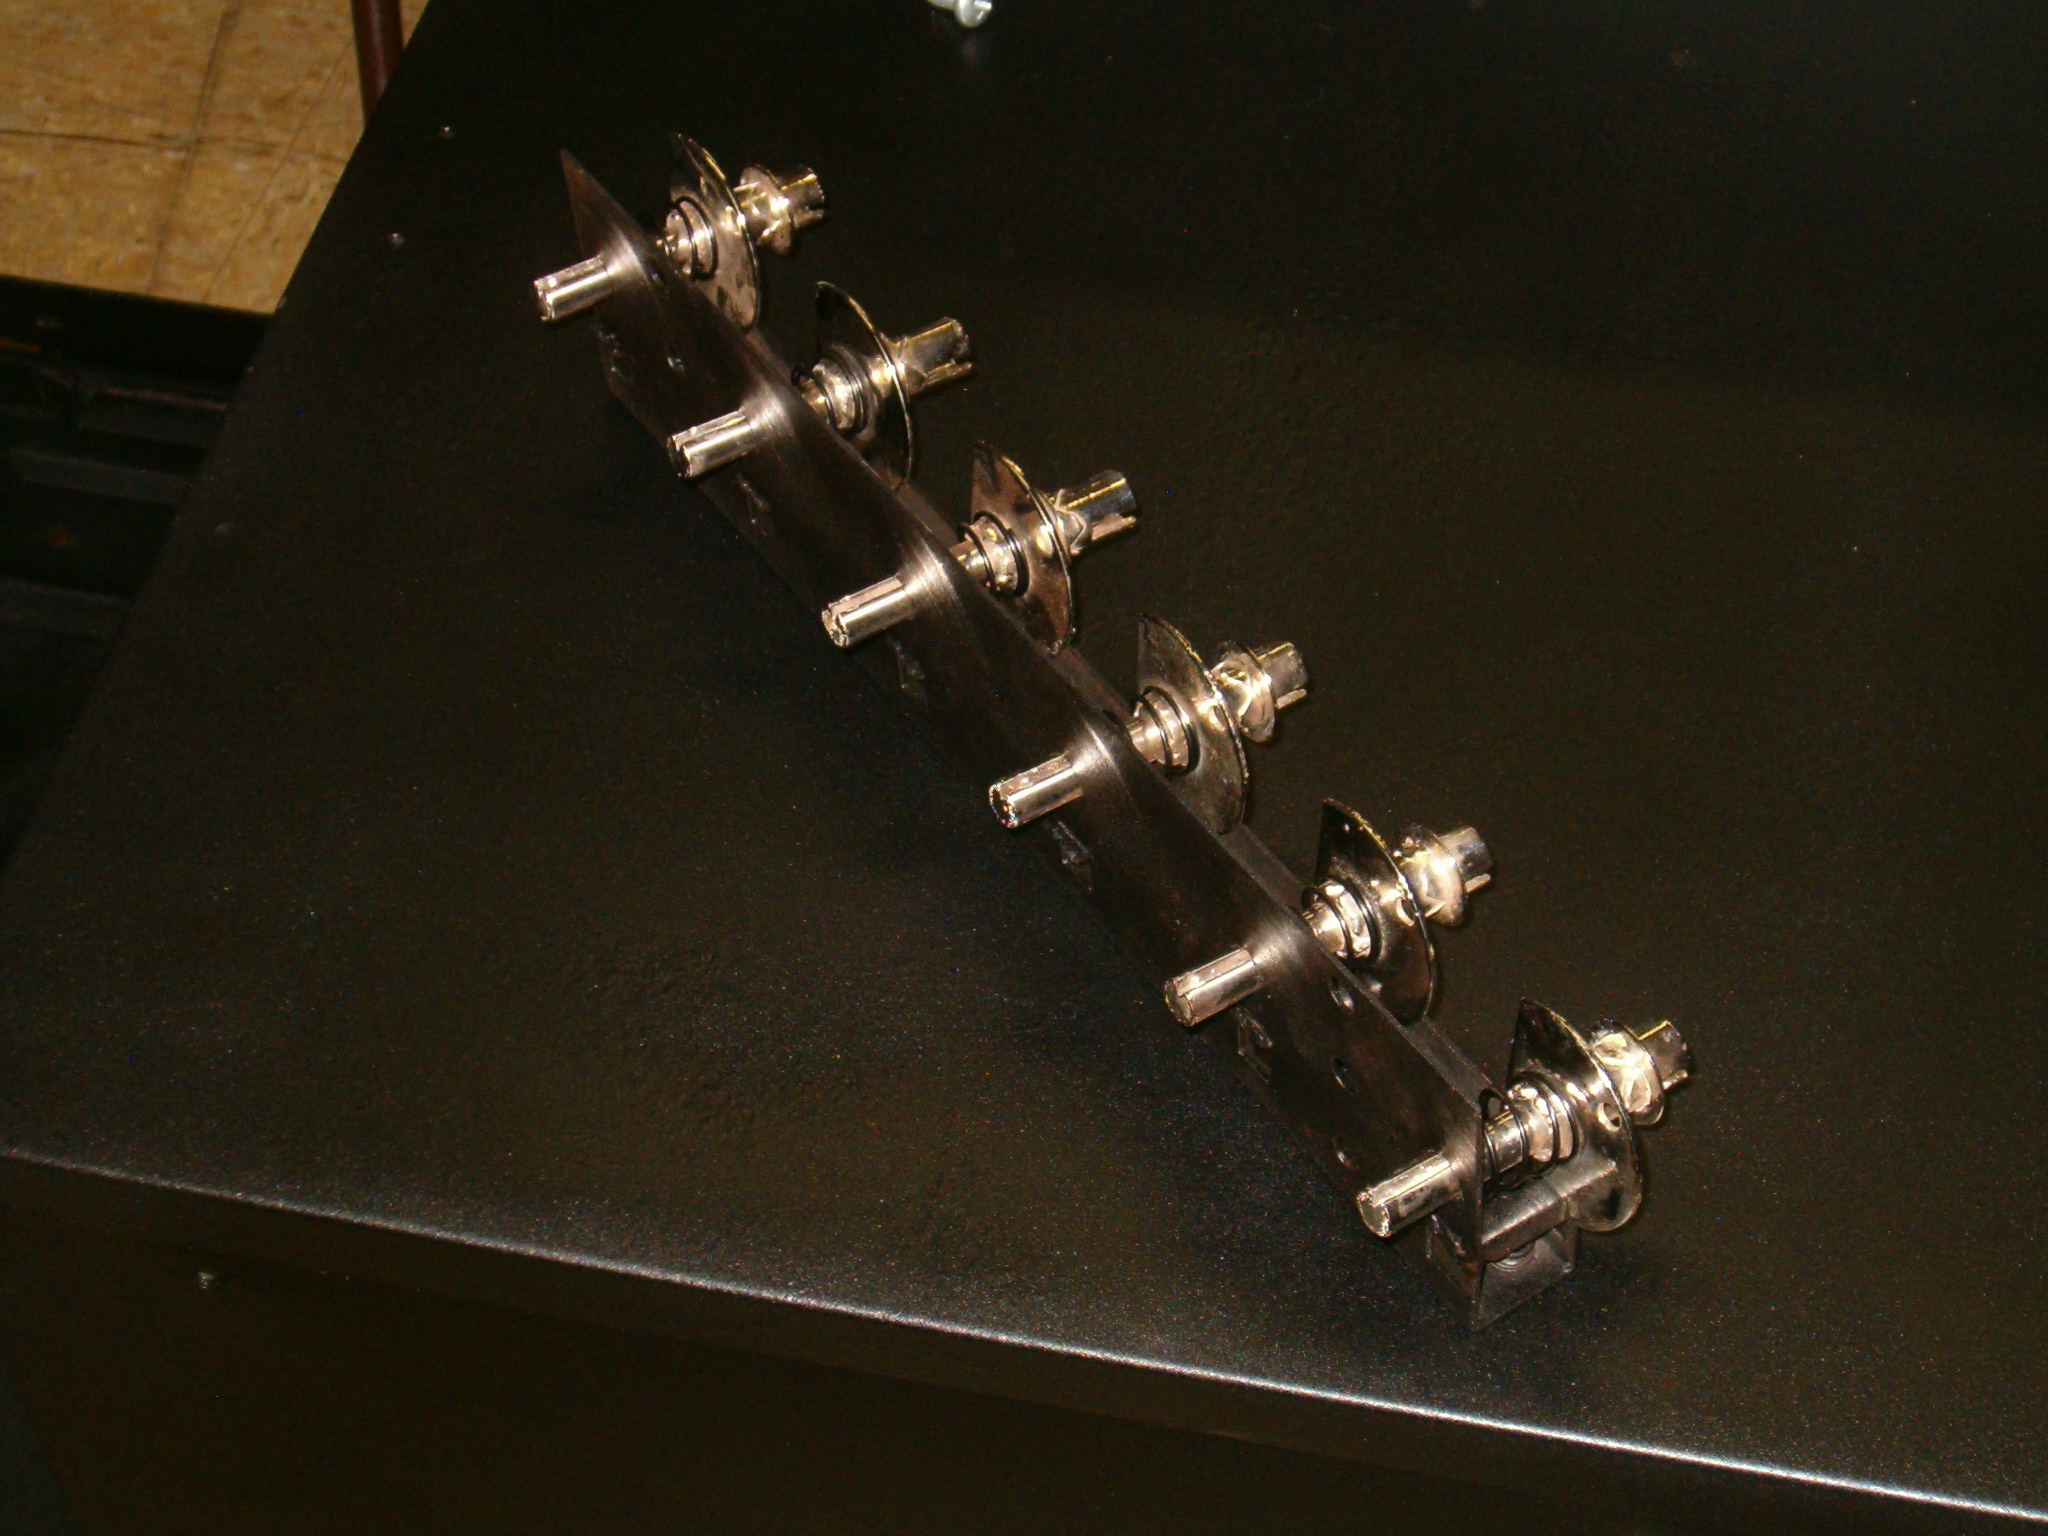
Here
are the
Thumblatch
Mechanisms,
after being
replated,
installed in
the derusted
and restored
housing
-
AND THEN IT STARTS GOING BACK TOGETHER!
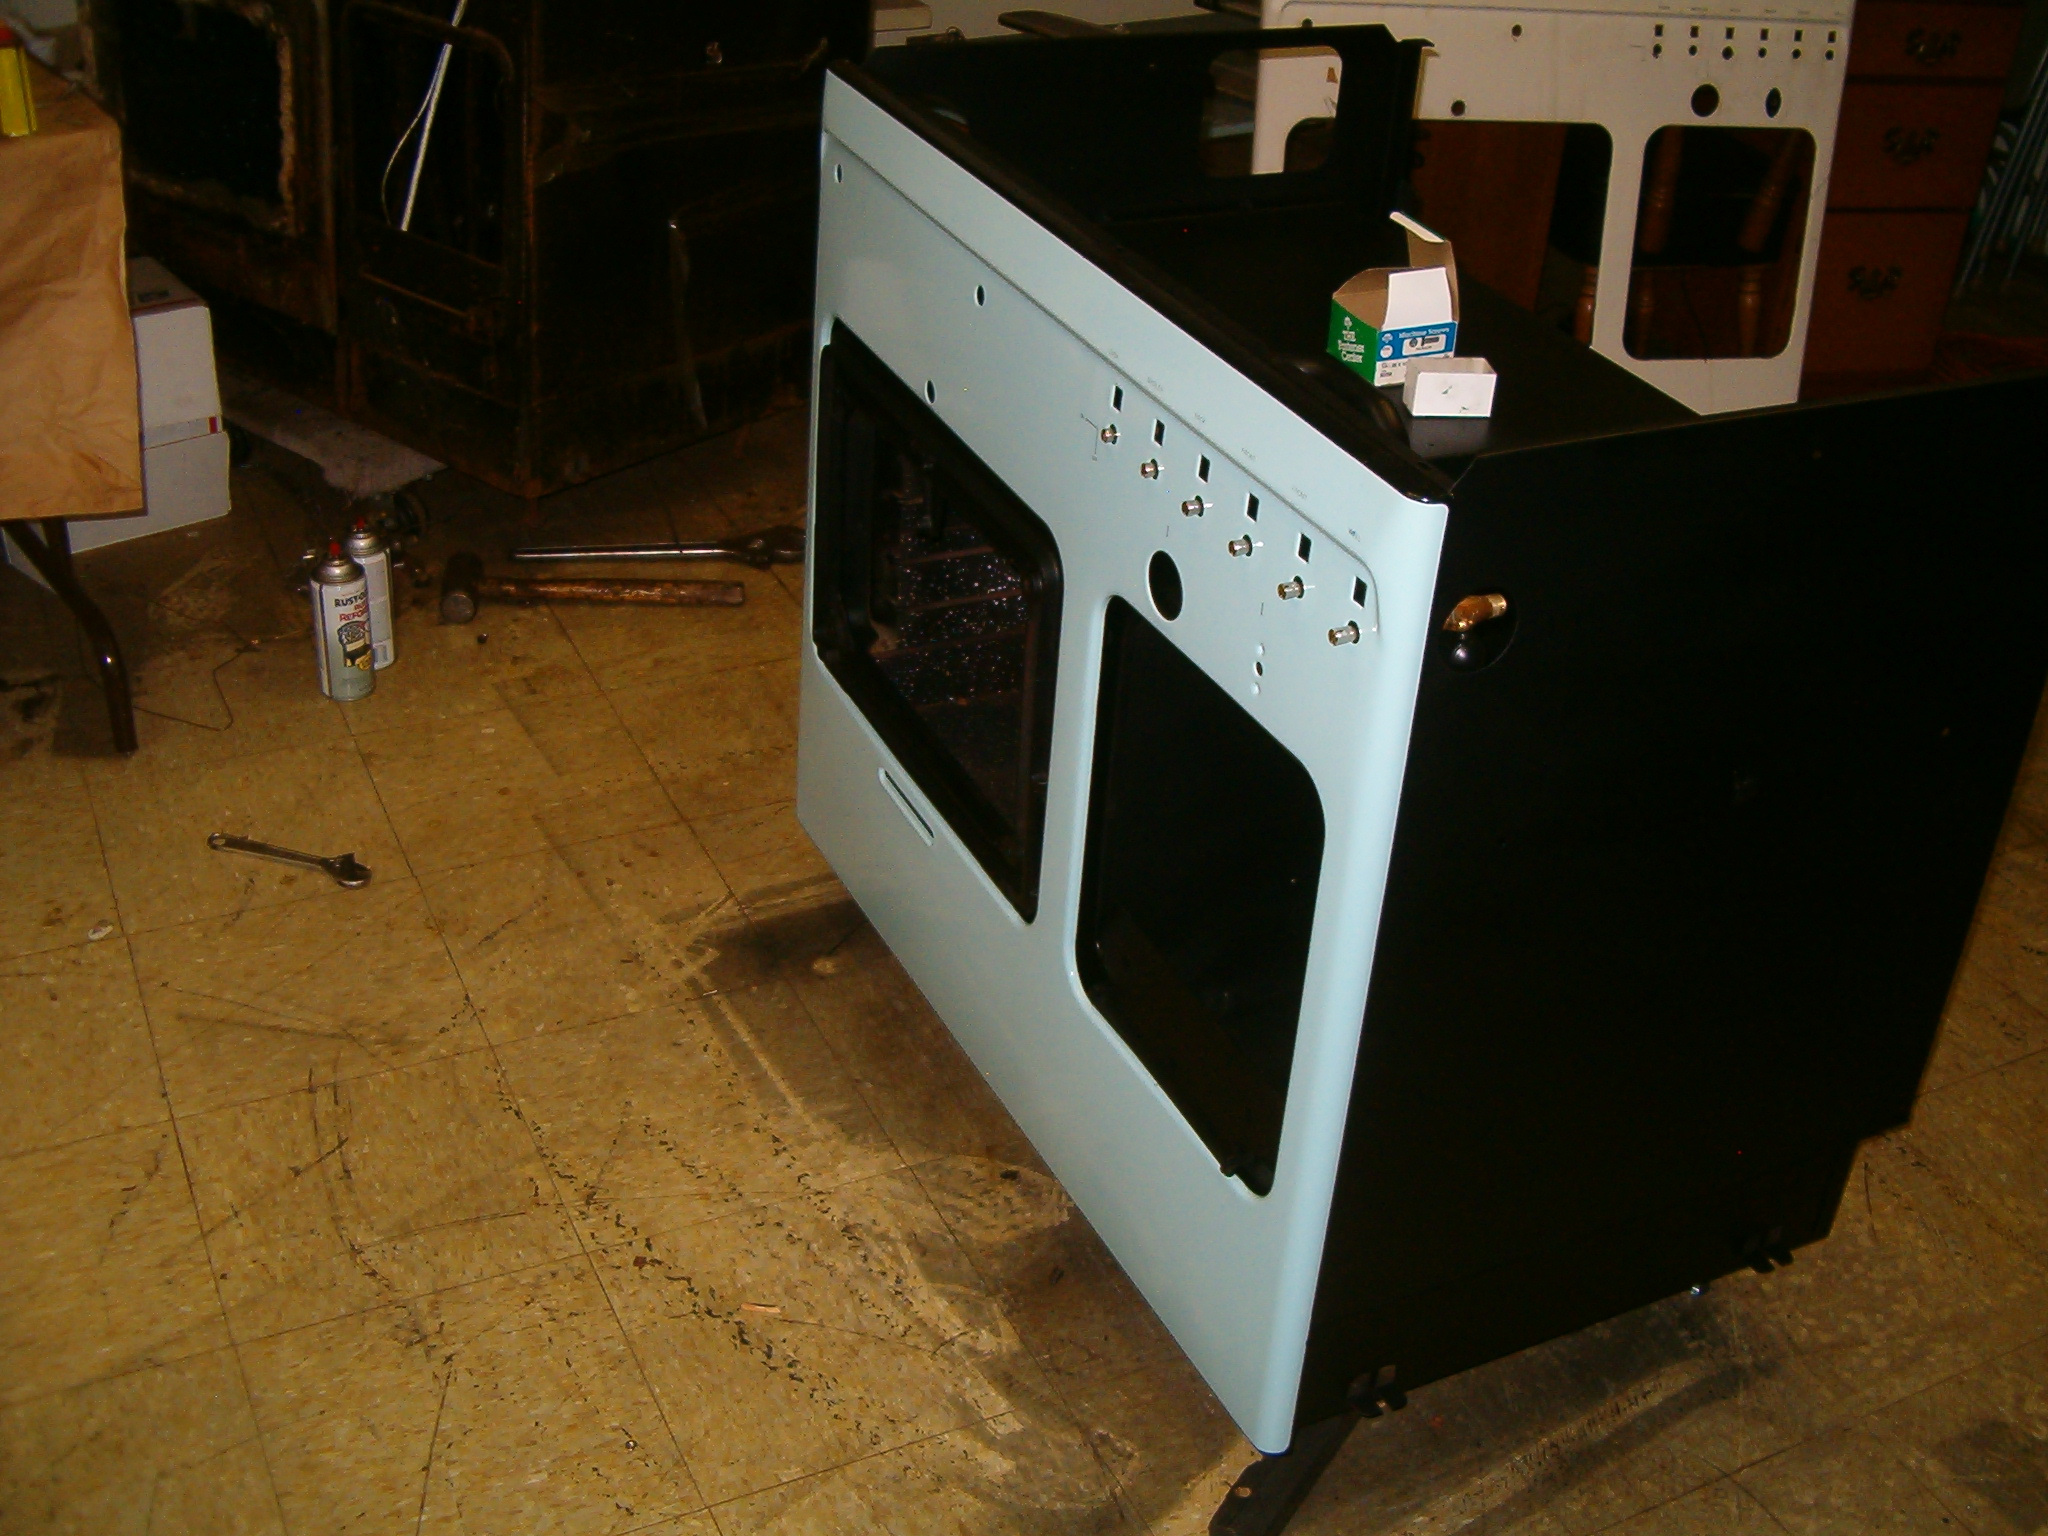
Here are the
Thumblatch
Mechanism
installed in
the
reporcelained
front panel,
which has been
installed on
the restored
frame -
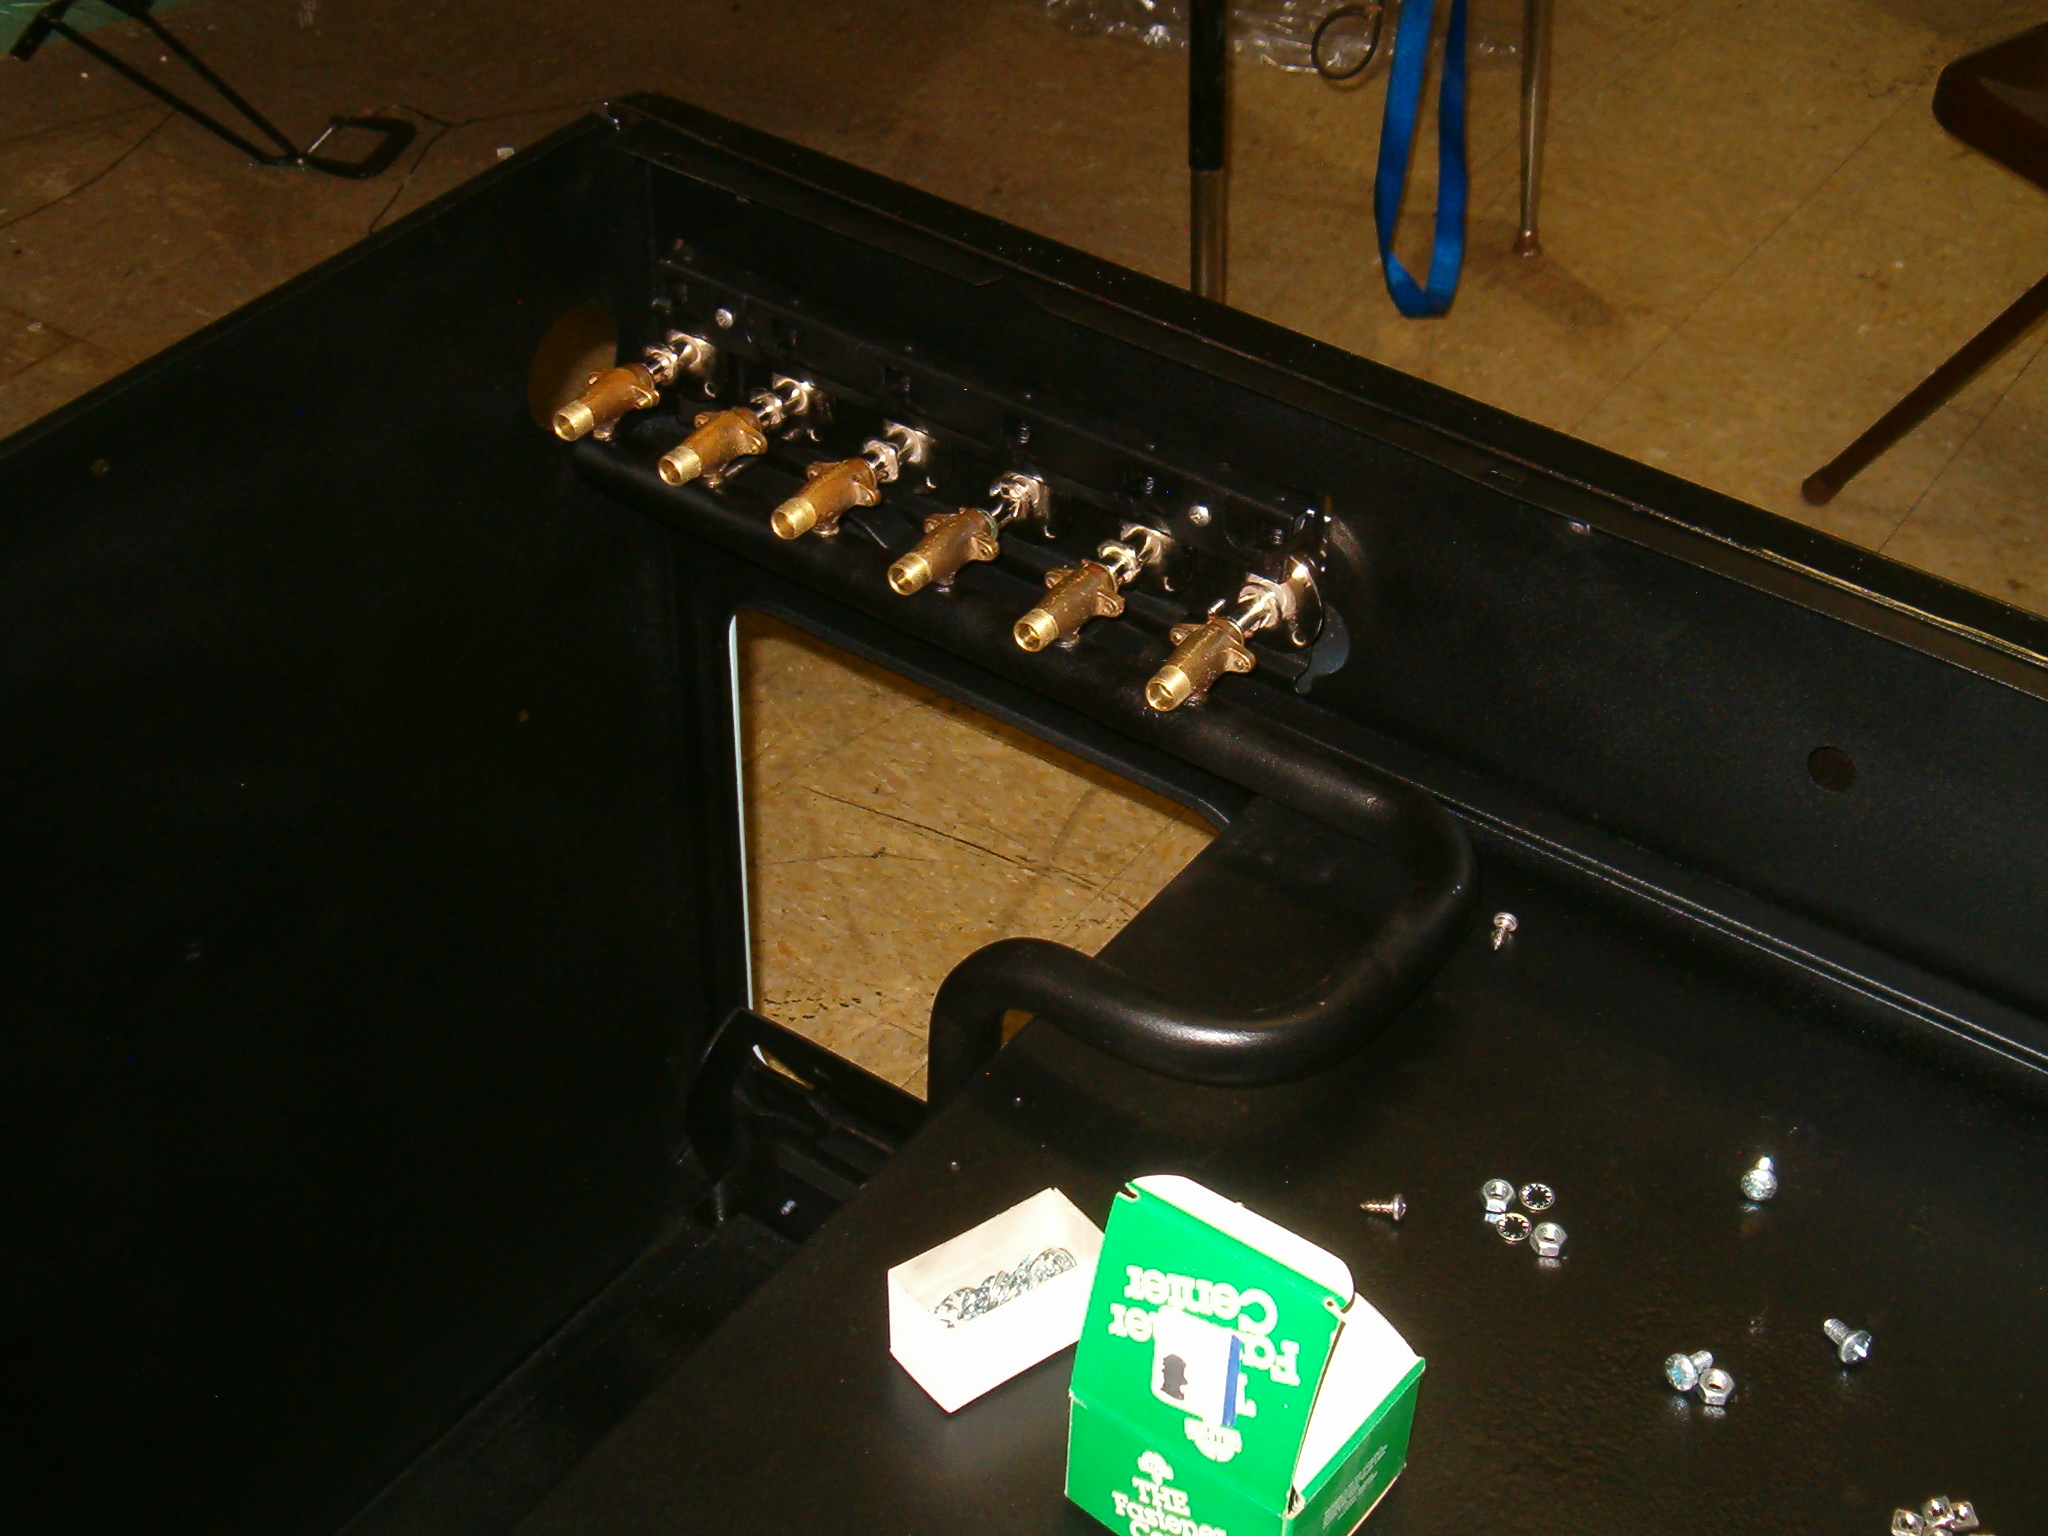
Here
are the
refurbished
Valves
installed
behind the
Thumblatch
Mechanisms -
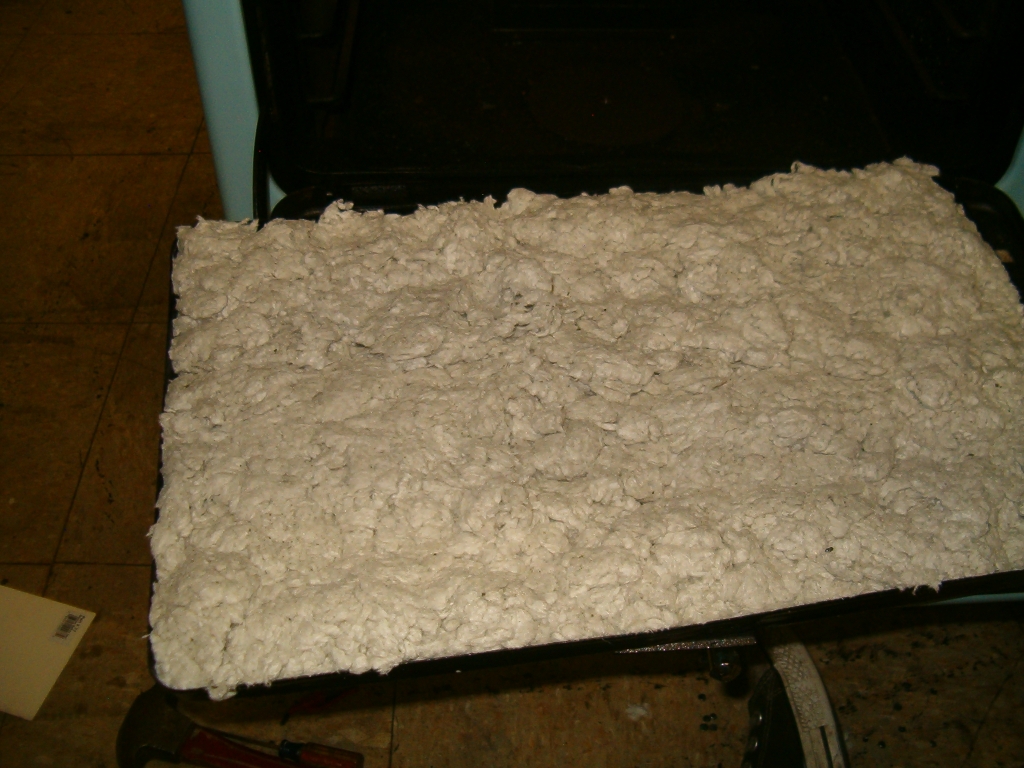
Here
is the new
Rockwool
insulation
after it has
been packed
into the Oven
Door, ready
for the
reporcelained
inside door
"skin" to be
installed.
This
insulation has
to be of the
proper density
and packed
correctly for
the oven to "Cook With The Gas Turned OFF!"
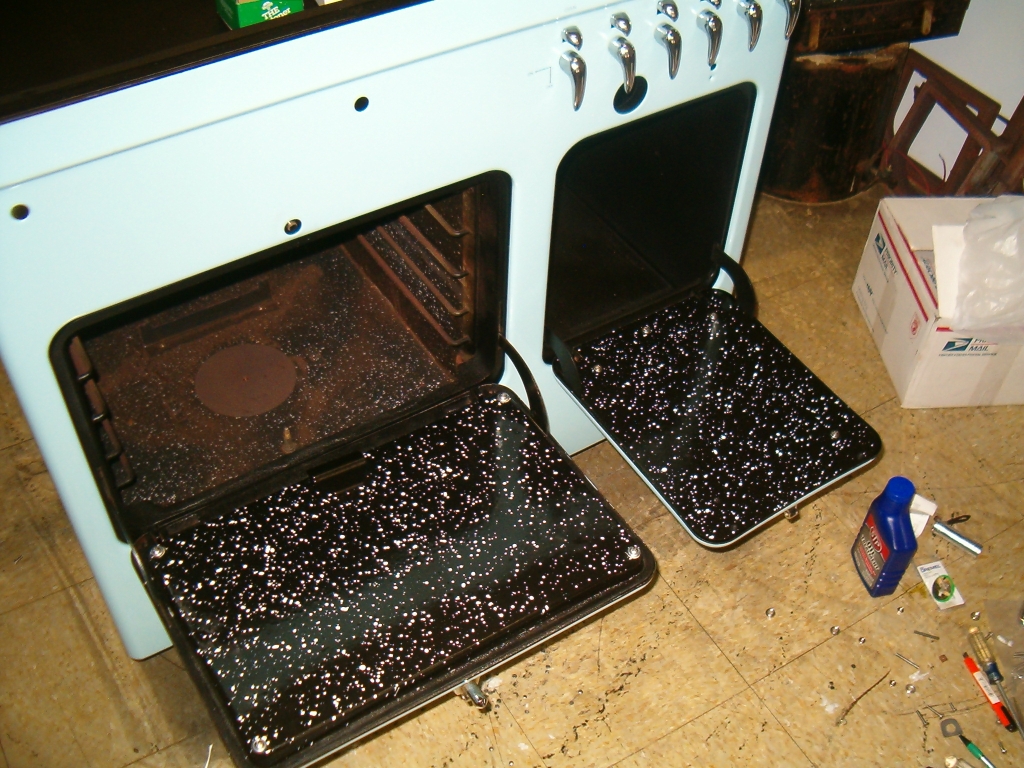
Here
are the
reporcelained
inside and
outside skins
for the Oven
and Service
Cabinets
installed -
What follows these steps
is the tedious
reassembly of
the ThermoWell
onto the
Duracrome Top,
then the top
goes on, the
gas lines and
thermostat are
installed,
followed by
the back and
backsplash.
The light is
rebuilt, then
the 90C was
checked for
proper
operation.
It was taken
to Mary's
house in
Dallas, the
sides were put
on, it was
slid into
place, the
skirt
installed, and
the burners
and were
thermostat
calibrated.
AND
HERE IT
IS -
BACK HOME!!!!!
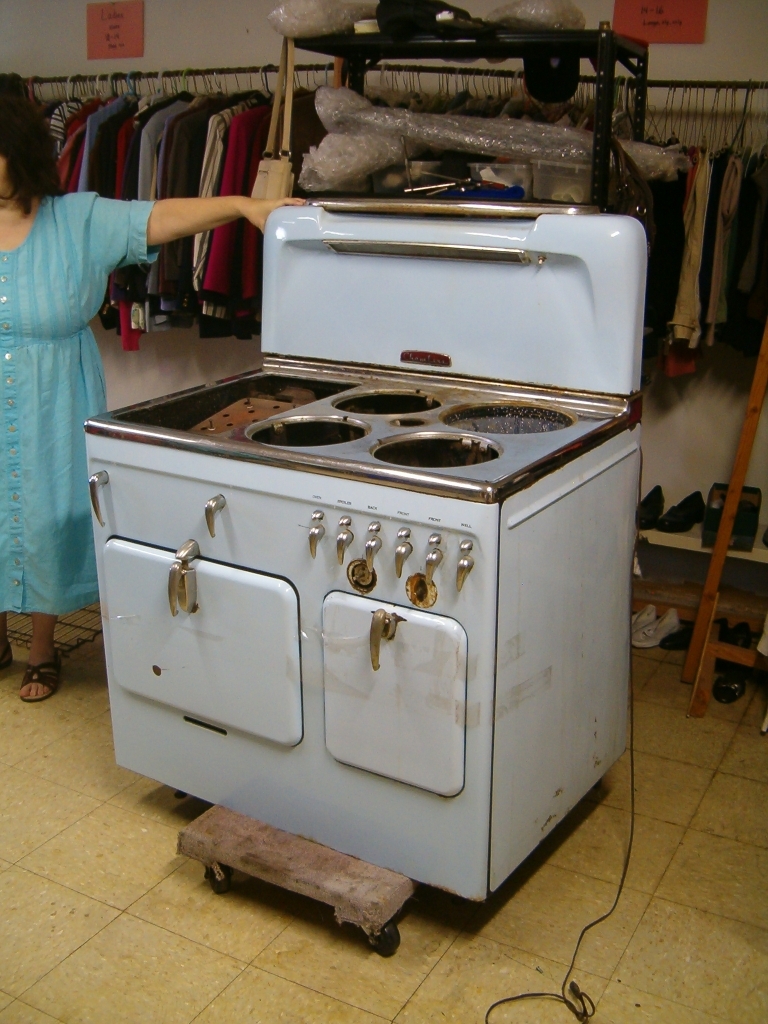
HERE'S WHAT IT LOOKED LIKE
WHEN IT
ARRIVED FROM
DALLAS, BEFORE
RESTORATION:
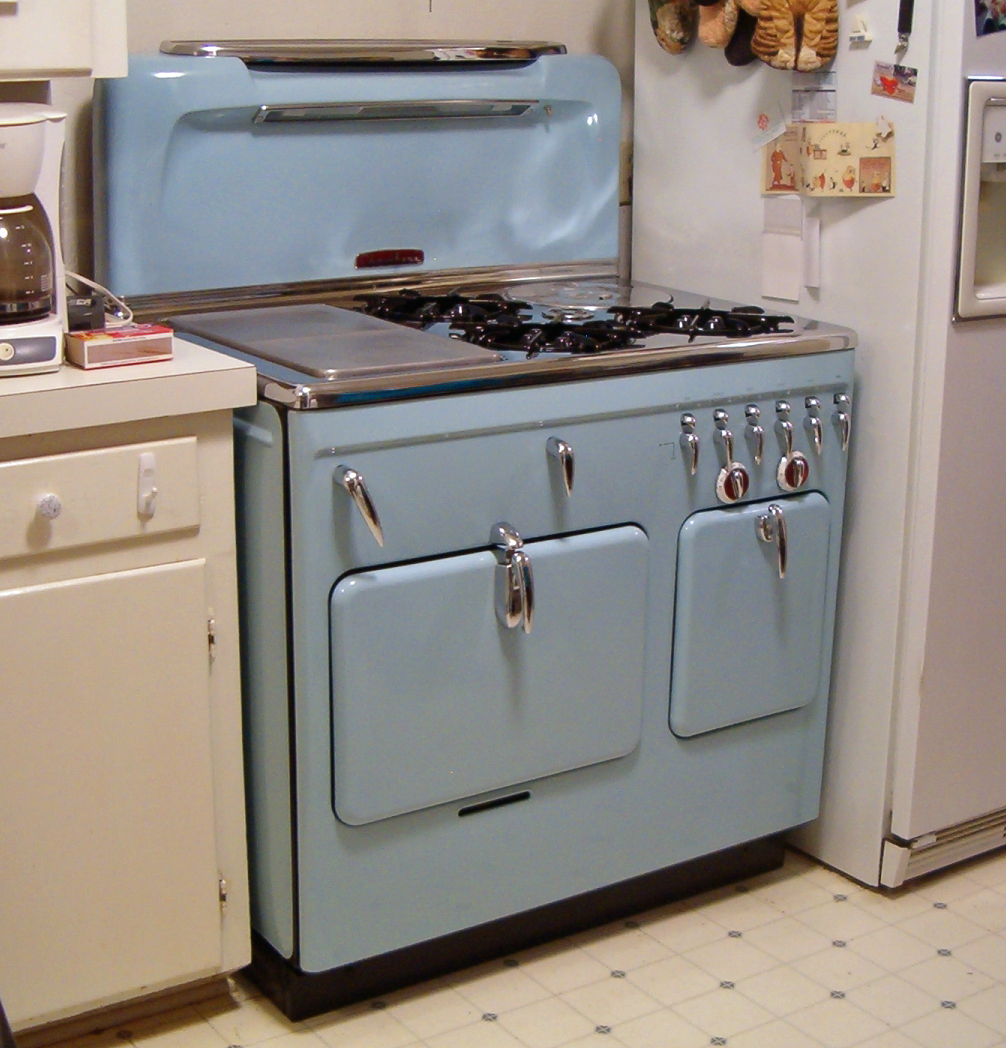
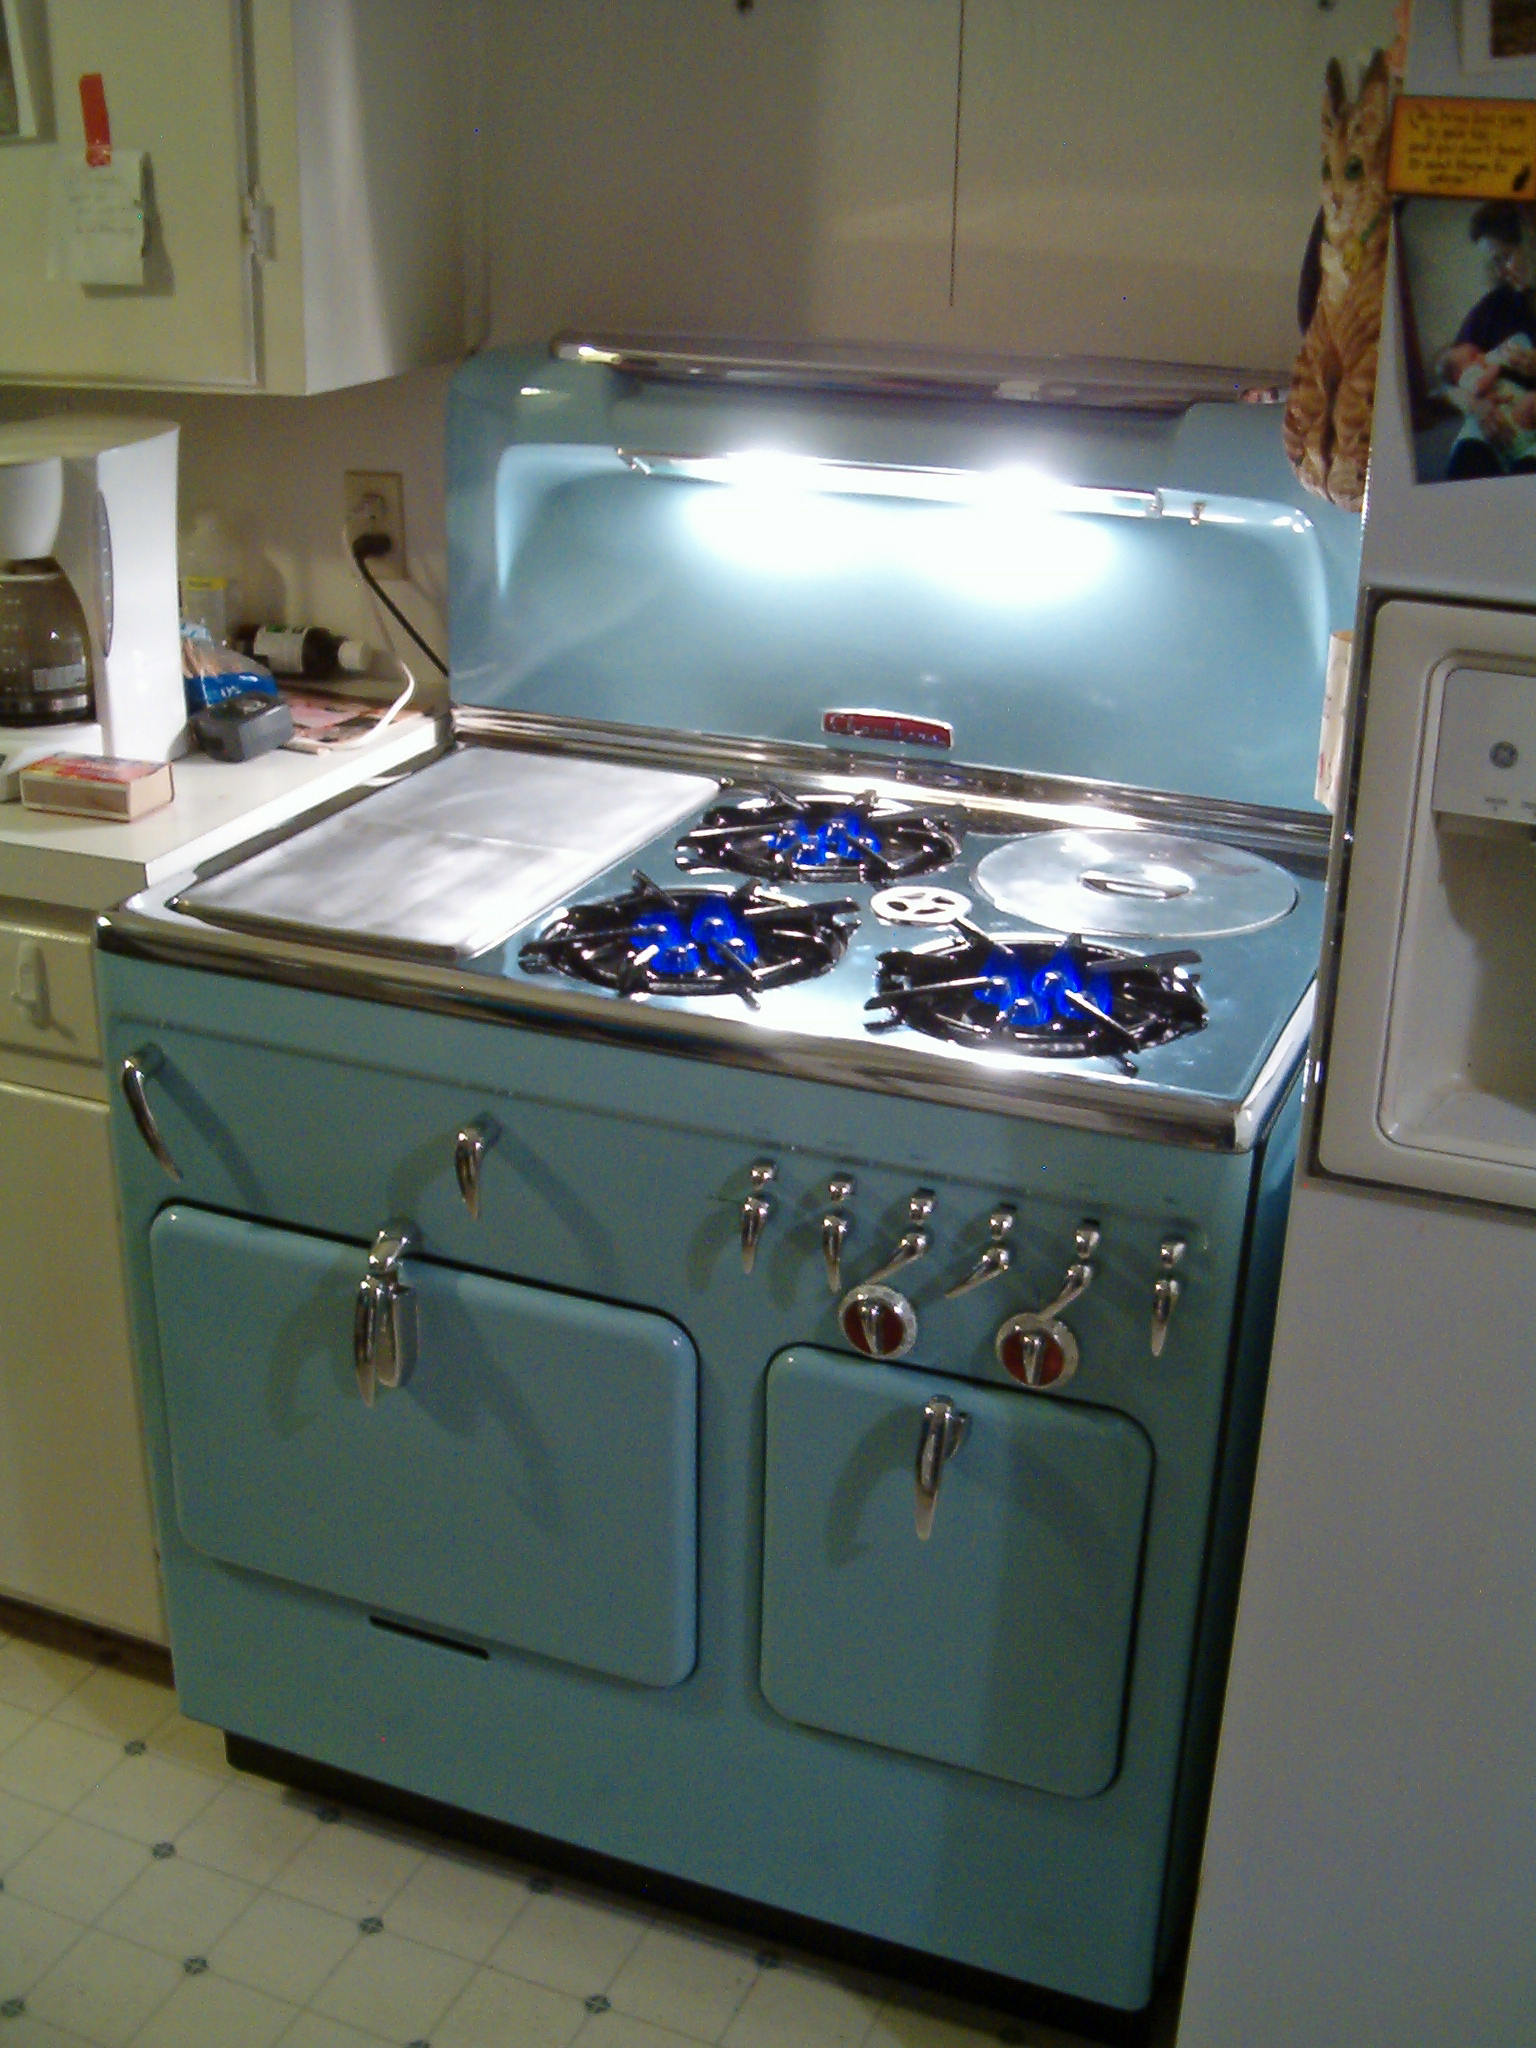
HERE ARE SOME MORE PICTURES
OF MARY'S
COMPLETED 90C
CHAMBERS RANGE
-
Remember
how bad the
Duracrome Top
looked
"Before"?
Well,
here it is
"AFTER"!
LOVELY, ISN'T IT!
|
|


![]() 2004-2014
by Todd W. White
2004-2014
by Todd W. White
![]()


